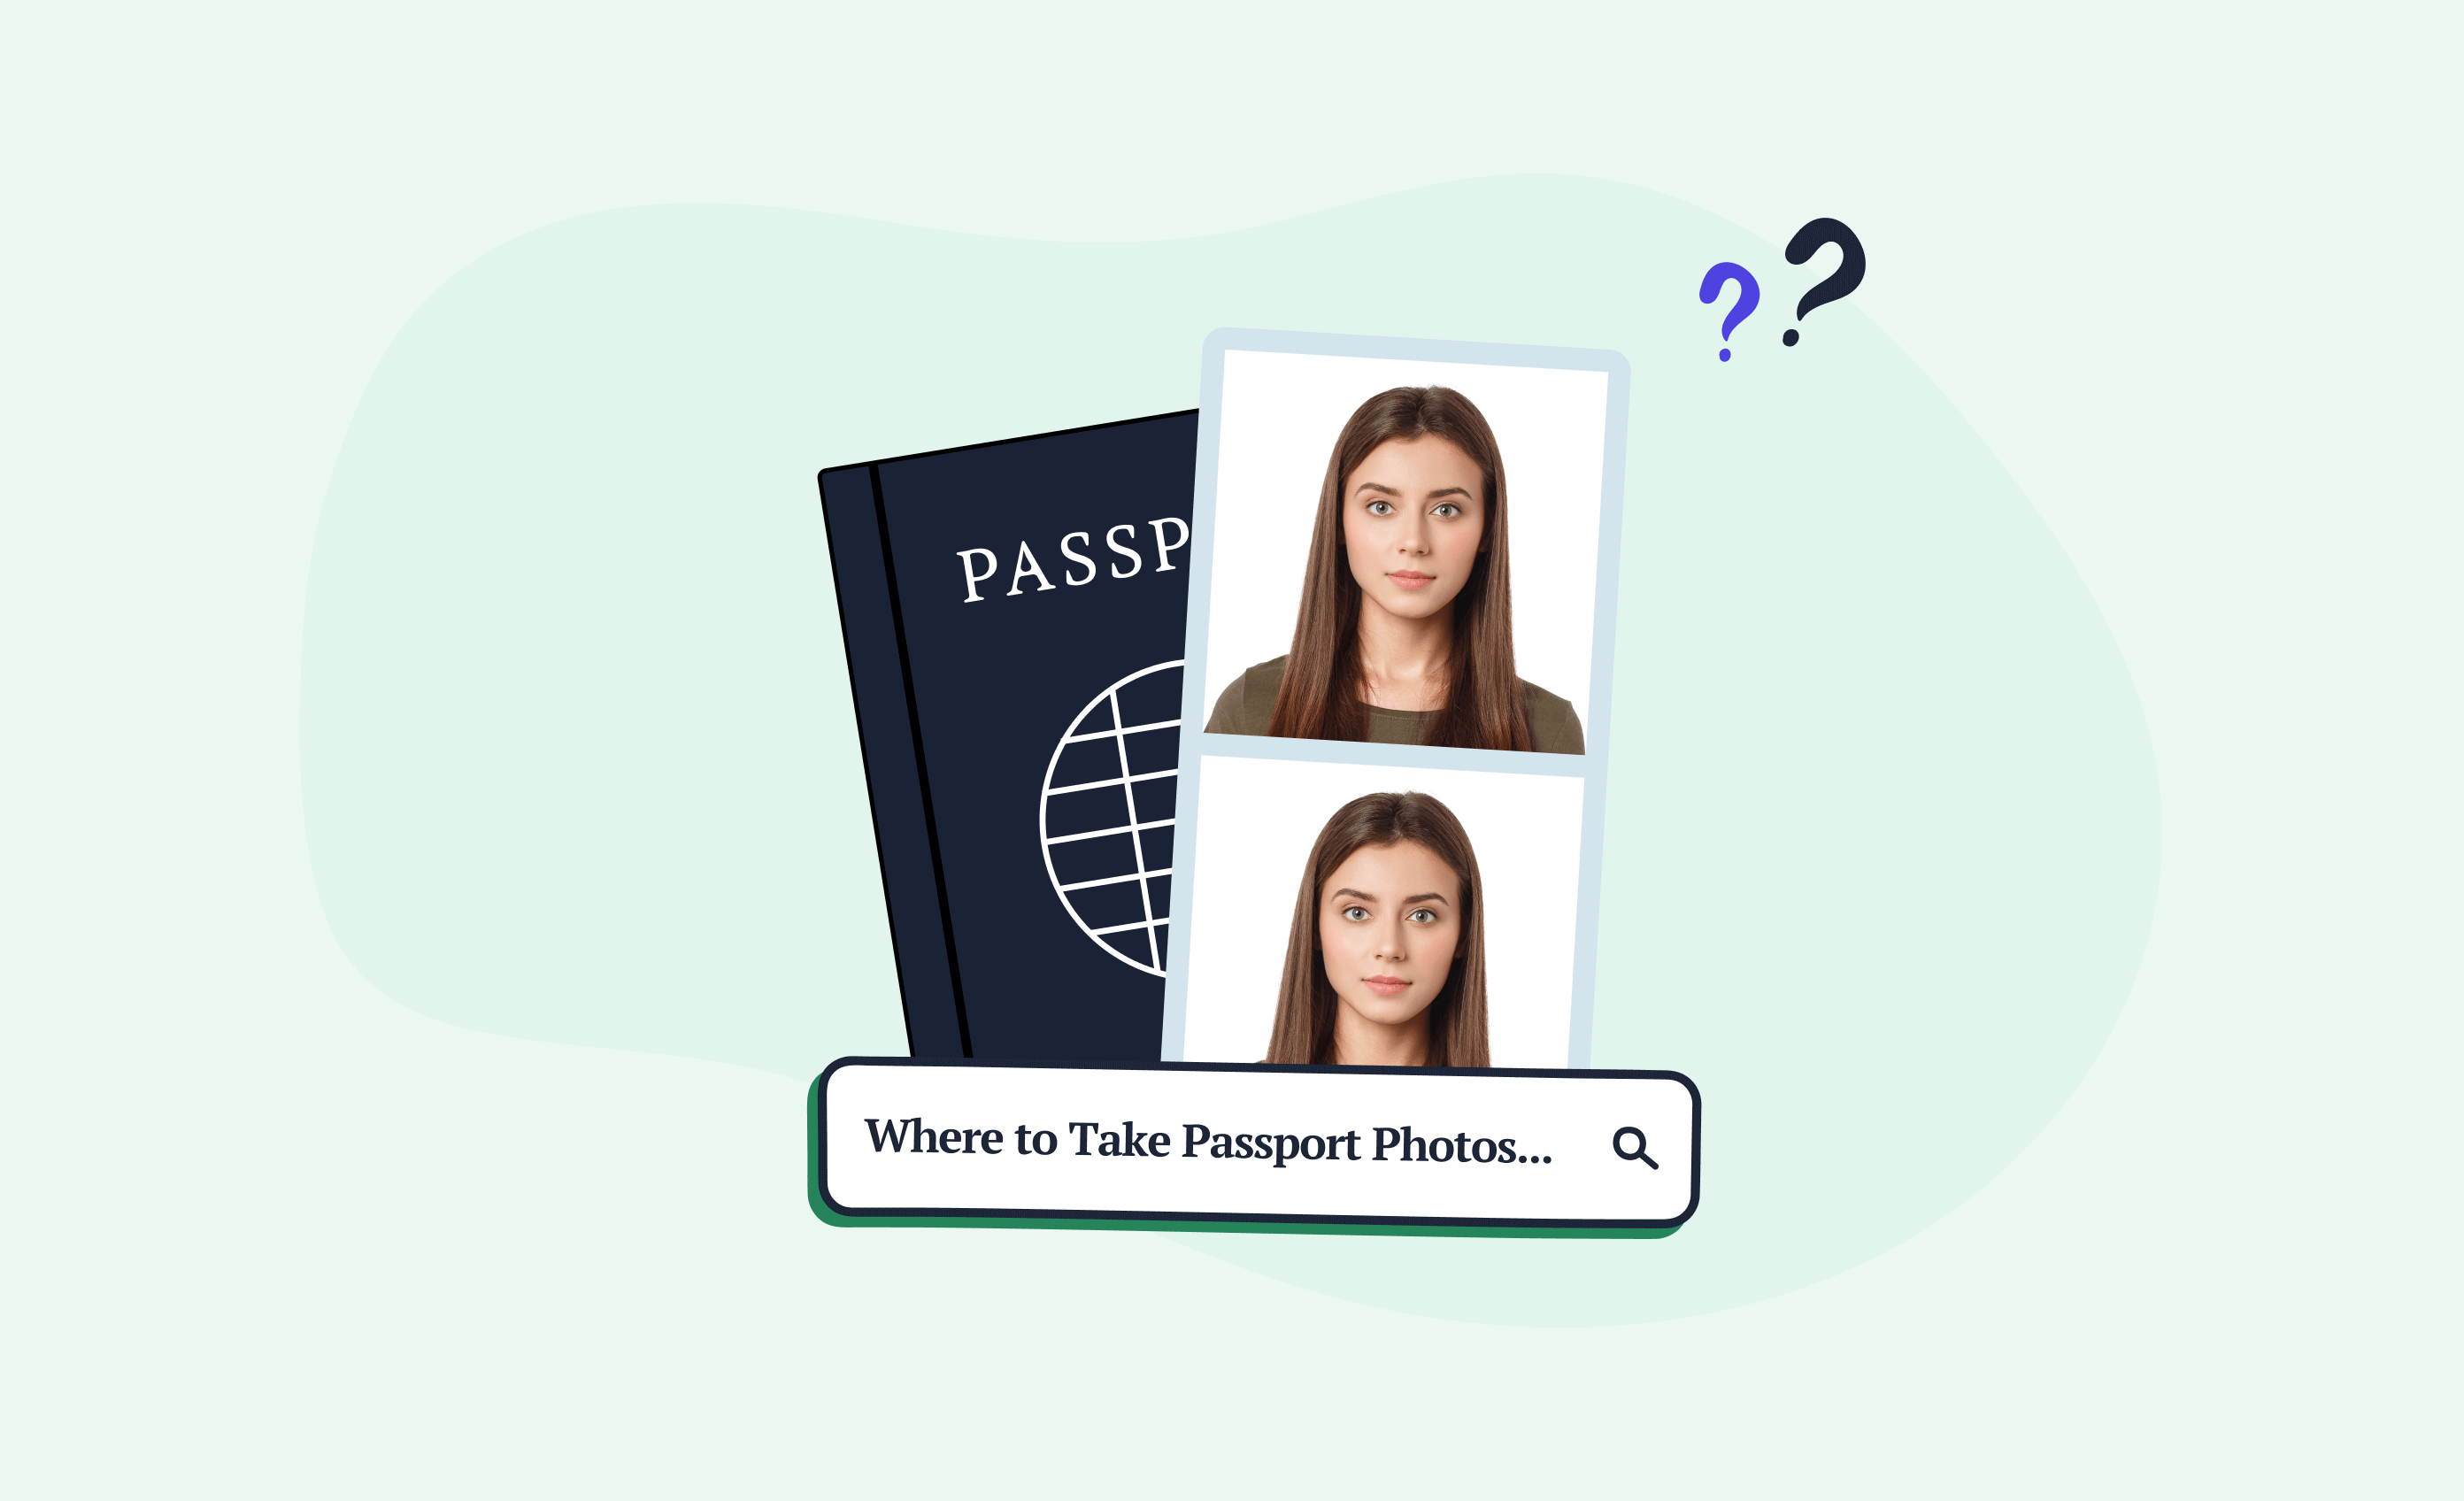


The days of using offline photo services, such as a drugstore or photo booth, to take your own passport photo are becoming more and more obsolete. Taking photos at home is no longer reserved solely for amateurs who post their pictures on Instagram; with so many online photo tools available today, you can now take professional document photos straight from home!
Oh, the convenience. That’s why we thought we’d share some important tips with you on how to take your passport photo from home, and more specifically – at what distance from you, the subject, should your tripod (or your friend taking the photo) be positioned in order for the final photo to come out successful and thus, be approved by the passport authorities?
This question is sometimes overlooked and gets lost among all the other requirements, such as correct size, facial expression, head position, or lighting, so we are here to help.
Get a 100% compliant passport photo with Passport Photo Online.
- Upload a selfie.
- Our AI crops, resizes, cleans the background, and adjusts the lighting.
- One of our human experts (available 24/7) reviews your photo within minutes.
- Download a high-res JPEG instantly or order prints with 2–3 business day delivery.


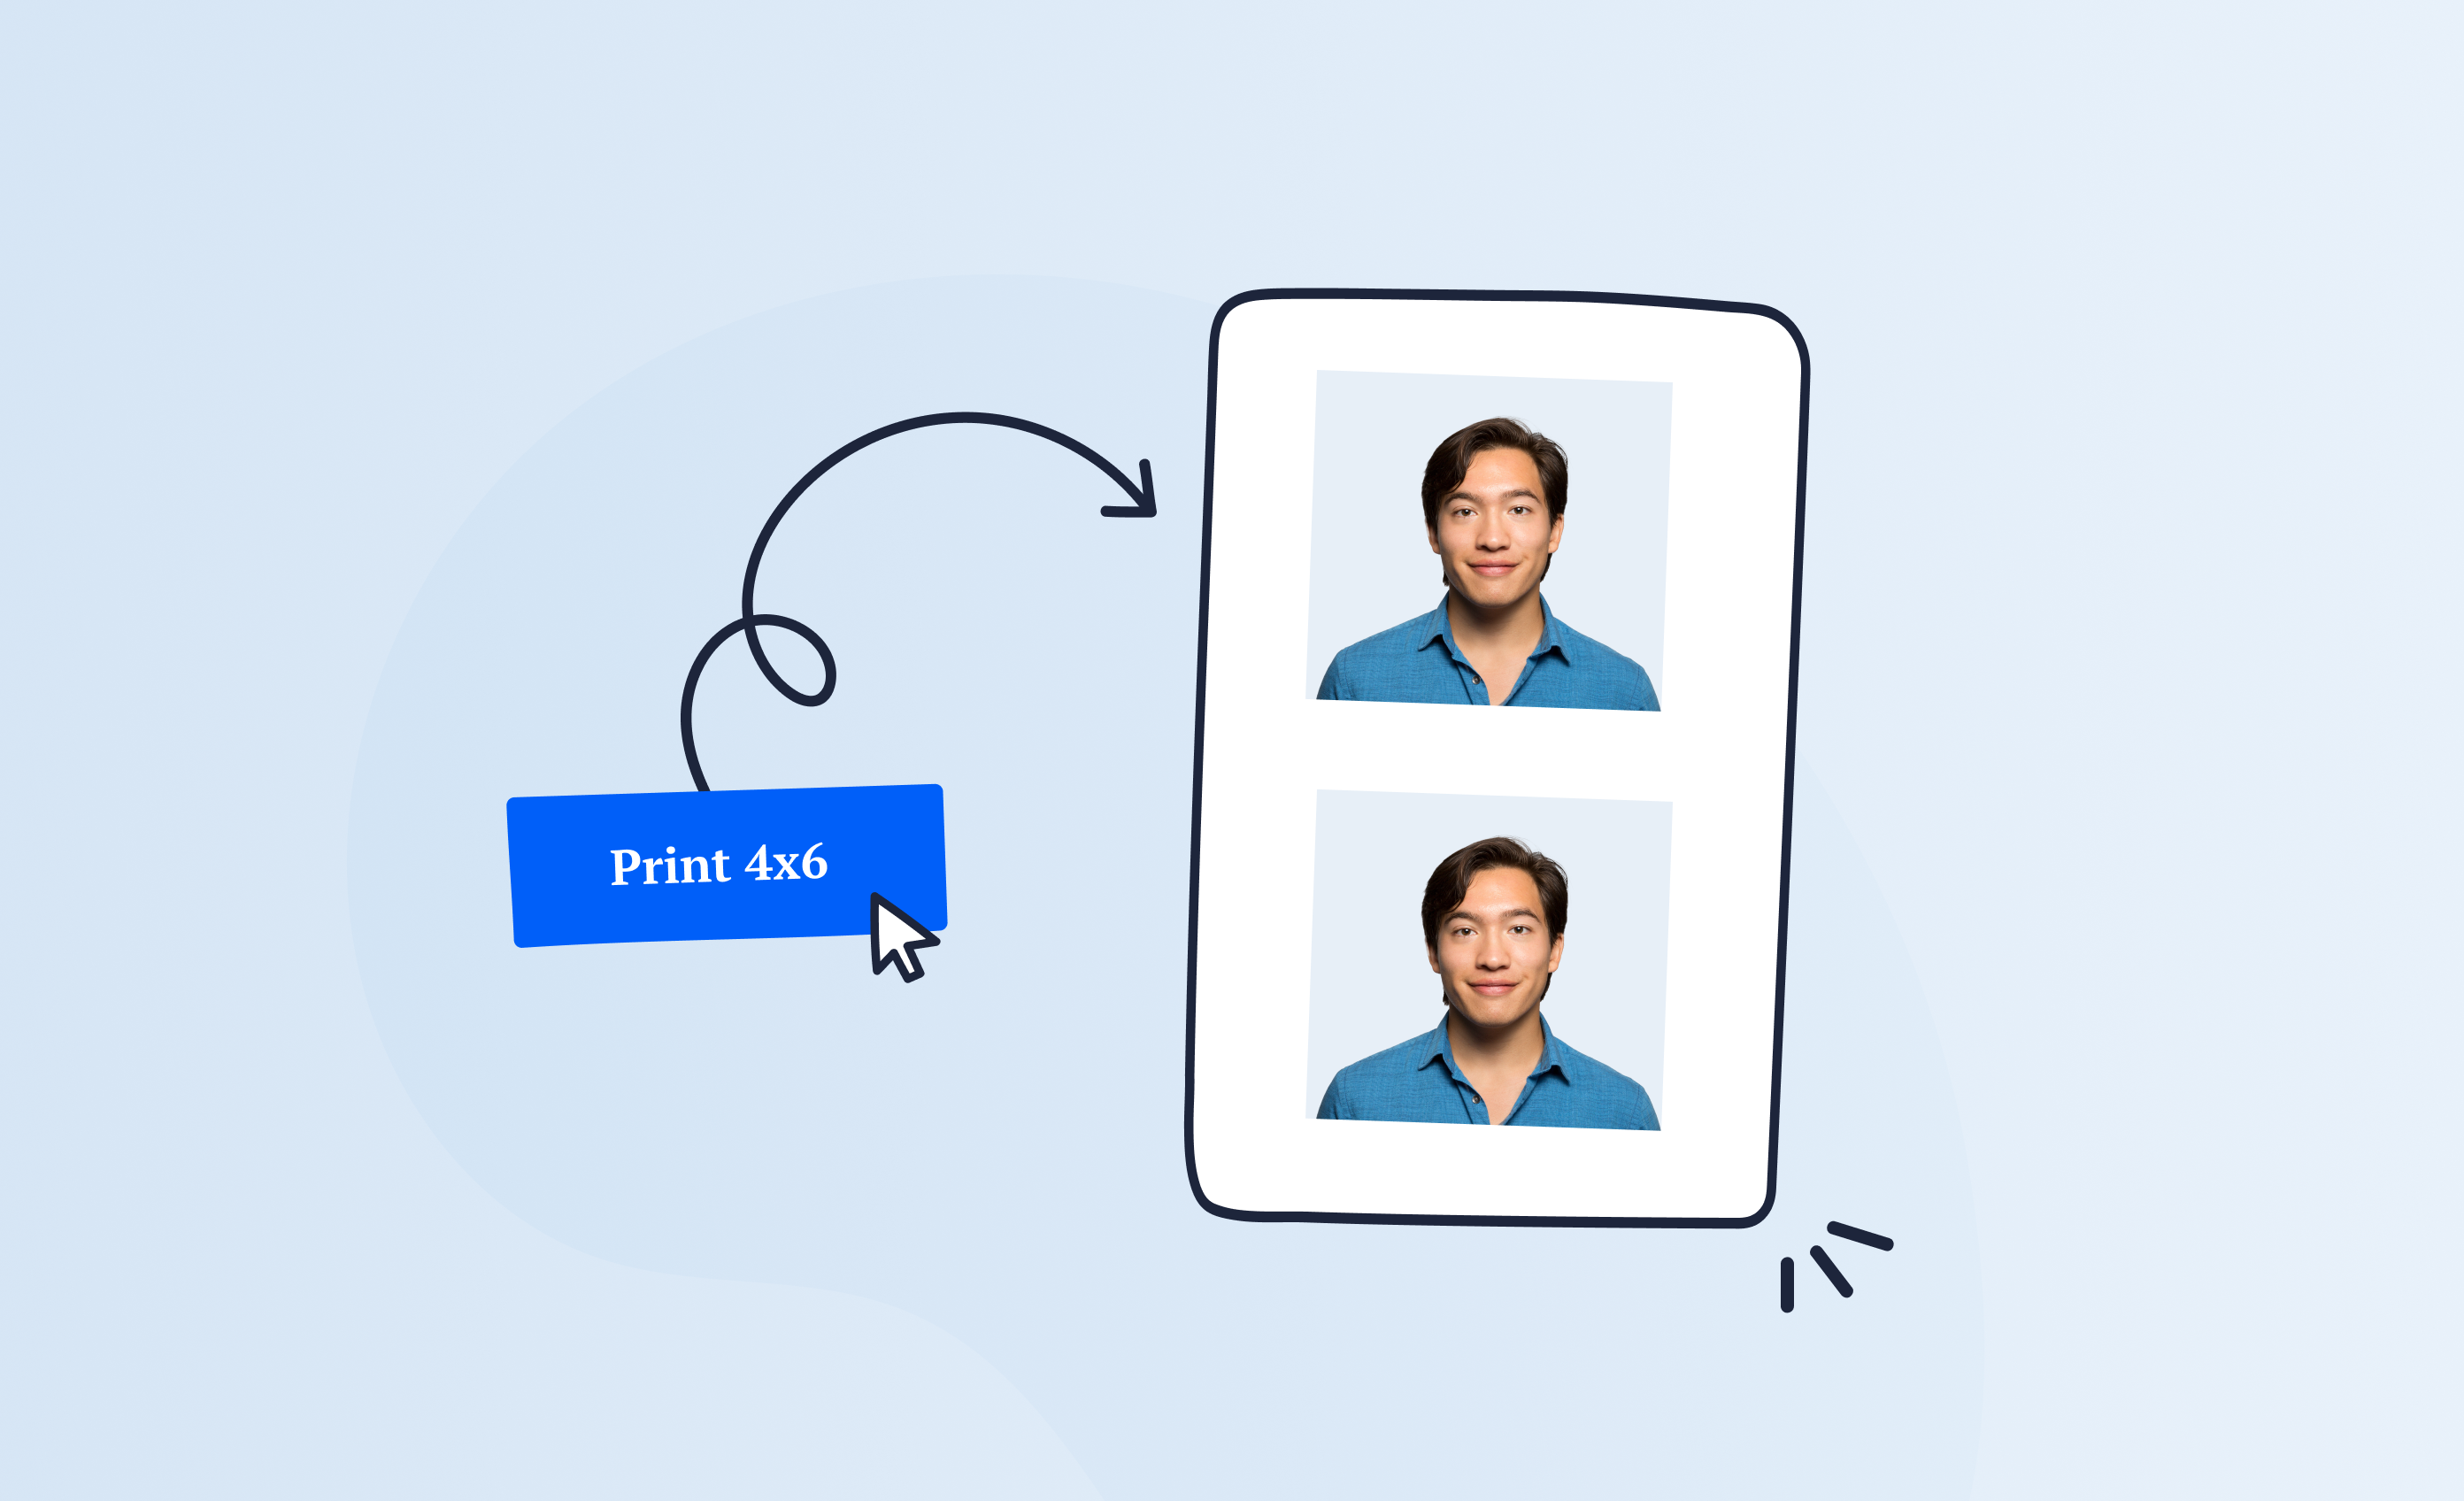
Get a digital passport photo – or order prints with Passport Photo Online.**
Unlimited Retakes
Competitive Pricing
GDPR & CCPA Compliant
Used by 1M+ Users Annually
I used Passport Photo Online and got a verified, compliant digital passport photo from a simple selfie. The whole process took about five minutes. The prints arrived just a few days later. I saved time and money and my passport application was accepted!
What device should you use to take your passport photo successfully?
If you’re taking your passport photos from home, you don’t need a device that we normally regard as “professional equipment.” There’s no need for a DSLR camera with a special camera lens that takes ages to calibrate. You can easily take a good passport photo using your smartphone (Android or iPhone), tablet, or digital camera if it has a resolution of 5 (five) megapixels or higher.
Do you want to learn more about passport photos? Check these out:
- How to Take a Passport Photo at Home
- How to Make Passport-Size Photo in Mobile [Android]
- How to Take a Passport-Size Photo from an iPhone [Guide]
- How to Pose for a Passport Photo [+Requirements & Examples]
- Passport-Style Photo vs. Professional Headshot—What Is The Difference?
- Selfie Passport Photo [Can You Use One, How to Take It & More]
- Best Online Passport Photo Service in 2026 [6 Tools Reviewed, Legitimacy Checked]
3 things to remember when taking your own passport photo
To be fair, we’ll also go over some other very important things to pay attention to when taking passport photos. Here is a quick walkthrough in case you need it.
The light
One of the most important secrets to good quality photos is the lighting. It’s best to take your picture using a good light source, such as natural lighting provided by daylight to make sure your face is evenly lit. Avoid direct sunlight, as it may provide too much exposure, making your face too bright.
Also, try not to use a flash – it may create some reflections, and it usually distorts the natural look of the subject’s face. It’s recommended to wait for a nice, sunny day to take your photo. Avoid having your photo shoot on a cloudy day since your facial features must be clearly visible, and there can’t be any shadows on your face.
The expression
It’s recommended to maintain a neutral expression for your passport photo. It’s pretty simple – just be your natural self and don’t go overboard with your facial expression! Smiling is acceptable, as long as it’s not a grin from ear to ear – a delicate smile with your mouth closed will be just fine.
The background
In order for the background to not distract the viewer from your face, which is the most important aspect of the passport photo, go for a light, solid-colored background, such as a white or light gray wall. Remember that depending on the country, these requirements may vary, so check with your local passport authorities to see which background is best for your particular image.
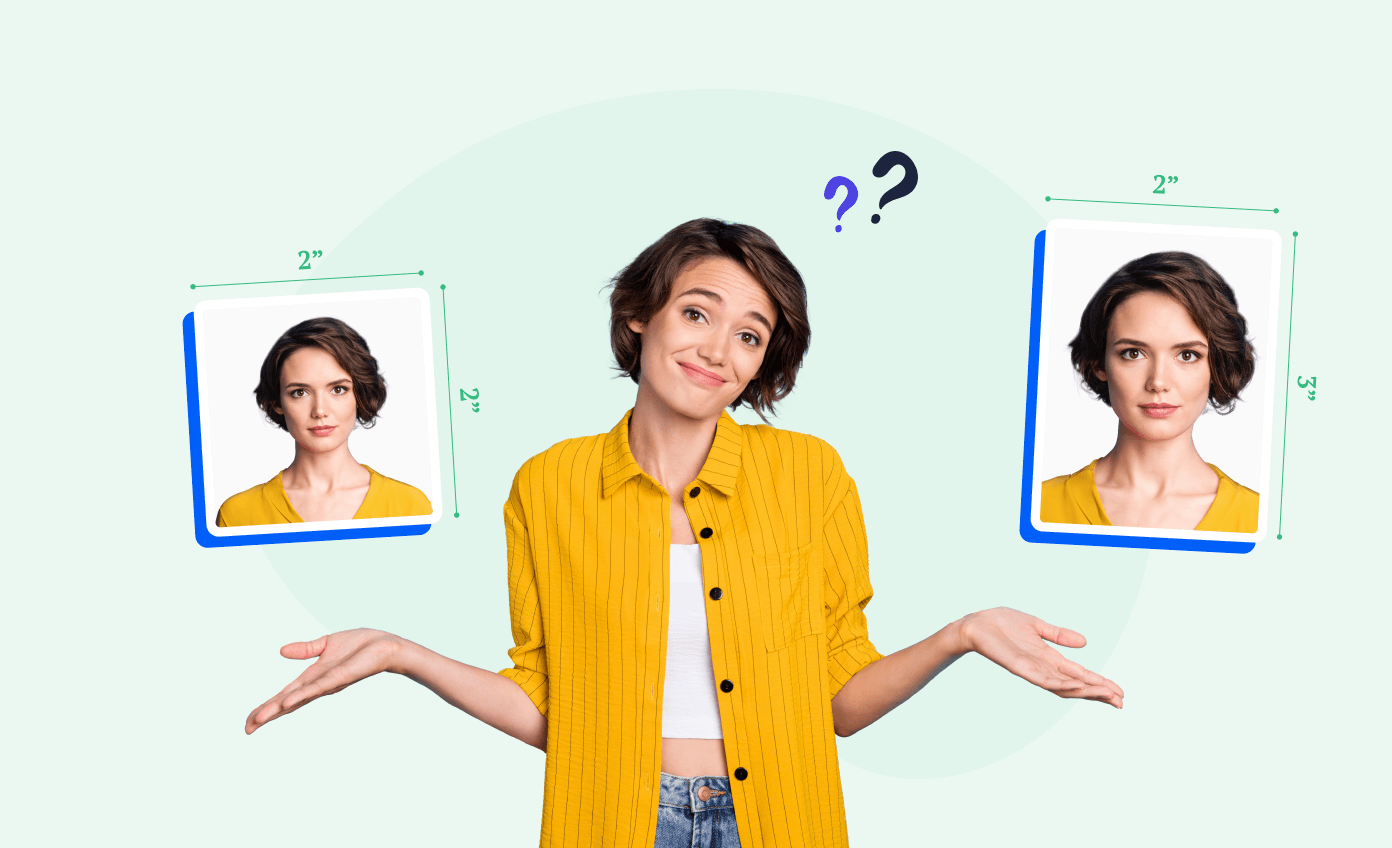
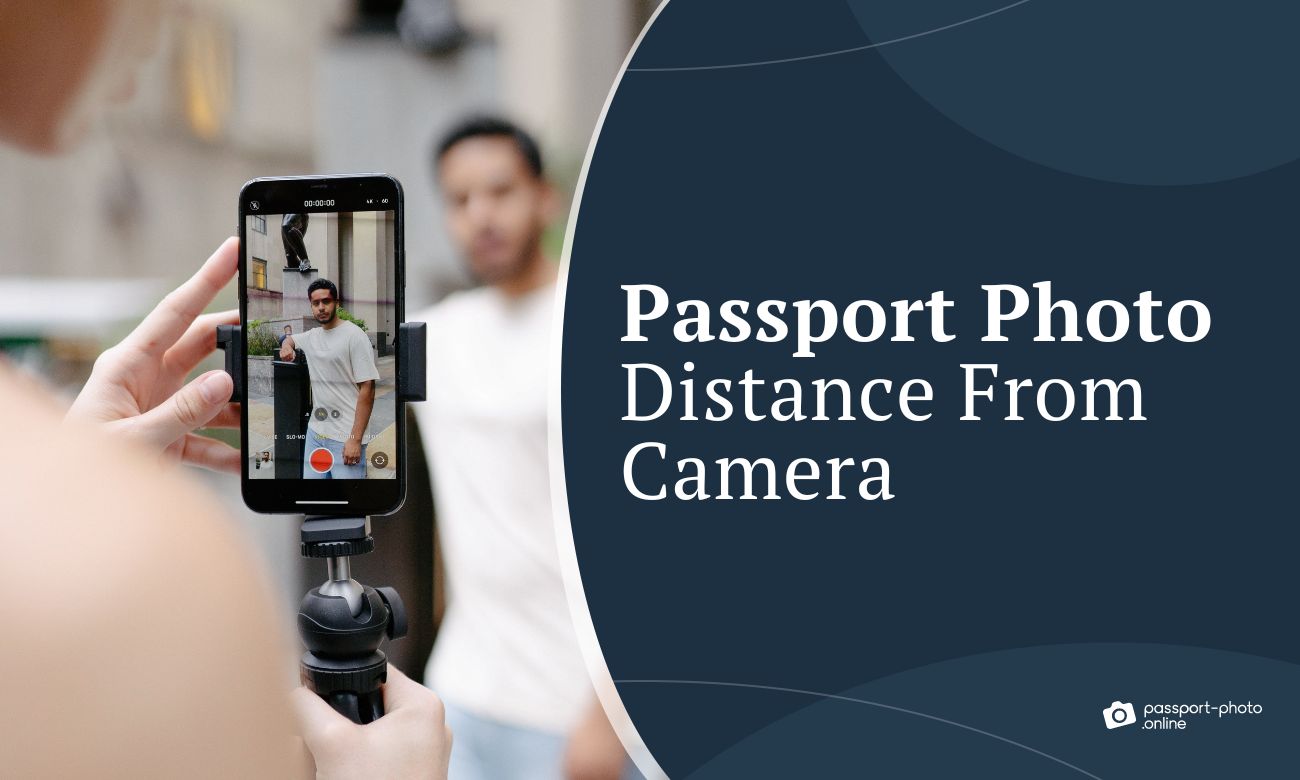
The distance
Now that we’ve briefly covered the most important aspects of taking your passport photo correctly, let’s talk about the elephant in the room – how far should you place your camera away from you in order to snap the perfect shot?
When it comes to passport photos, the perfect distance between the subject’s face and the camera is from 3 to 7 feet (or about 1 to 2 meters).
To calculate the distance, pretend there is an adult lying head to toe between the camera’s operator and the subject. An absolute minimum distance of 3 feet must be maintained, as a short distance will cause proportions to distort, no matter who the subject is.
If there is a considerable difference in relative distance from the lens to the face, there will be distortion, and this is a big no-no for any ID photos. The general rule is that the greater the distance, the less distortion there will be in a photo.
Whether you’re using a tripod or having a friend take the photo for you, try to take several photos from different distances (maintaining the 5-7 feet rule). You want to make sure that no part of your face or hair is cropped from the photo.
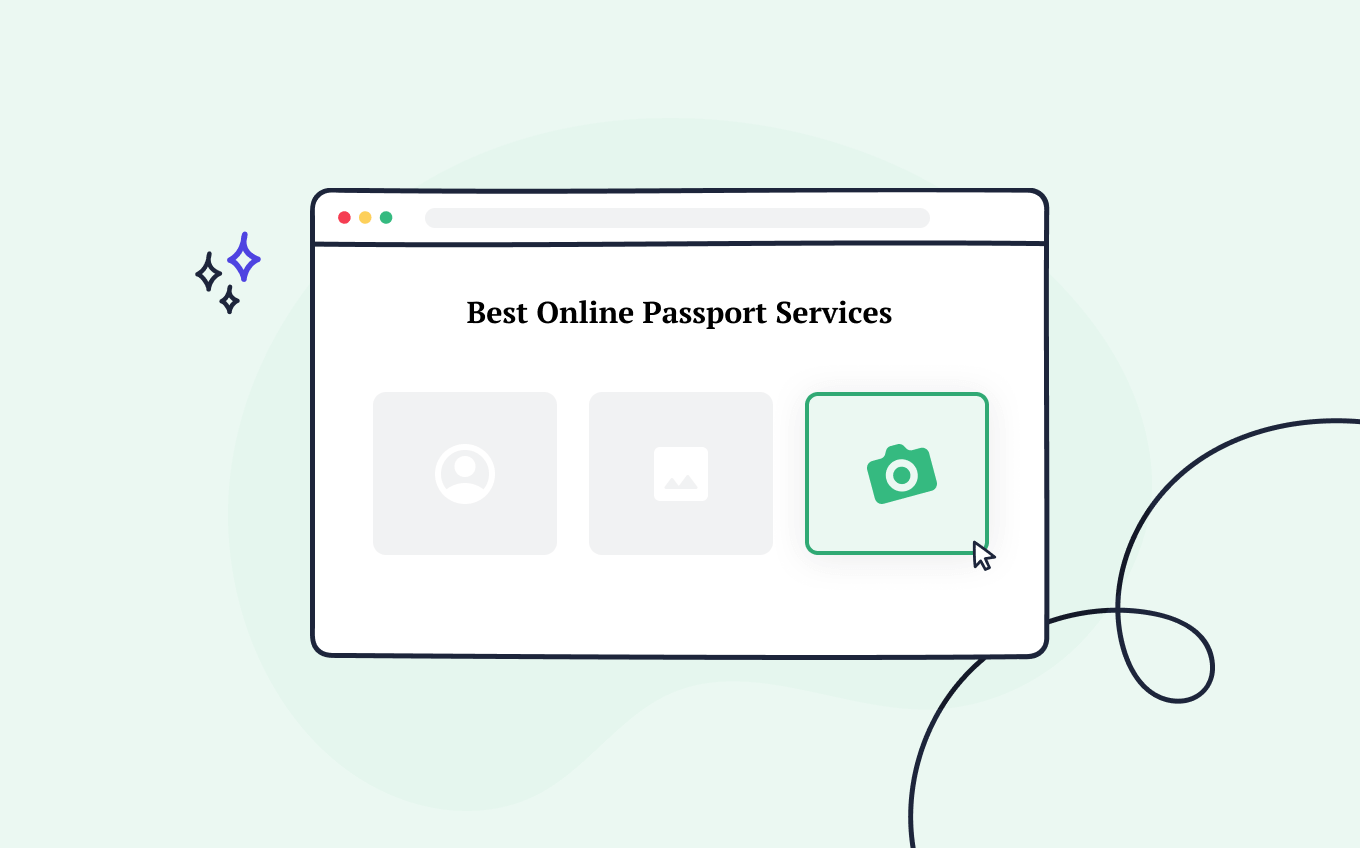
Take your passport photos from home
There are many convenient online photo tools at your disposal. One of them is Passport Photo Online, which is available both as a website and an app for Android and iOS phones.
With this photo tool, taking passport photos is pure pleasure, as you don’t have to feel rushed by people waiting in line or being distracted by outside factors. You can just follow the steps we mentioned earlier regarding the correct lighting, facial expression, and plain background (although if you don’t have the right one, we’ll fix it for you), and take your DIY passport photo from the comfort of your couch.
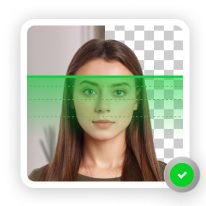
Our passport photo app has been highly successful for years and recommended by Yahoo!, Glamour, and National Geographic, among others. It features an extremely sensitive AI system to adjust and crop the photo to the right size.
Additionally, It verifies that the photo has the right background to suit the one required for a passport photograph and also adjusts the head position and direction as well. Since we offer many different types of ID photos for different countries, the AI system adjusts the photo standards according to the particular ones set by each country.
You can get your passport photos in either one of the two formats (or both): print-ready digital images sent to your email or digital images and a copy printed on photo paper, delivered to a street address. In short, here’s the photo process when using our app:
- You either upload an original image that you think is suitable to be used for a passport, or take a photo with your smartphone or digital camera.
- Upload the photo to our app.
- The built-in AI system scans your photo to make sure it has the correct size, cropping it if necessary.
- You can request your images either as digital copies for $6.95 or a printed version ready to submit with your passport application, for $9.95.
Remember that with our app you can take as many photos as you wish and only pay for the final version that you approve. The Passport Photo Online offer comes with a double refund guarantee in case your photos don’t get accepted by the passport office.
Passport photos and distance from the camera: FAQ
In this section you’ll find answers to the most frequently asked questions regarding distance and lighting in passport photos.
How far should I stand from the camera when taking a DIY passport photo?
Final remarks
If you need a passport, you’ll also need a passport photo to submit with your application. Make sure you know the exact criteria regarding your country’s passport photos since image height, length, head position and direction can differ between countries (don’t worry, Passport Photo Online’s AI makes all the necessary adjustments).
Nevertheless, most passports will need a recent photo that has been taken in color, against a solid light-colored background.Additionally, the subject’s face must be evenly lit from every side, without any shadows or anything that would obscure the subject (we take care of that too).
So don’t hesitate to use our passport photo app – you have nothing to lose! If your photos don’t get approved for some reason, you will get a double refund, so it’s a pretty sweet deal. You’ll be able to save time and money (our app is about 30% cheaper to use compared to other passport photo apps), and won’t have to worry about looking for a place to take the right photograph for your passport.
Sources
Magda is an art & travel expert who is passionate about all things late-Victorian, history, languages, casa museos, Spain, and food illustration. She is a specialist in the field of biometric photography. Magda also loves reading, creative writing, and hanging out with her three cats.