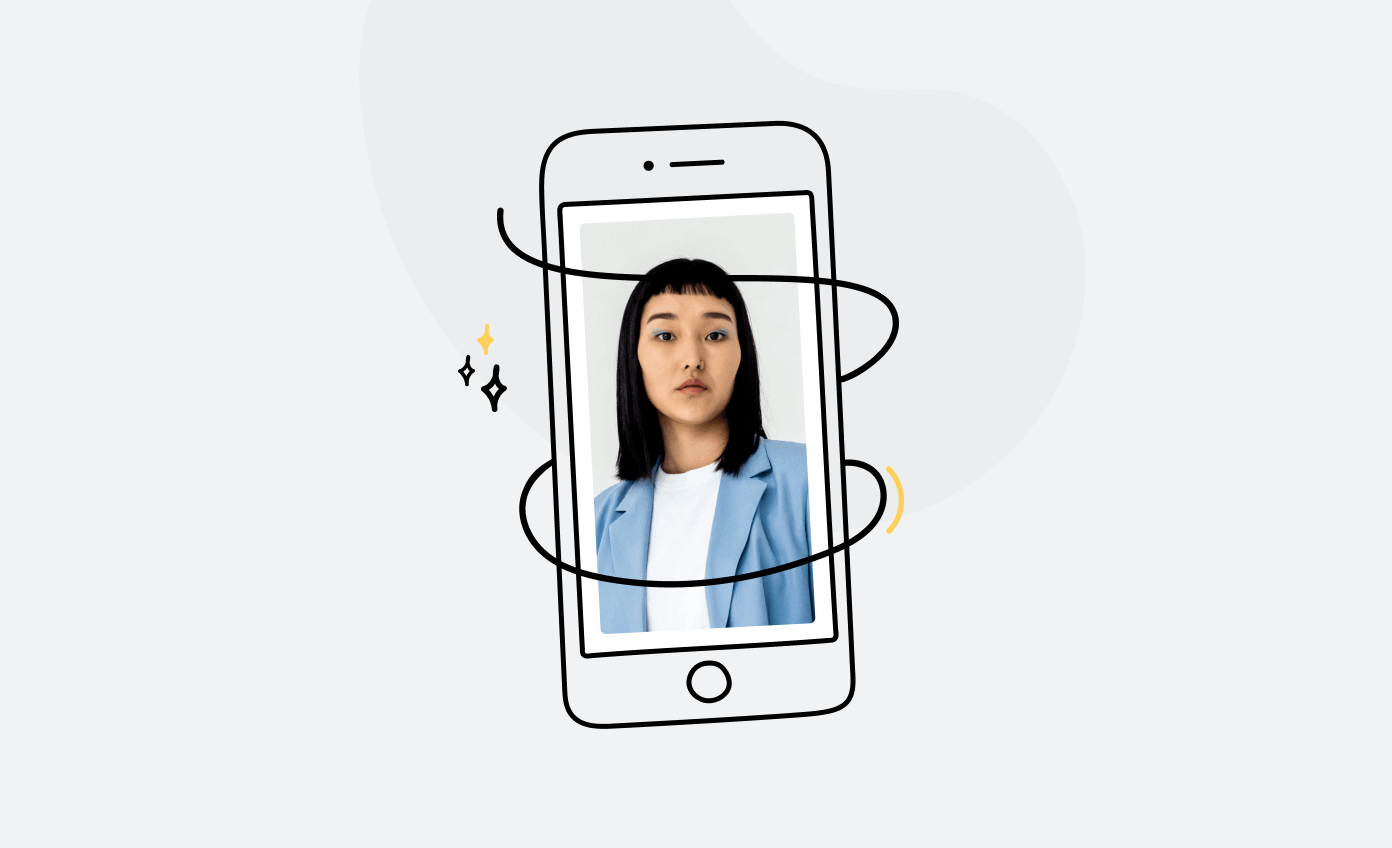


If you’re one of the 85% of Americans who own a smartphone, as reported by Pew Research Center, we’ve got good news—you can take a passport photo with your iPhone at home!
This comprehensive guide will walk you through the process of taking a top-notch iPhone passport photo—ensuring it meets all official requirements.
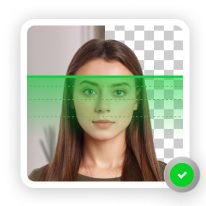
Aim for perfect results! Take as many photos as you like with our Passport Photo Booth App for iOS until you’re satisfied—we’ll make sure the passport photo gets accepted.
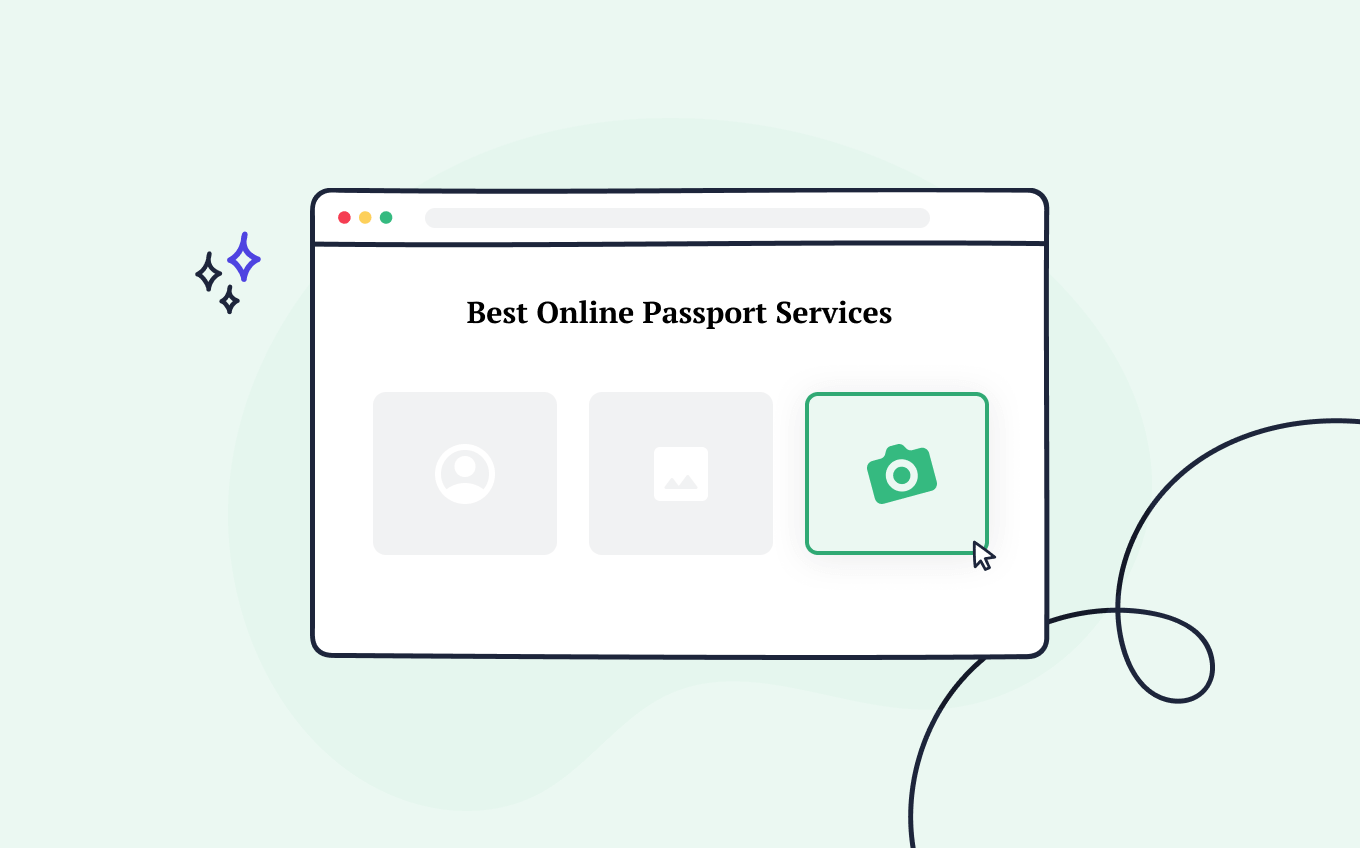
Get a 100% compliant passport photo with Passport Photo Online.
- Upload a selfie.
- Our AI crops, resizes, cleans the background, and adjusts the lighting.
- One of our human experts (available 24/7) reviews your photo within minutes.
- Download a high-res JPEG instantly or order prints with 2–3 business day delivery.


Get a digital passport photo – or order prints with Passport Photo Online.**
Unlimited Retakes
Competitive Pricing
GDPR & CCPA Compliant
Used by 1M+ Users Annually
I used Passport Photo Online and got a verified, compliant digital passport photo from a simple selfie. The whole process took about five minutes. The prints arrived just a few days later. I saved time and money and my passport application was accepted!
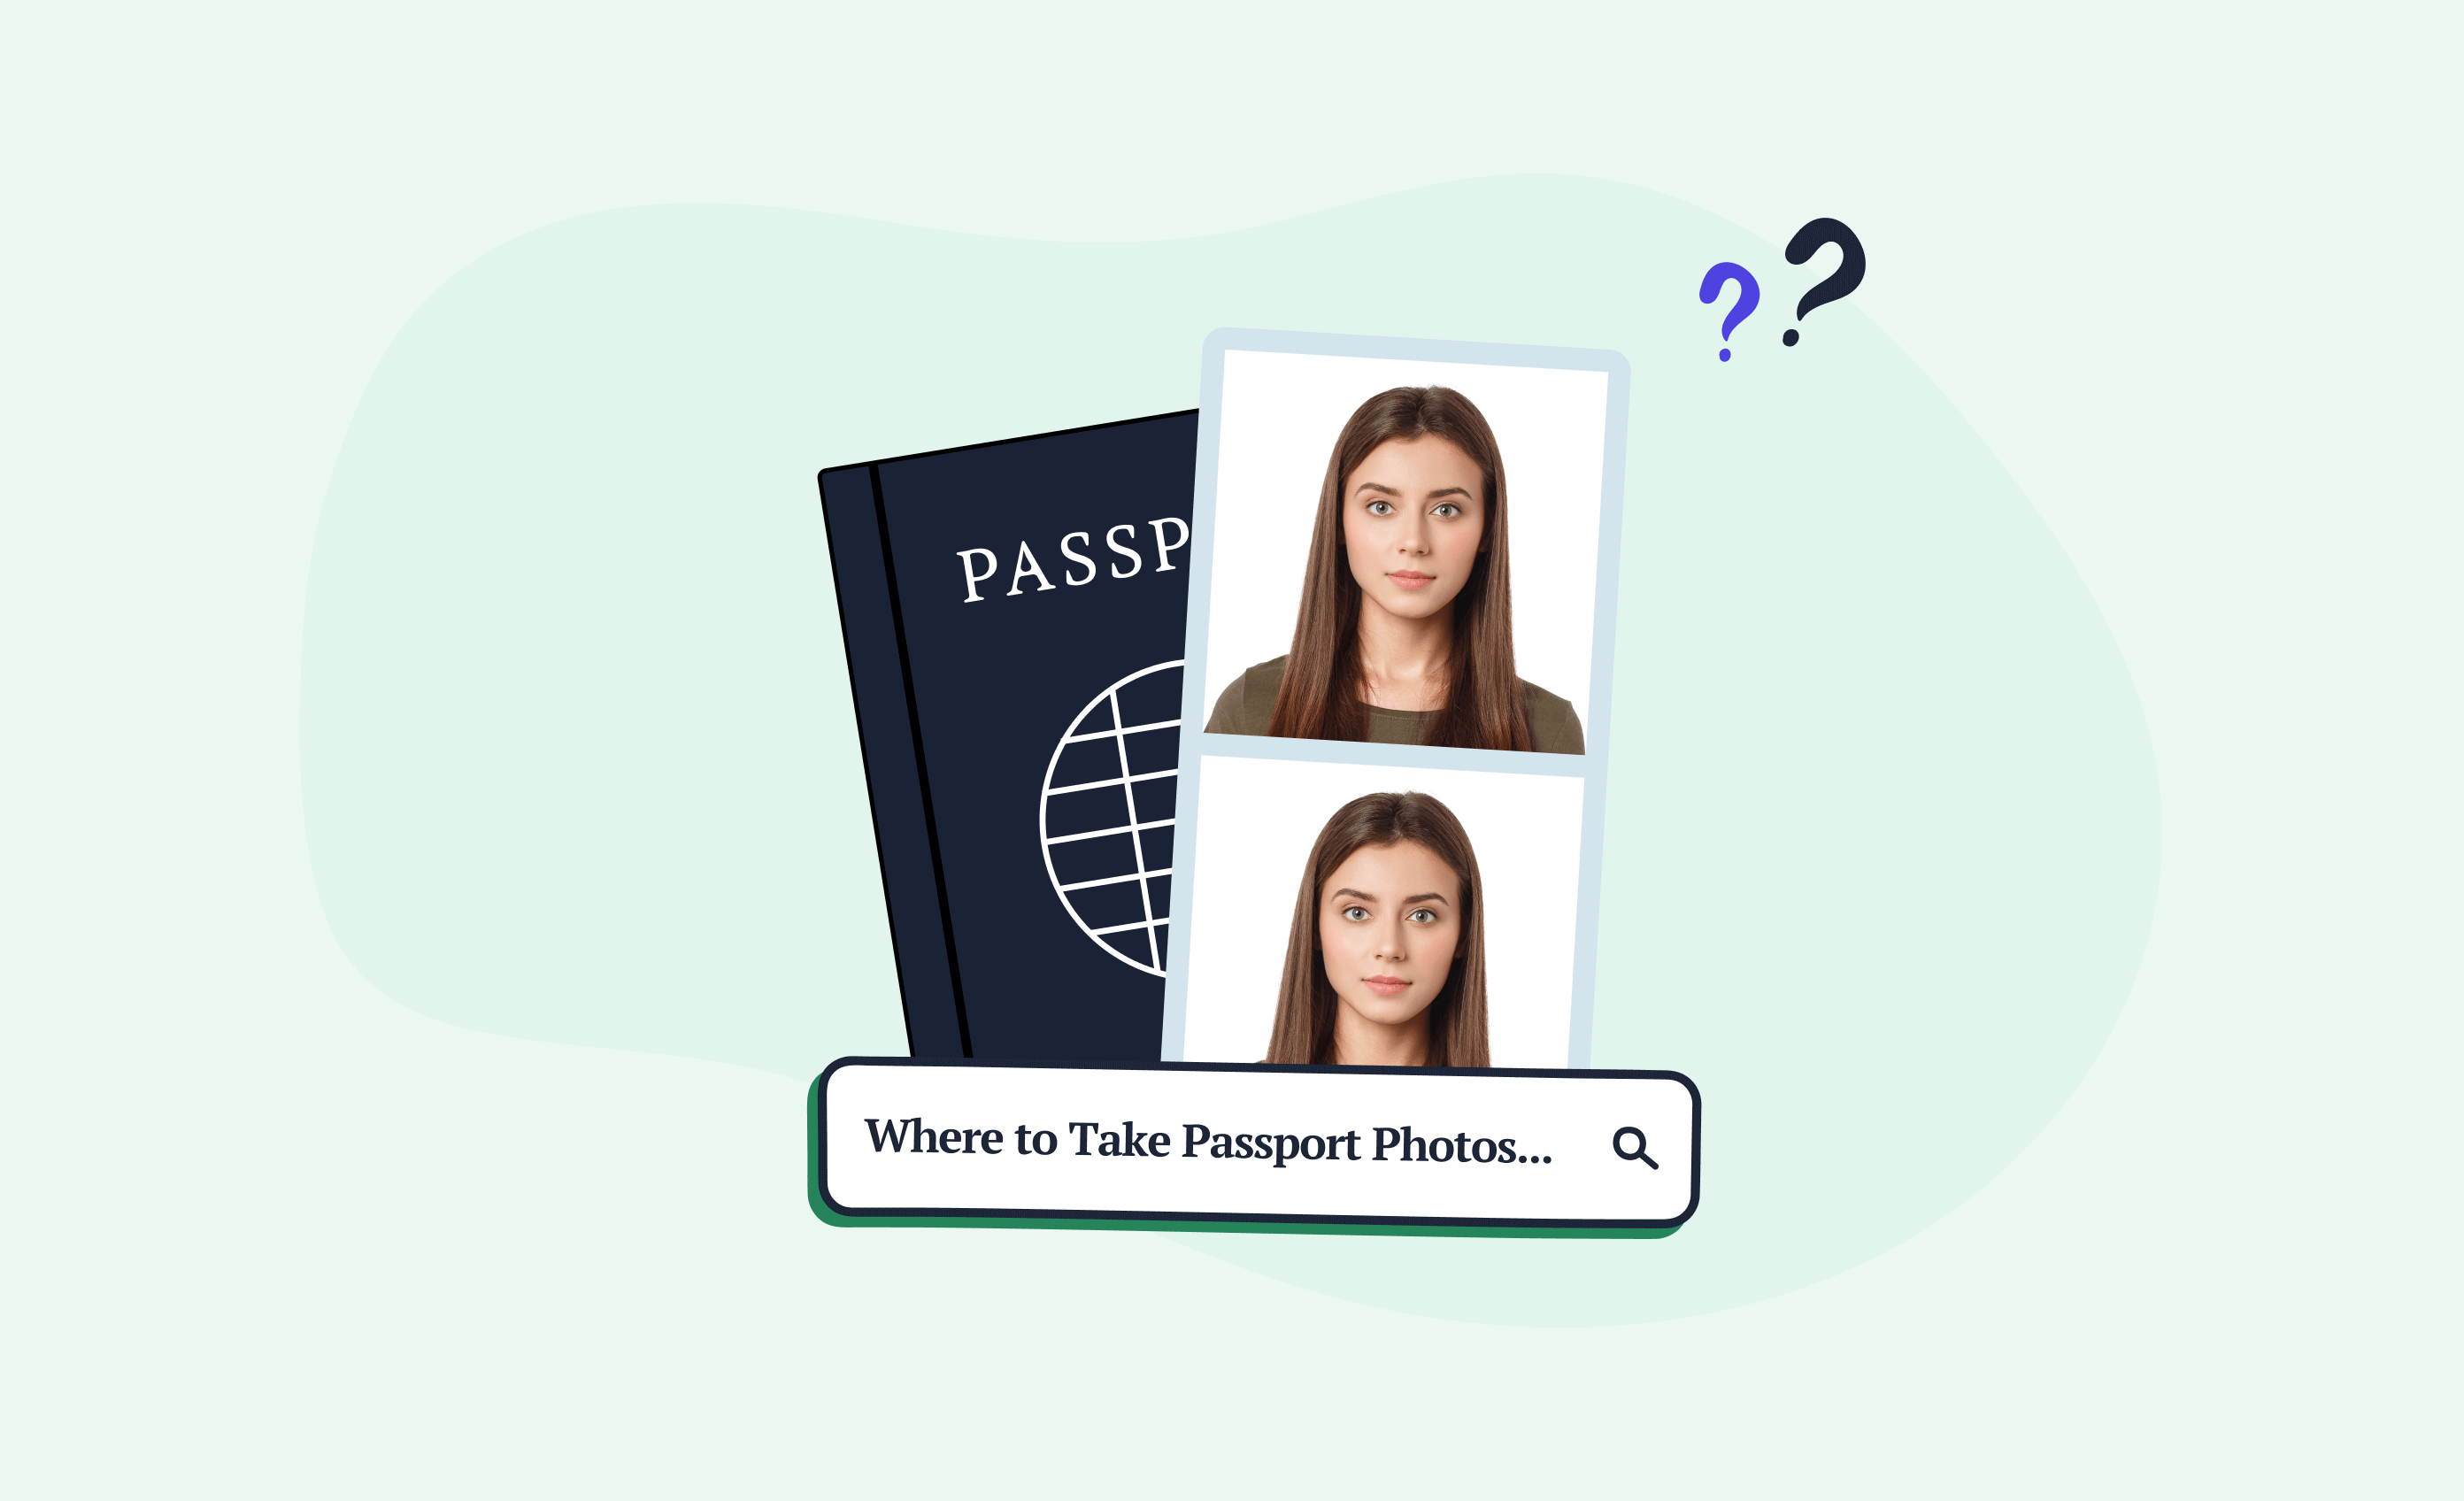
Learn more about taking passport pictures like a professional with these articles:
- How to Take a Passport Photo at Home in 3 Minutes
- How to Take the Best Passport Photo
- How to Take a Passport Photo with Android Phone?
Must-Have Passport Photo Specs
Before you snap your passport photo at home, you need to know what result you’re after. So, look at the list below to discover all of the essential passport photo requirements your image must meet to be accepted by the officials.
And if you need more details, check out our blog post dealing with all US passport photo requirements where we answer all the questions you may have.
Here are the picture specifications to follow:
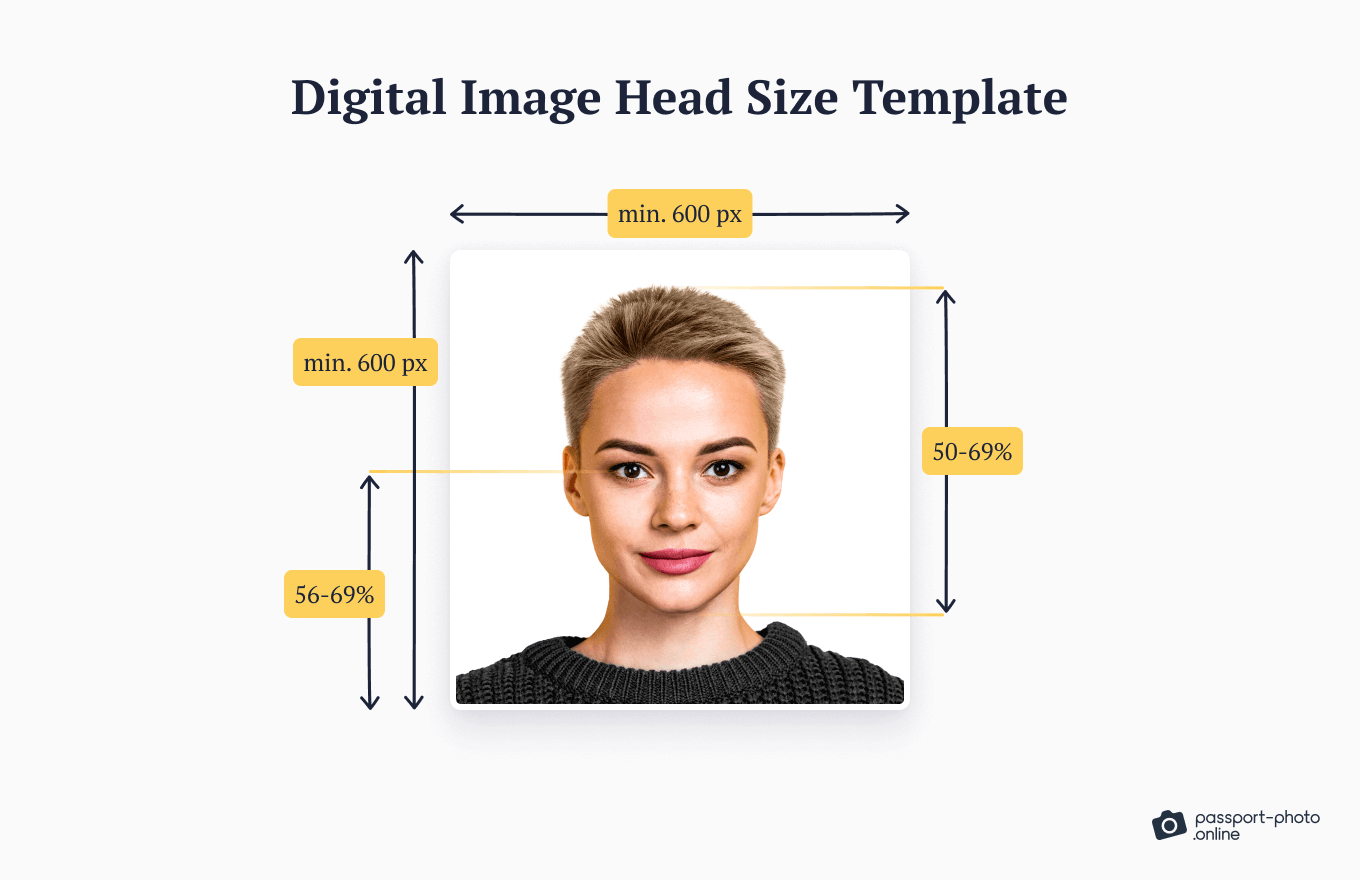
- Size: The standard US passport photo size is 2×2 inches (51×51 mm)
- Head dimensions: Your head should be between 1 inch and 1⅜ inches (25 mm and 35 mm) from the bottom of your chin to the top of your head
- Background: Your photo should have a plain white or off-white background with no visible patterns, shadows, or other objects
- Quality: Passport pictures should be in color, with proper lighting and focus. There should be no visible pixelation, glare, or shadows on your face. Portrait mode isn’t allowed
- Recency: All passport photos must be less than 6 months old
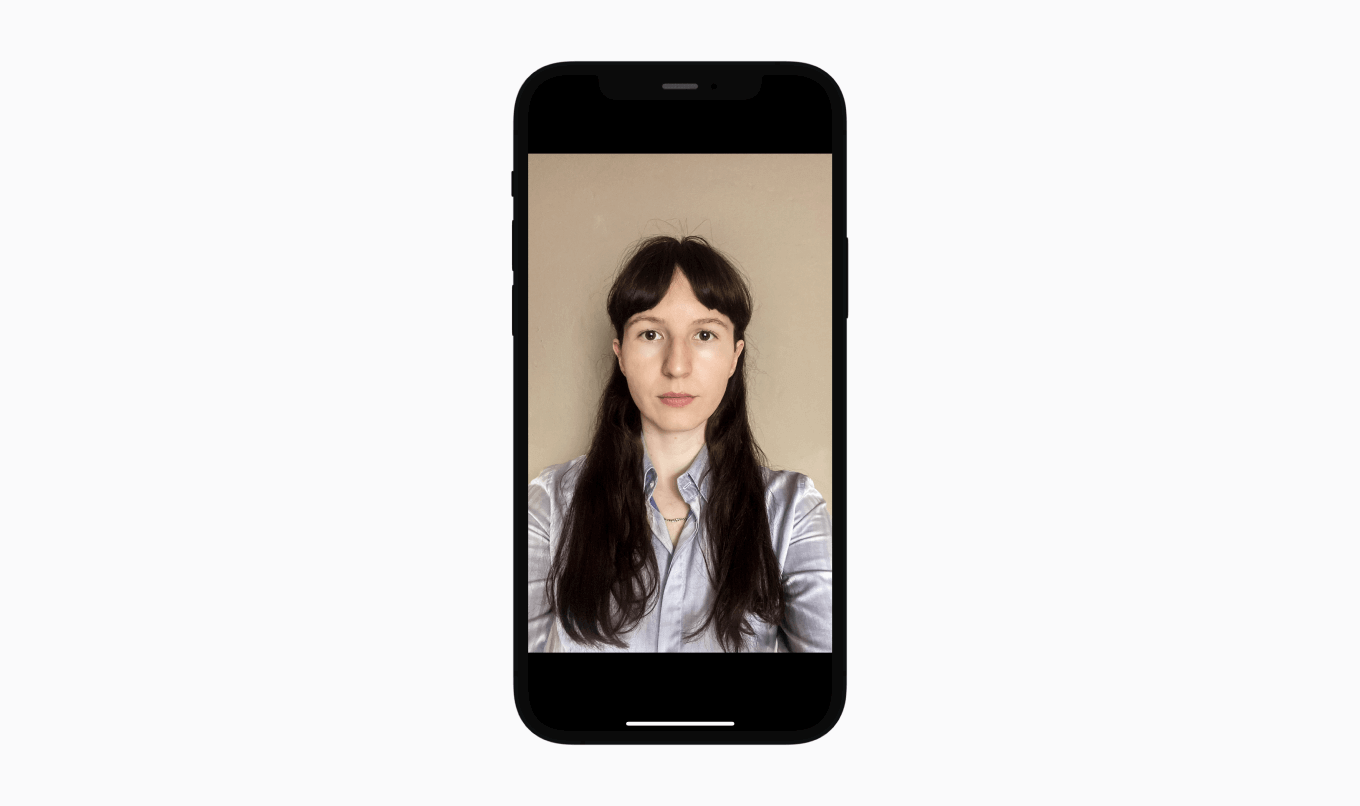
What your iPhone passport photo should look like
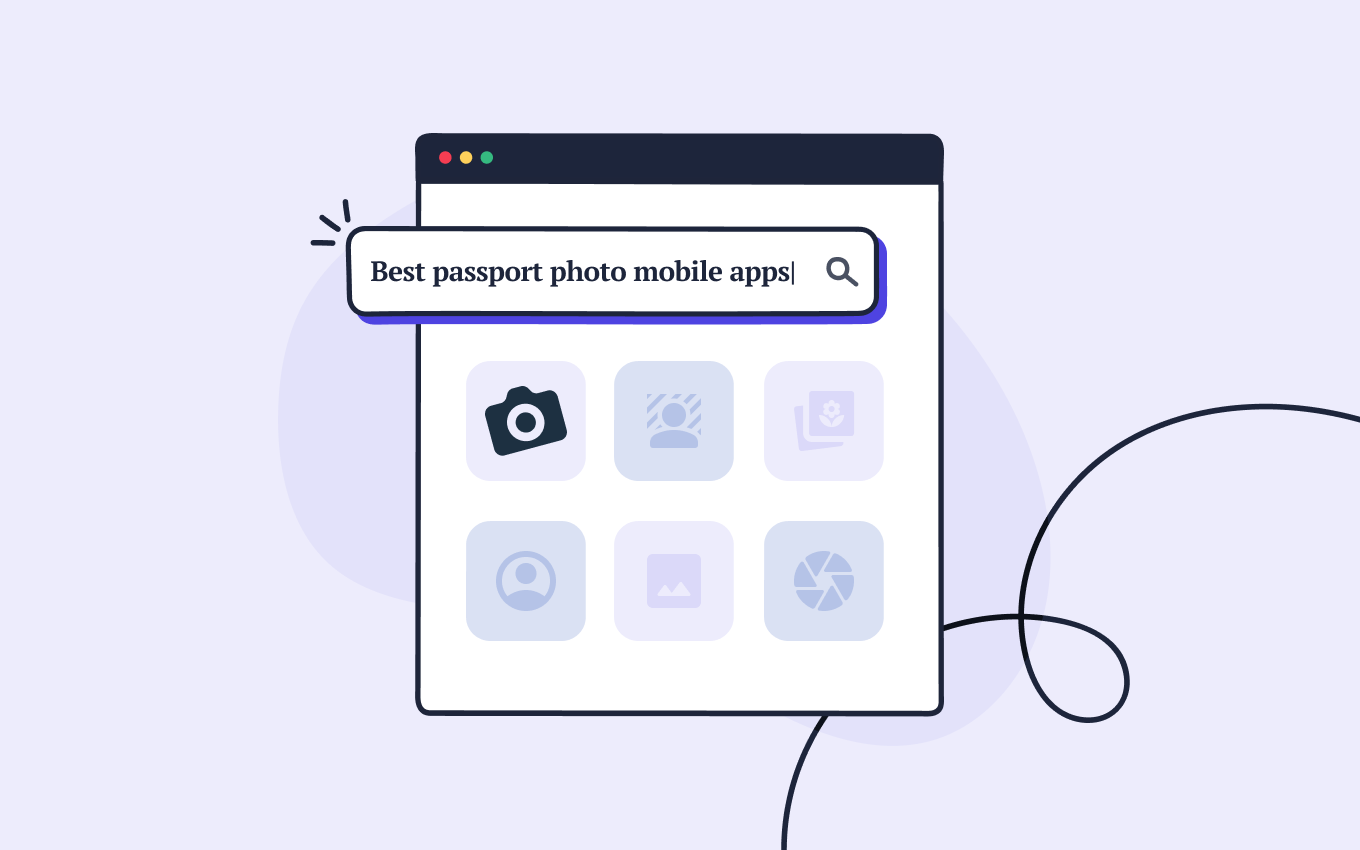
Do You Need an App to Take a Passport Photo on iPhone?
It all depends on your expectations.
You can take a passport photo with your iPhone only using the default camera app and a few editing tools (we’ll show them in another section).
But—
The process will take longer (during our tests, it took us around 30 minutes) and you have no guarantee the image you snapped will be accepted by the authorities.
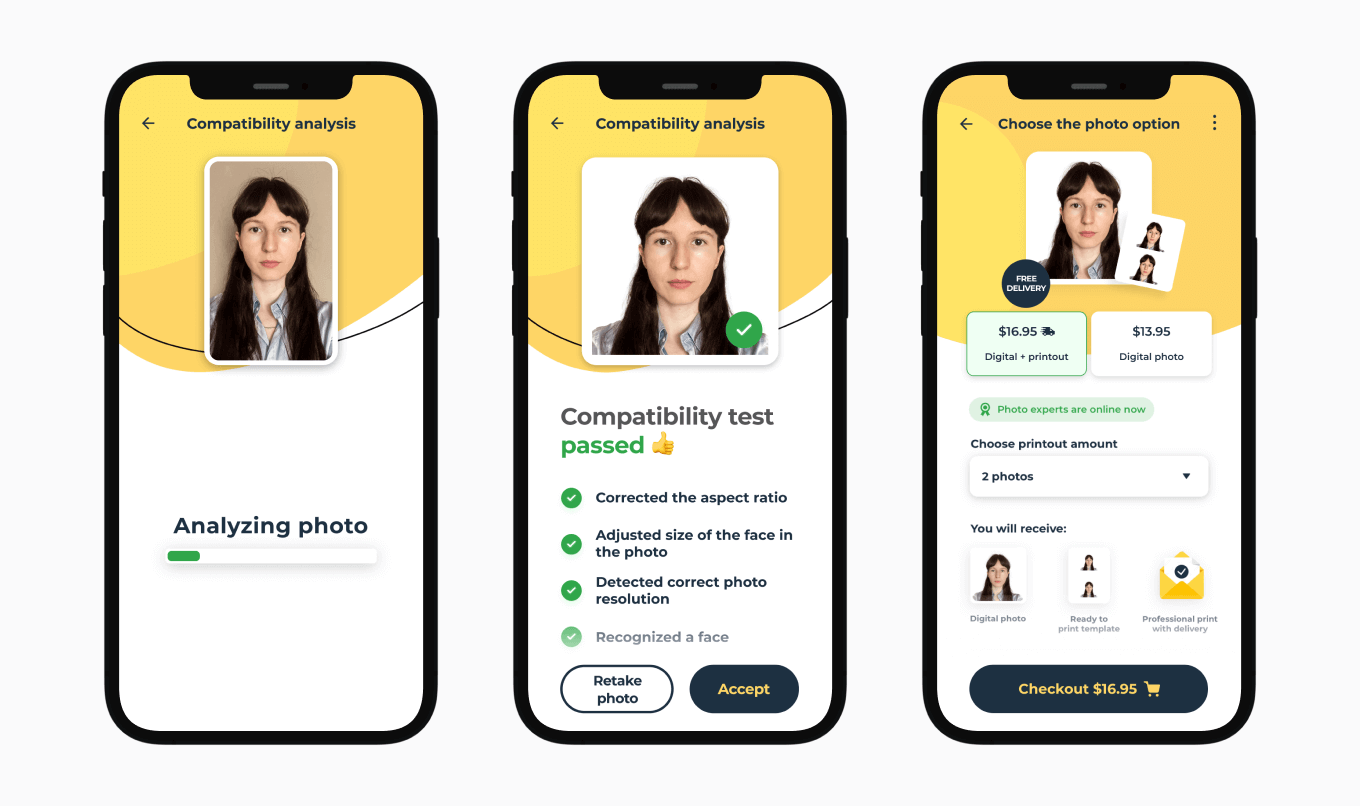
That’s where using a dedicated iPhone passport photo app, like our Passport Photo Booth App for iOS, comes into play.
Benefits of using a photo booth app:
- Automatic photo editing—all you need to do is take and upload a photo
- Compliance check
- Biometric expert verification available 24/7
- High-quality digital passport photo to your inbox right away
- 2×2’’ printed photos delivered to your physical address
- Unlimited shots—take as many photos as you like, free of charge
It’ll only take you several clicks and 3 minutes to have your passport photo edited, verified, and ready for an online passport application.
Here’s what the process looks like, and if you’d like to see our app in use, watch the video below.
Take Passport Photos with iPhone—no additional apps
Although snapping a picture with a passport photo booth app makes the process easier, it’s possible to create passport photos with only your iPhone in hand.
This is a list of prerequisites you need to successfully take a passport photo with an iPhone:
- An iPhone with a good-quality camera (iPhone 7 or any newer model will do)
- The right studio setting
- A tripod to stabilize the phone (optional)
And these are the steps to follow:
Step 1: Prepare your home photo studio
Start by finding the right spot.
Ideally, you want a plain, light-colored background (e.g., a white or off-white wall), as it’ll be easier for the editing apps to adjust the background of the picture.
It’s best to pick a well-lit spot with natural light, possibly near a window.
Make sure your phone doesn’t cast shadows on your face if you’re taking your passport photo selfie-style—shadows in passport photos aren’t acceptable.
Step 2: Ready yourself for the photoshoot
With your home photo studio all set up, you can now get ready.
- Wear casual clothes. Avoid clothing in light colors or with camo patterns.
- Keep your hair in a passport photo away from your face. If you have long hair, tuck it behind your ears or tie it. Bangs are acceptable, but make sure your eyebrows are visible.
- Men don’t need to shave off their facial hair for a passport photo.
- Avoid extreme makeup. Altering your natural look in any way is unacceptable.
- The US passport photo regulations strictly forbid wearing glasses, so take them off. You can keep prescription glasses only in special cases (a medical statement is required).
Step 3: Take photos
Now, take the perfect passport photo using your iPhone by following these instructions:
- Position yourself approximately four feet from your iPhone, ensuring you’re facing the camera head-on.
- Keep a neutral facial expression with open eyes and a closed mouth. It’s best not to smile, as the picture could get rejected (you can smile, but only gently).
- Double-check that your whole face (including eyebrows), neck, and the top of your shoulders are clearly visible and framed accurately.
- If you can’t ask someone to take a photo of you, use the phone’s self-timer option.
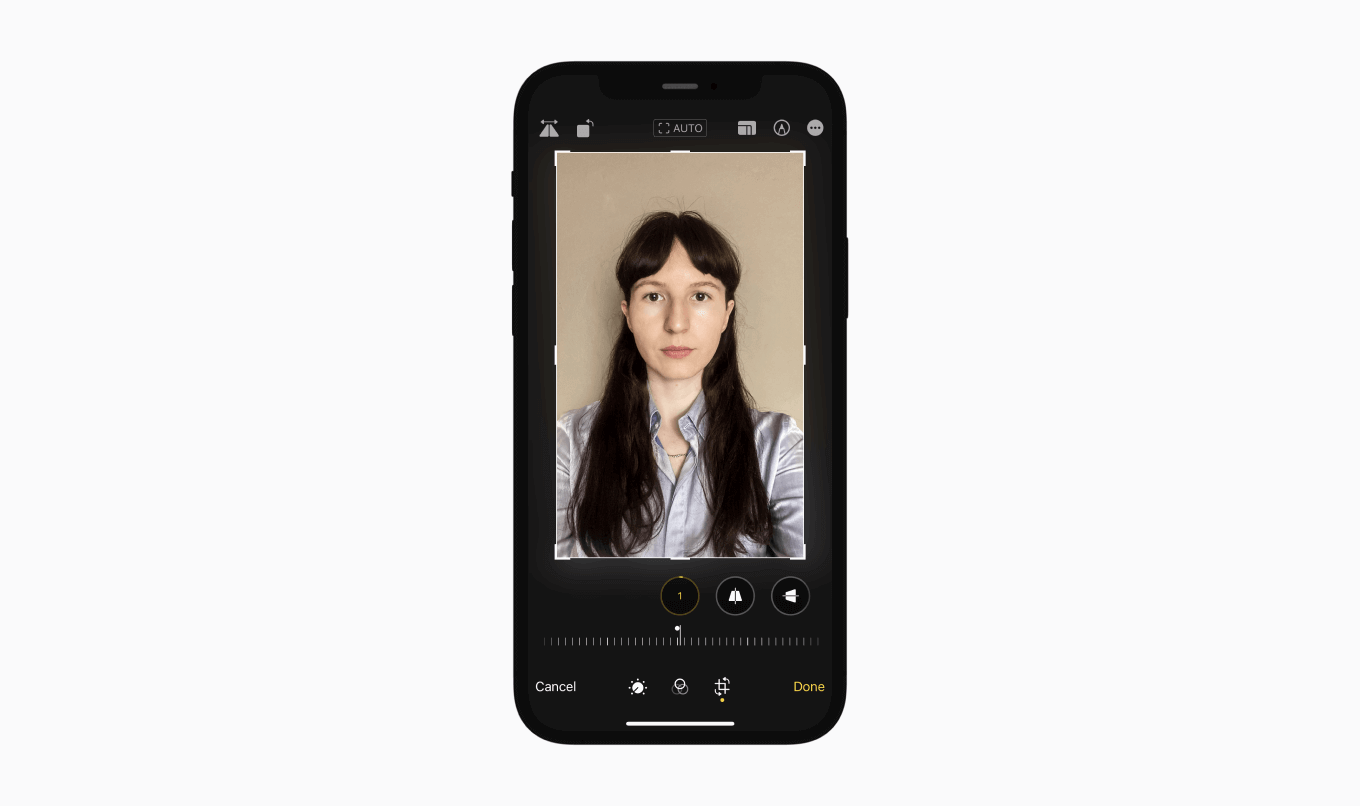
Pro tip: If your photo doesn’t end up perfectly straight, you can easily straighten it on your iPhone. You can do this by tapping on “Edit,” then on the square icon at the bottom.
That’s it! If you follow these best practices, your photo will turn out correctly.
Step 4: Edit the photo
With the photo ready, it’s time for the edits.
Remember that a passport photo isn’t a selfie, so you need to make sure it meets the requirements. Here are the edits you’ll need to make to the final image:
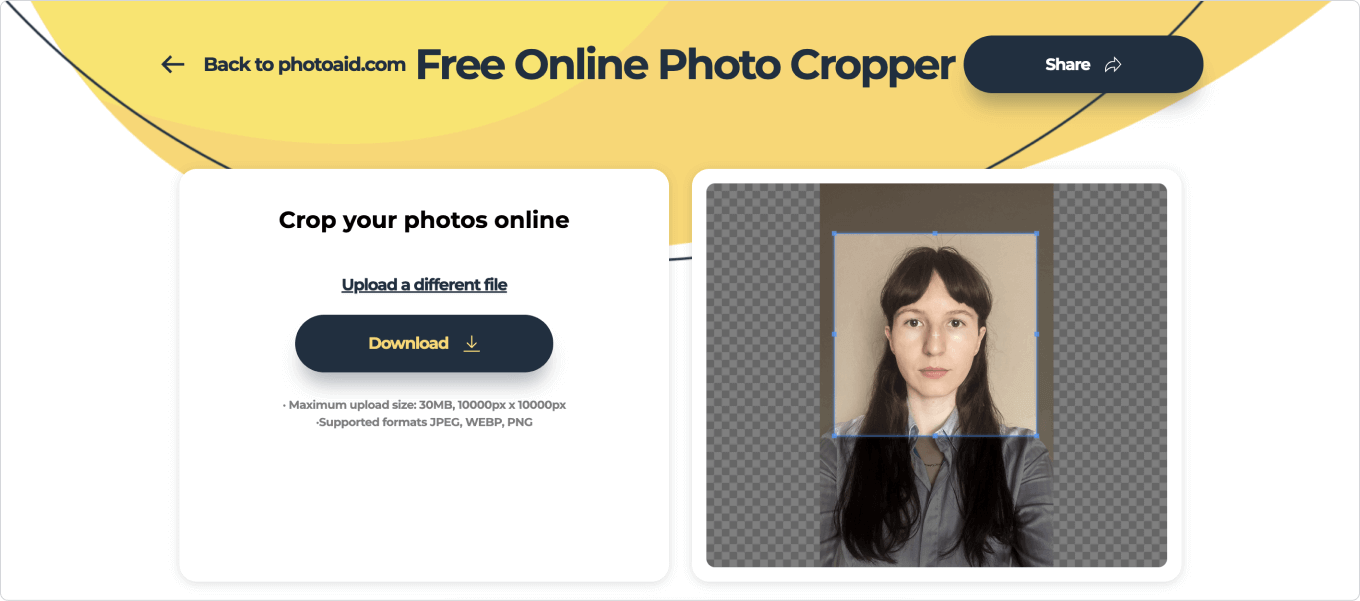
- Resize & crop the photo. You convert an iPhone photo to passport size with this free photo cropper to resize your image to the required 2×2-inch (600×600 pixels) passport size.
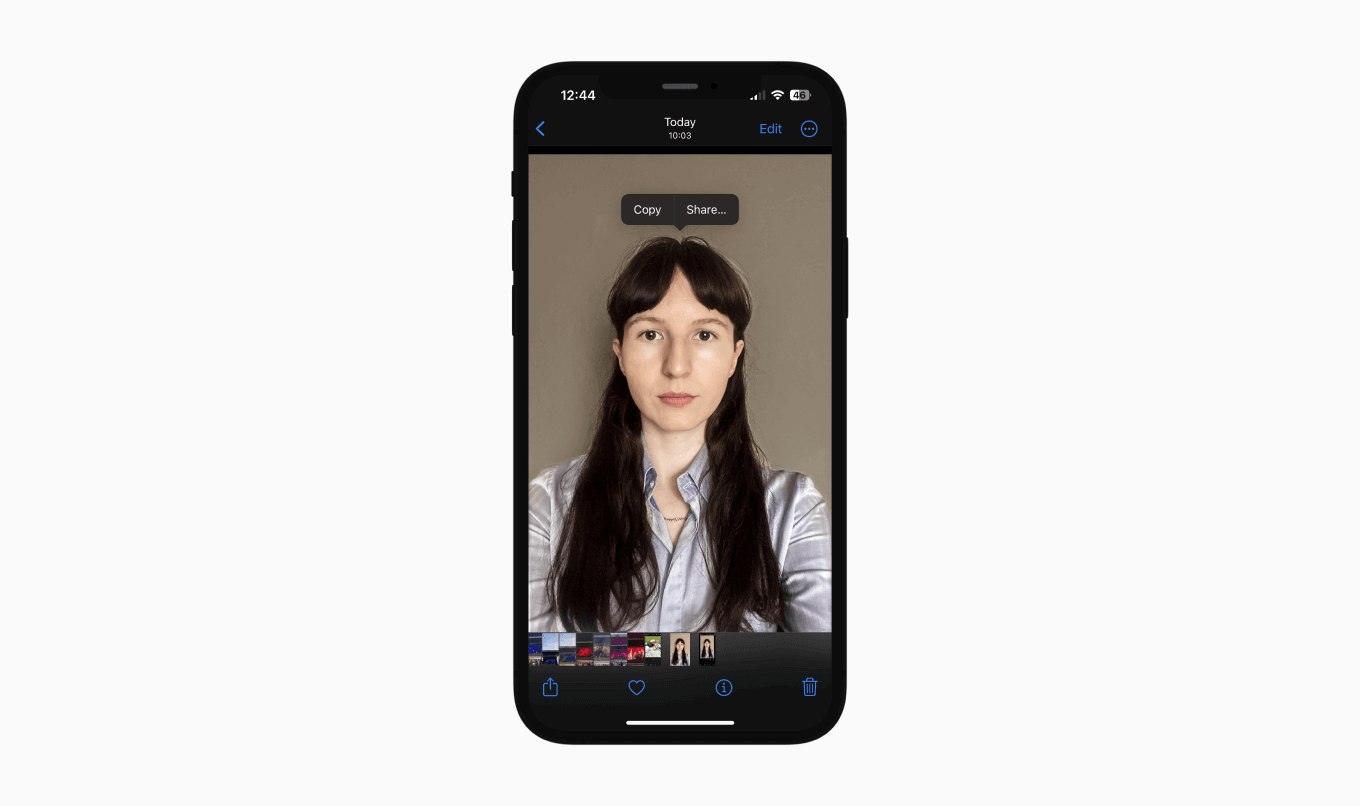
- Remove the background. Open iPhone’s newly-available background removal feature. Tap on the subject in the picture and hold for a few seconds until you see glaring white lines around it. Then, click “Share” and save the photo to your camera roll. Or leave the job to advanced AI like in this free background remover.
Note: Although these tools use enhanced AI, they’re not foolproof—that’s why Passport Photo Online offers an expert check where your uploaded image gets verified by biometric photo experts.
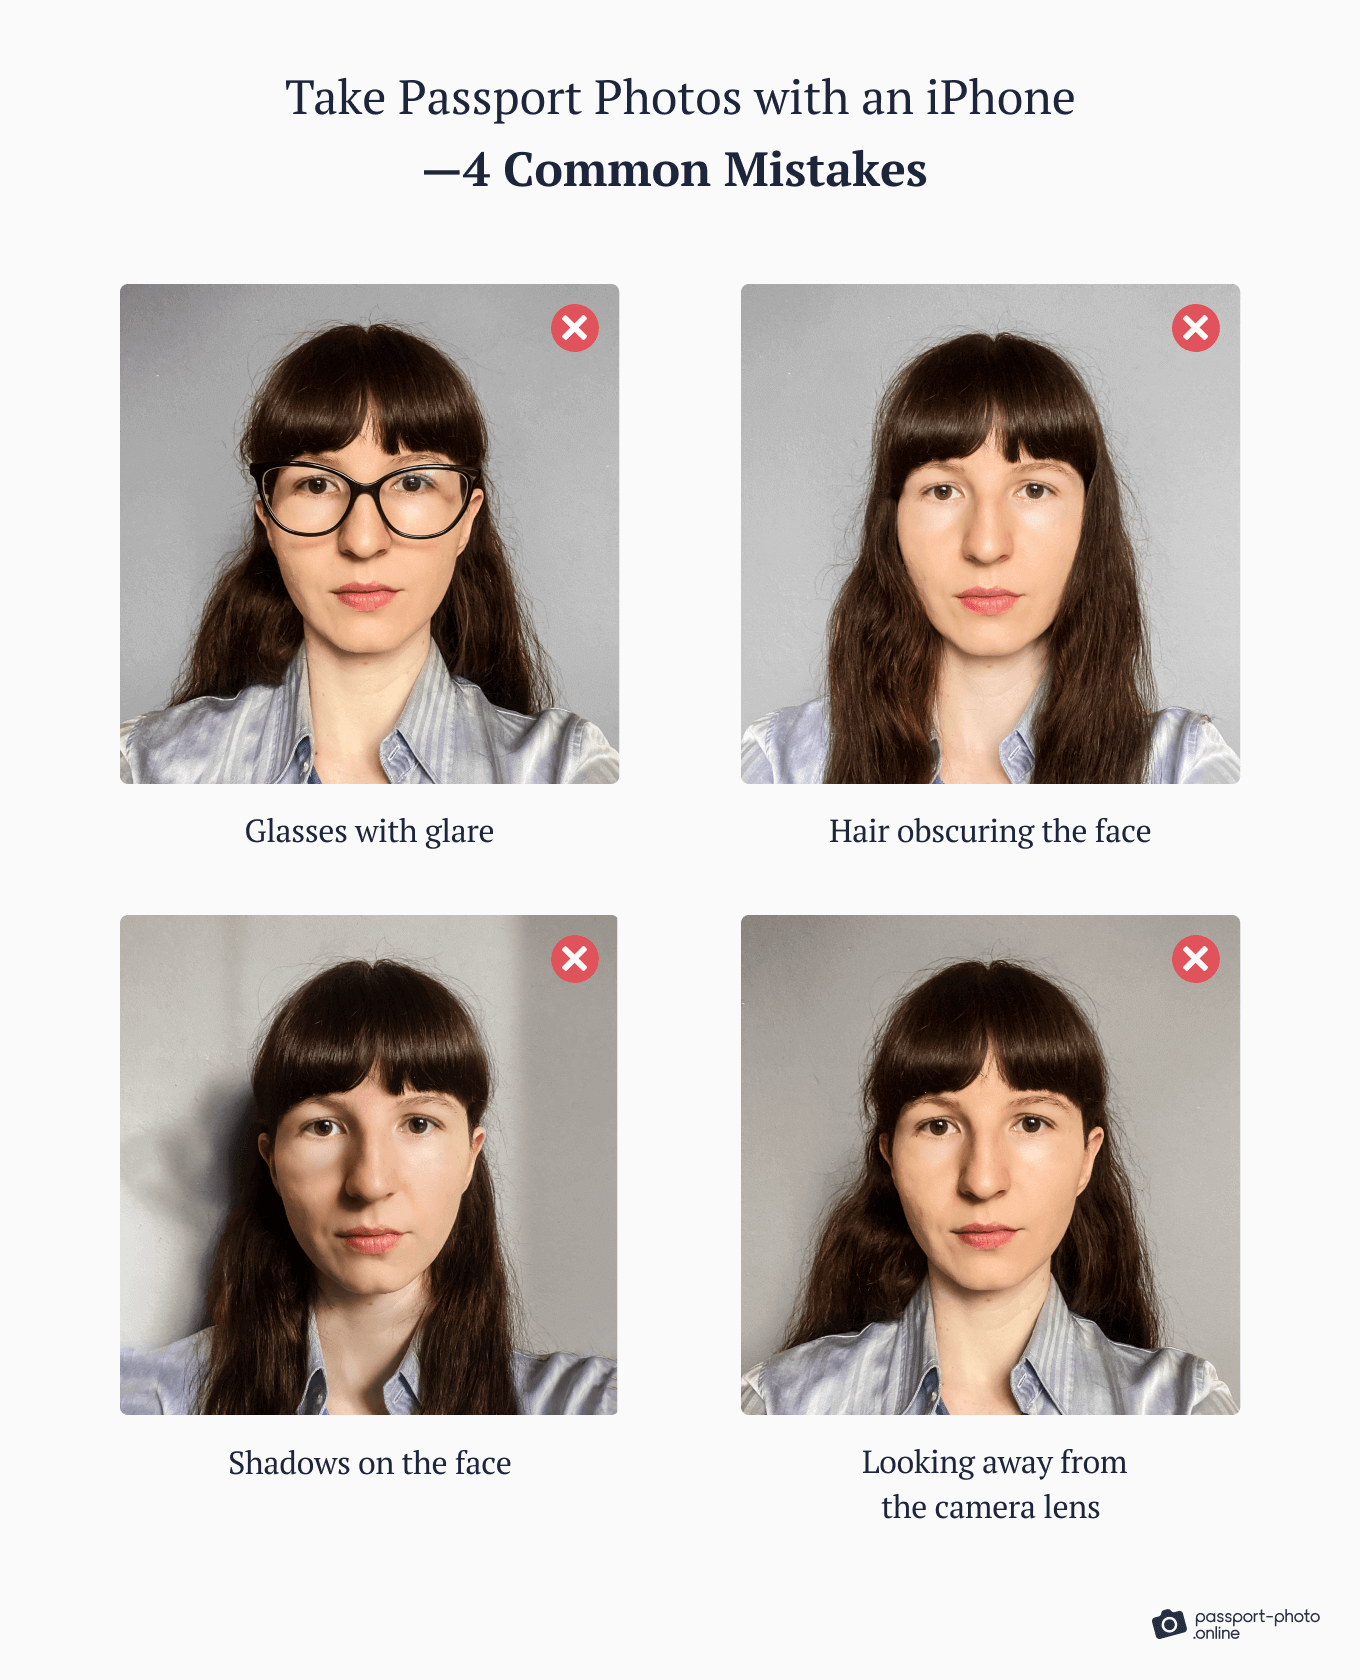
Mistakes to Avoid When Taking a Passport Photo with an iPhone
Taking a DIY passport photo with an iPhone is simple—but it doesn’t mean it can’t go wrong.
Without professional verification, you can easily slip up on minor government guidelines and have your photo rejected by passport agents.
So take a look at these four common mistakes people make when taking DIY passport photos, and make sure to avoid them. And if you need additional help, this blog post covers examples of rejected passport photos.
Take Passport Photos with an iPhone—4 Common Mistakes
FAQs
Have a read through these frequently asked questions about taking passport photos with an iPhone.
Can you take passport photos with iPhone?
Is there a passport photo app for the iPhone?
How to print a 2×2 passport photo on an iPhone?
How to Take a Passport Picture with an iPhone: Recap
Considering the popularity of smartphones among Americans, anyone can now turn their living room into a photo studio. And taking a passport photo on an iPhone couldn’t be simpler! With a little preparation, you can get the job done in four steps.
Here’s how to make a 2×2 photo on an iPhone:
- Prepare your home photo studio.
- Ready yourself for the photoshoot.
- Take photos.
- Edit the photo.
And no, you don’t need a passport photo app on your iPhone to snap a picture for your travel document.
However—
If your photo doesn’t end up meeting official passport requirements, it’ll be rejected. That’s why we recommend using the Passport Photo Booth App for iOS to make the process easier and get a compliant passport photo that’ll be accepted the first time.

Sylwia is a skilled writer with a BA in English Studies and an active SPJ member. For nearly three years now, she’s been writing captivating articles for international companies, turning her lifelong passion into a career.