


Passport photos are among the most common reasons why a passport application gets rejected. The submitted picture must closely meet all official requirements from the US Department of State. So here comes the question: how to take the best passport photo?
Look no further if you are searching for the right and straightforward answer. This post will uncover the technical regulations of passport photos and suggest useful tips to help you create the perfect passport photo.
What’s more, we will show you how you can do it at home in 3 seconds thanks to one super reliable app.
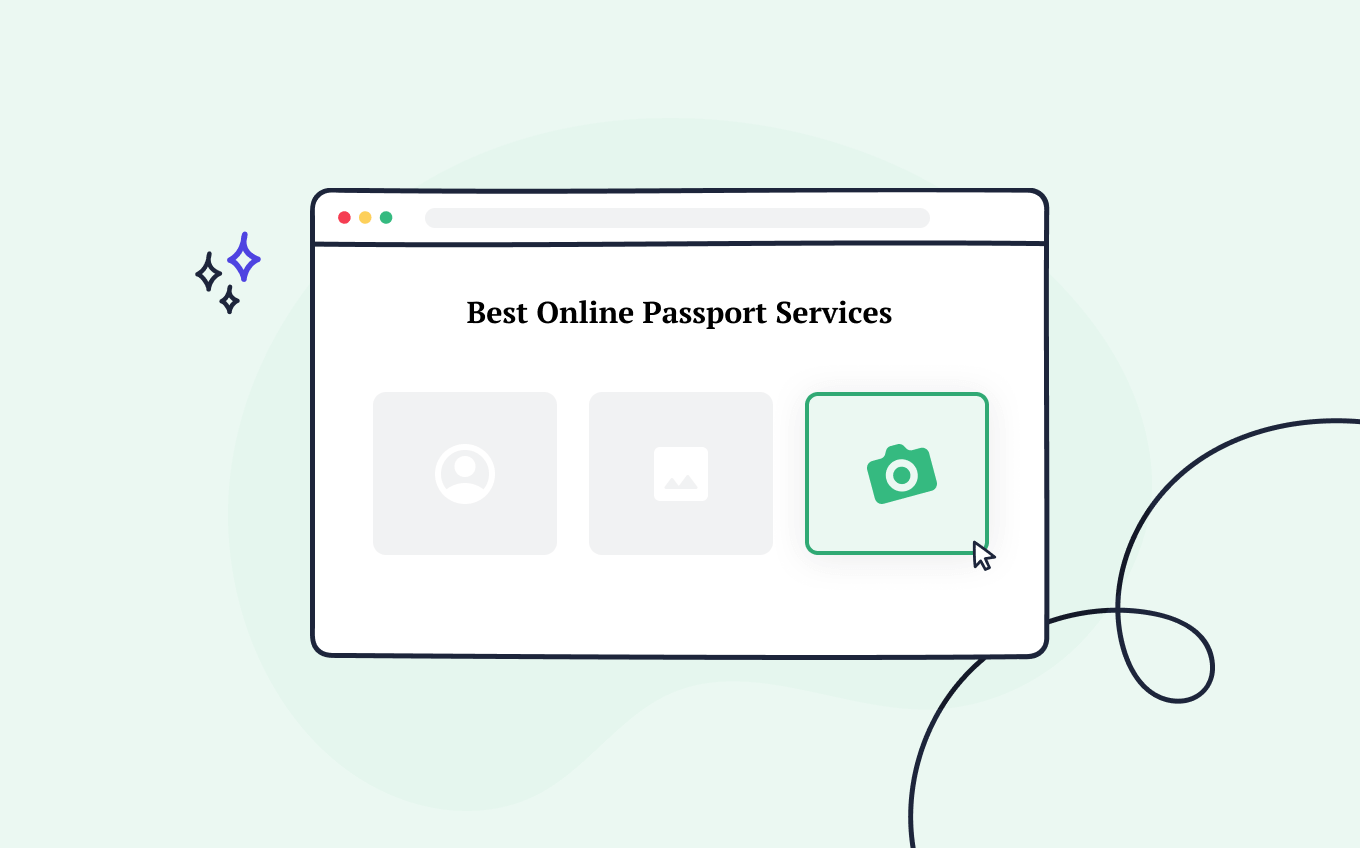
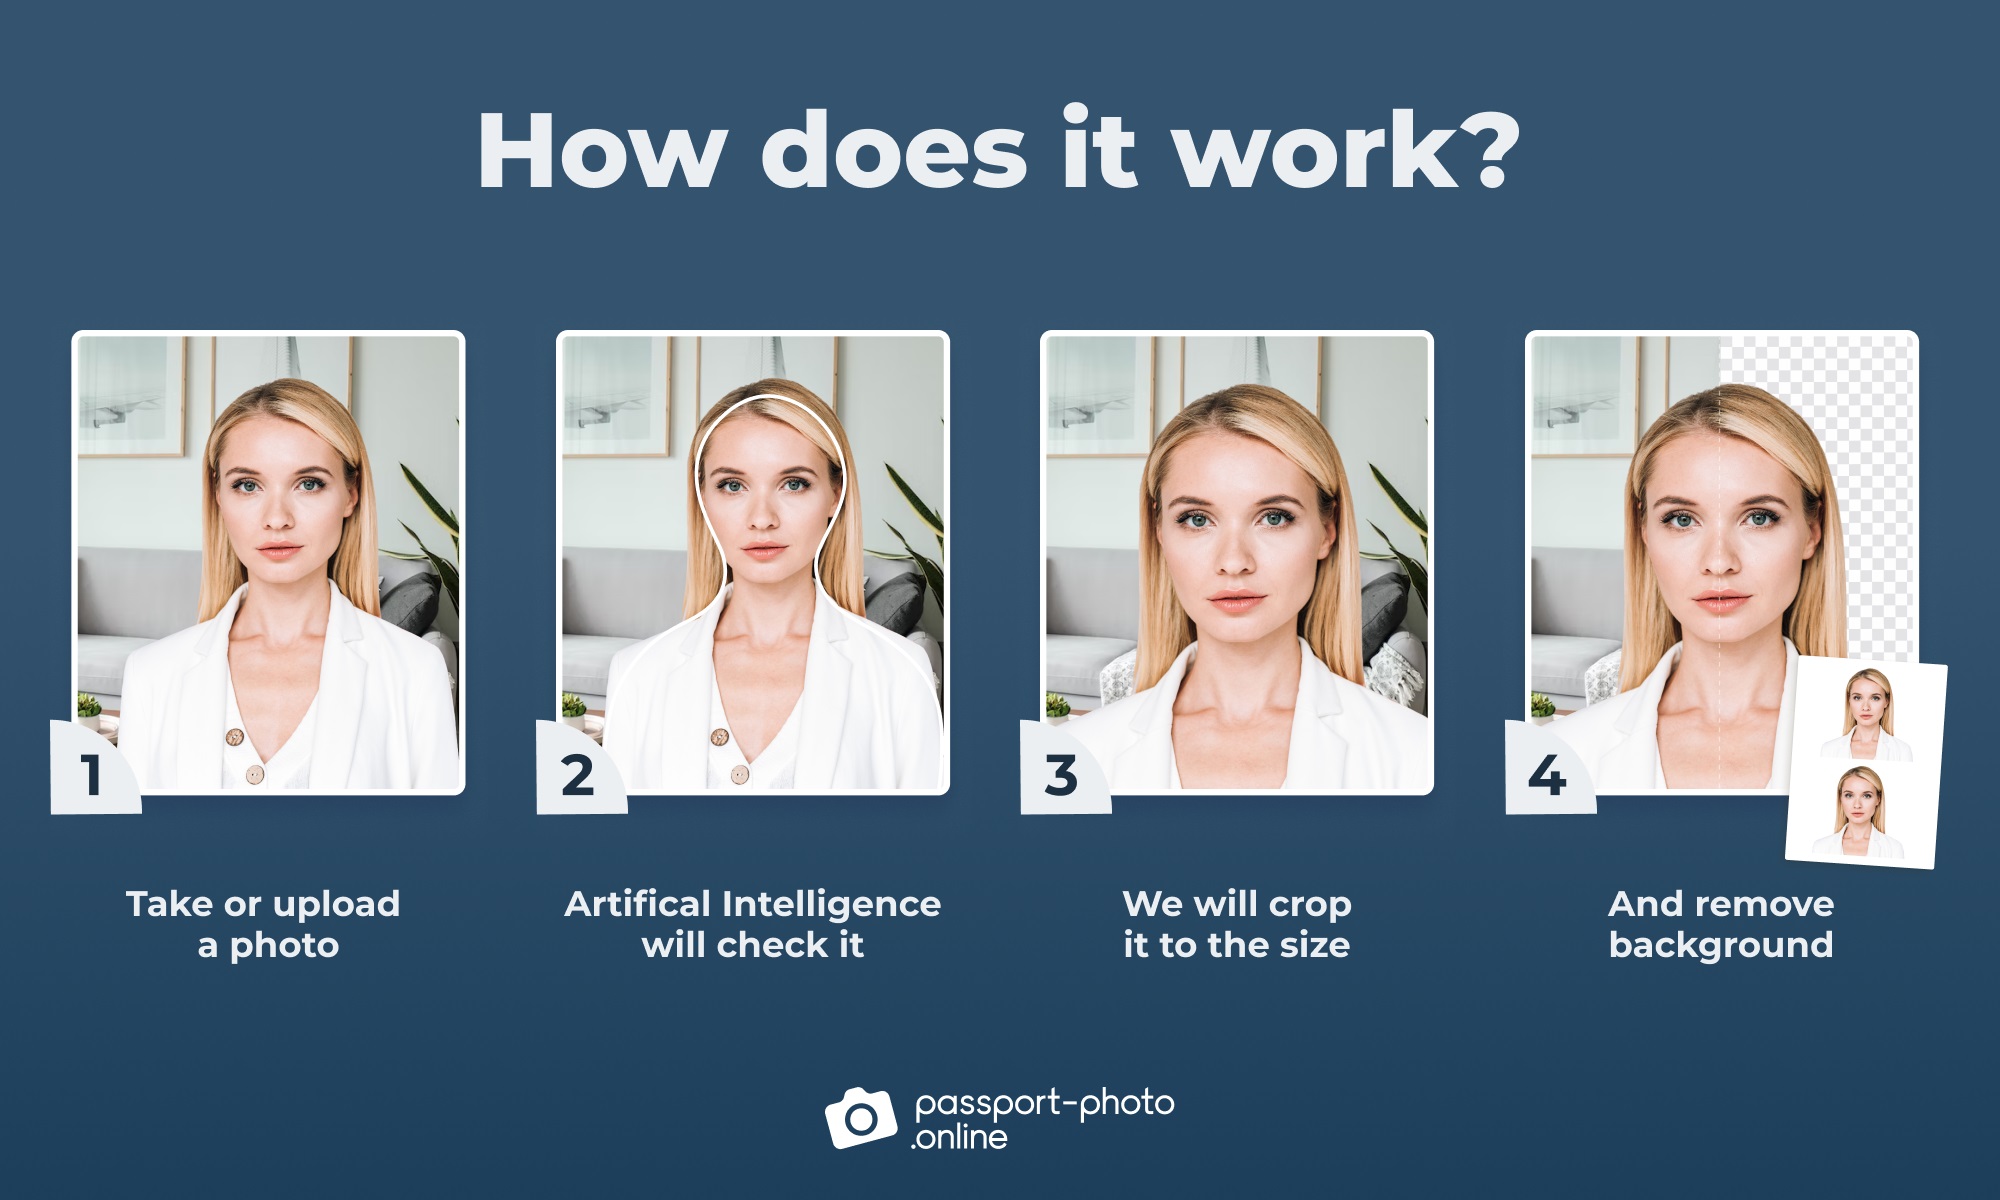
Get a 100% compliant passport photo with Passport Photo Online.
- Upload a selfie.
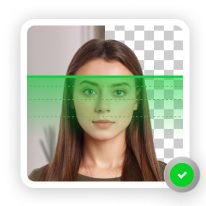
- Our AI crops, resizes, cleans the background, and adjusts the lighting.
- One of our human experts (available 24/7) reviews your photo within minutes.
- Download a high-res JPEG instantly or order prints with 2–3 business day delivery.


Get a digital passport photo – or order prints with Passport Photo Online.**
Unlimited Retakes
Competitive Pricing
GDPR & CCPA Compliant
Used by 1M+ Users Annually
I used Passport Photo Online and got a verified, compliant digital passport photo from a simple selfie. The whole process took about five minutes. The prints arrived just a few days later. I saved time and money and my passport application was accepted!
How to take a flattering passport photo?
There is no one golden rule for taking the perfect US passport picture. First things first, and before you proceed, you need to understand the official US passport photo requirements.
According to the statistics provided by the US Department of State, an unfit photograph is the #1 reason for application rejection during passport processing. In order to avoid that, let’s take a look at what the officials have to say in that matter.
First, let’s cover a bit of the technicality. When taking your own passport photo, make sure to secure proper lighting conditions over or underexposed pictures won’t be accepted. The best way is to use natural light, for example, by posing in front of a window. Remember that shadows in passport photos, either on your face or behind you, are not allowed.
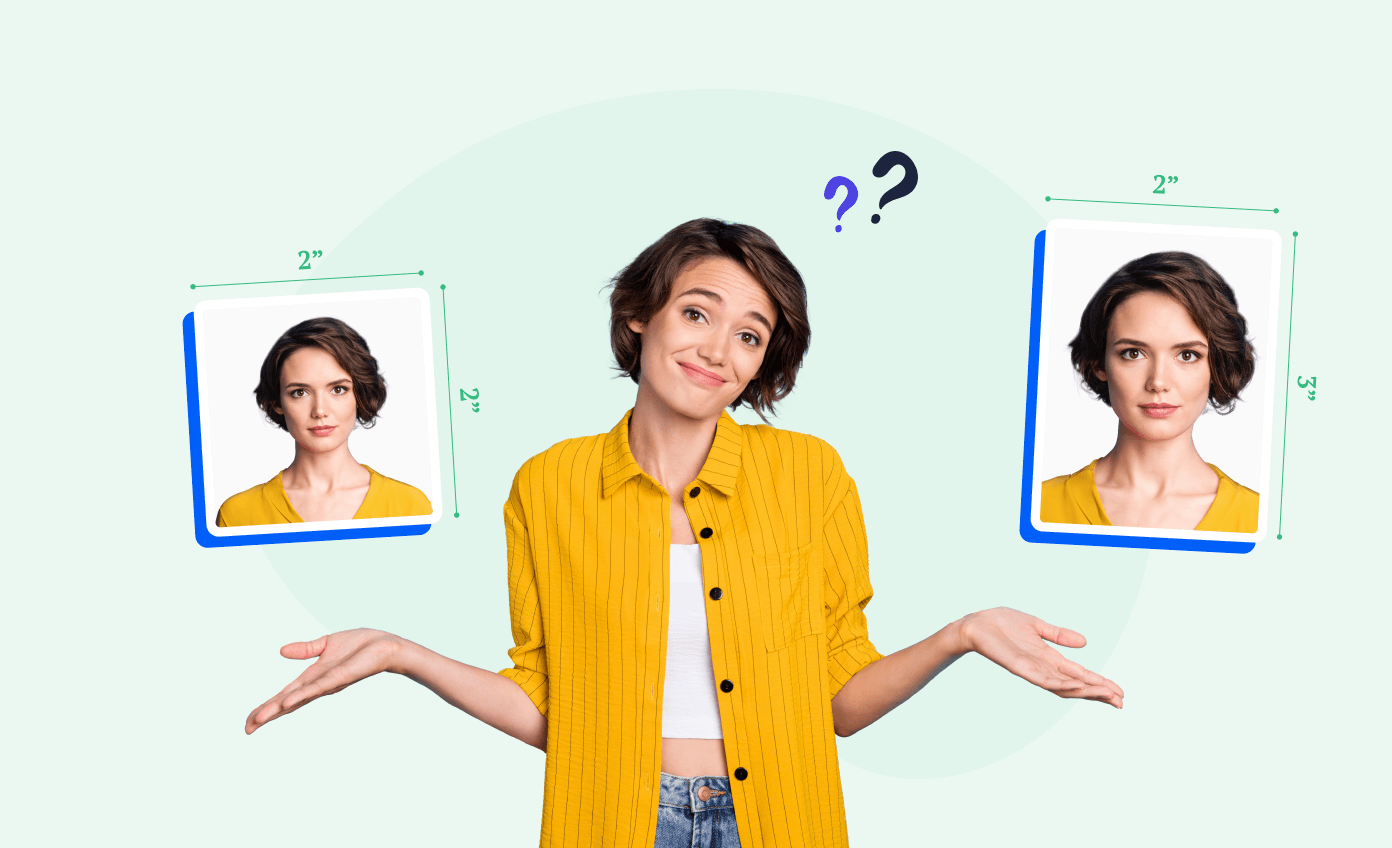
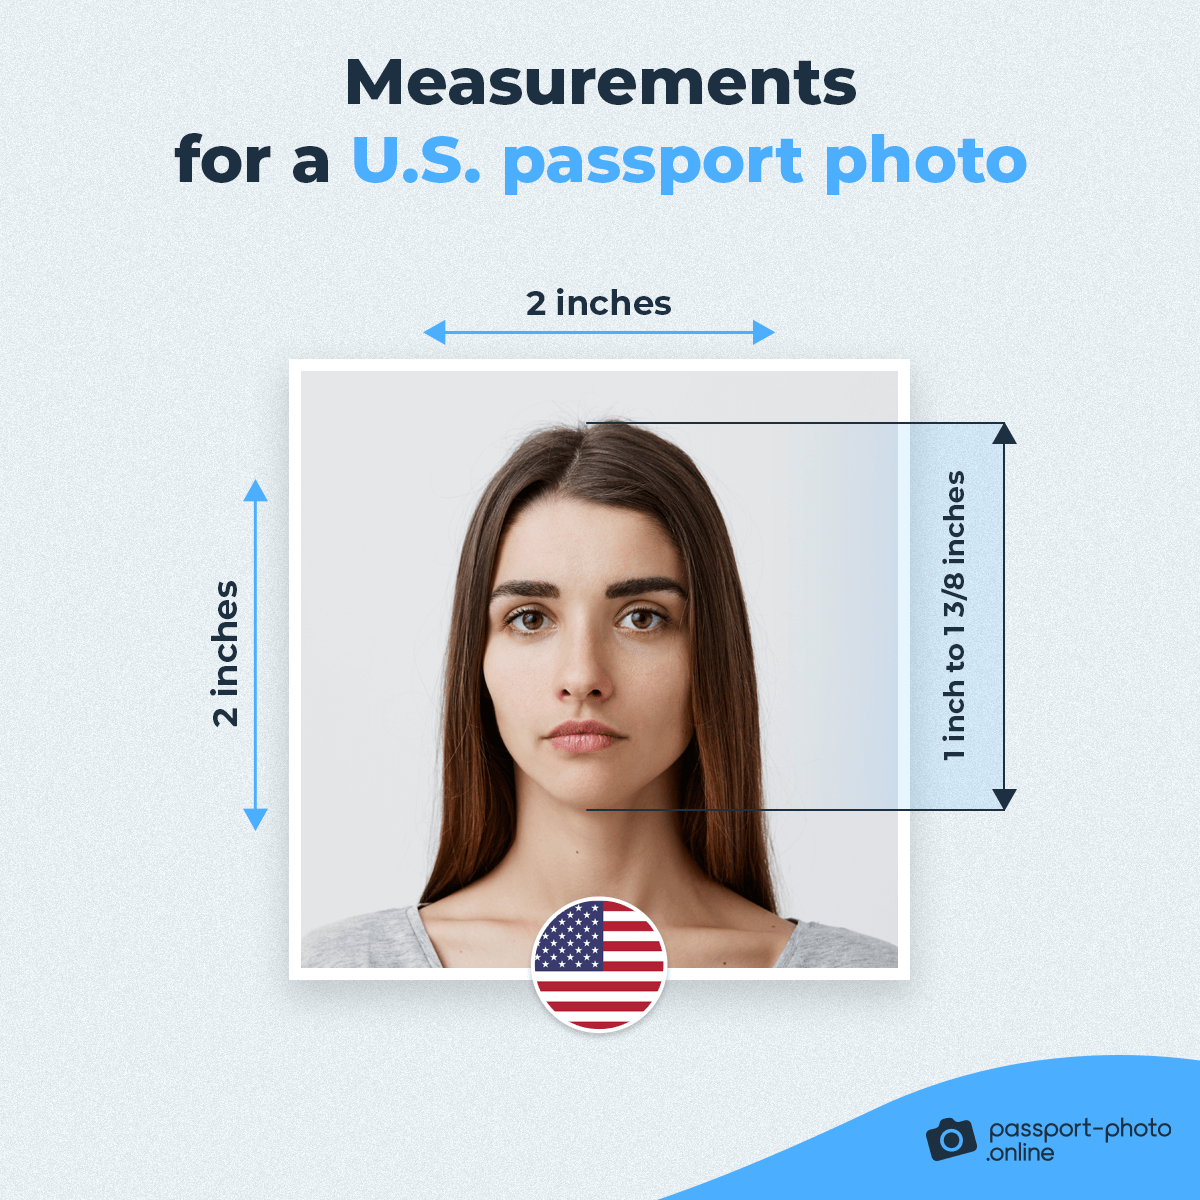
There are few aspects your passport picture needs to be in accordance with. At the base, there is the proper size and proportions:
- The photographs must be a 2×2-inch photo (51 x 51 mm), and
- Your head must be between 1” to 1 3/8” when measured vertically.
Remember to print your passport photos on matte or glossy paper and deliver one copy to the adequate passport offices.
Now we will discuss more than 4 steps of the applicant’s appearance, and what to do to take the best passport picture.
Step #1: keep a neutral expression
As you probably have figured out yourself, a bright smile is not the best way to pose for photos for official documents. In this subsection, you will learn the passport guidelines regarding your face: from mimics to makeup.
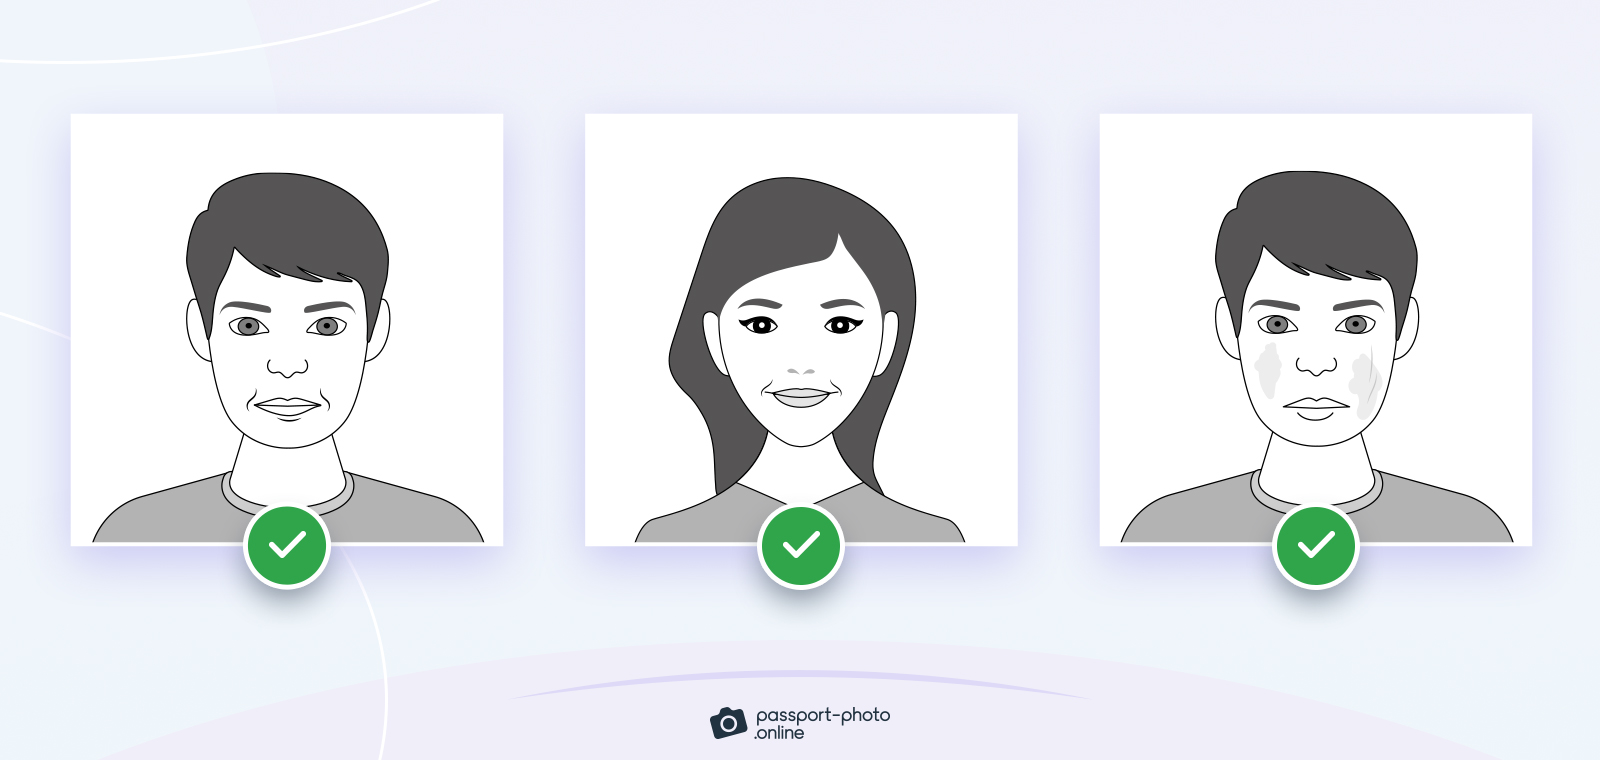
According to the requirements provided by the US Department of State, a neutral facial expression is the most favorable one. A subtle and natural smile is allowed; however, if you want to make sure your photograph is accepted, it is best to avoid it altogether. Stand up straight and look into the camera with both eyes open. To no surprise, blinking is forbidden.
If you want to use makeup, you are free to do it, but only to a limited extent. Only gentle, natural makeup is allowed in passport photographs. If you wish to use artistic or dark makeup, you risk having your new photo rejected.
Remember that your photograph must clearly represent the biometrics of your face; therefore, you mustn’t cover any imperfections, such as birthmarks or scars.
Here is a short list to extract the essentials and make it easier for you to remember:
- any shadows are forbidden;
- keep a neutral facial expression;
- a natural smile is allowed but not recommended;
- have both of your eyes open;
- simple makeup is allowed, but not recommended.
Looking for more tips to get that perfect passport photo? Try reading our other articles:
- How to Take a Passport Photo at Home
- How to Make Passport-Size Photo in Mobile [Android]
- How to Take a Passport-Size Photo from an iPhone [Guide]
- Passport Photo: What’s the Correct Distance from Camera?
- Passport-Style Photo vs. Professional Headshot—What Is The Difference?
- Selfie Passport Photo [Can You Use One, How to Take It & More]
- Best Online Passport Photo Service in 2026 [6 Tools Reviewed, Legitimacy Checked]
Step #2: choose your hairstyle but limit the accessories
There are no official criteria regulating which hairstyles are allowed in passport photos and which aren’t.
As usual, however, there are some limitations. Look at and try to remember these three fundamental rules:
- Your entire face must be visible.
- Your hair cannot go beyond the borders of the photo.
- You can’t wear any hair accessories.
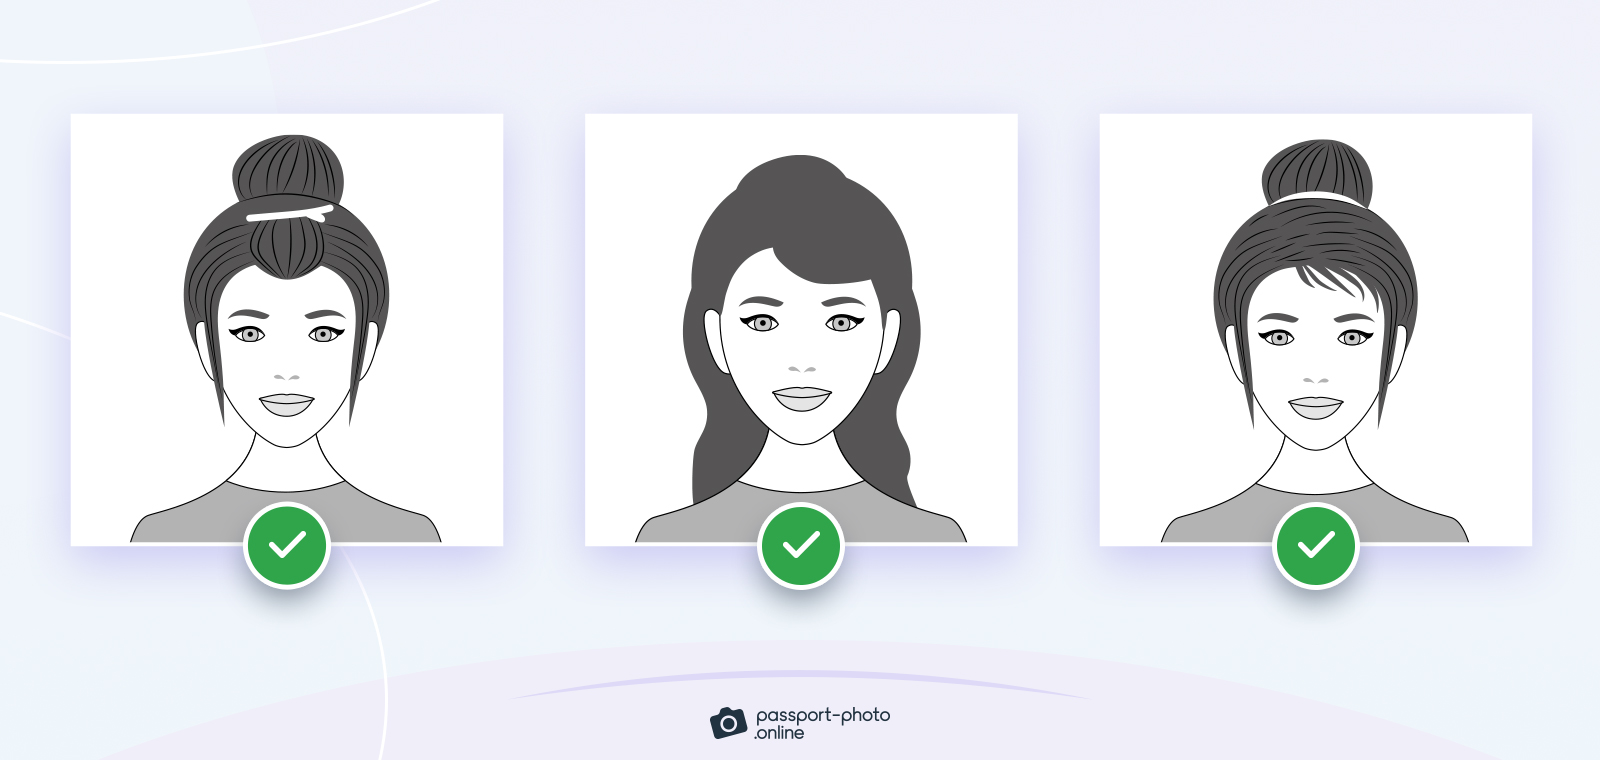
Despite many misconceptions, you are not obliged to show your ears in passport photographs. Therefore, if you have long hair and that doesn’t cover your face, you don’t need to put it in a ponytail. You can let it be the way it is for your ideal passport photo.
If you decide to wear your hair up, for example, in a bun, that option is also acceptable. You can play around with your hair pretty much any way you want, but keep in mind the previously stated rules. For example, authorities will reject your passport photograph if you use a headband. The same thing will happen if your hairstyle is not entirely visible in the picture.
On the other hand, if you have long bangs that fall freely on your forehead, you might consider pinning them back. If you look at the #1 rule, you will notice that your entire face must be visible. Therefore, if part of your hair covers your face, especially your eyebrows or eyes, you must use a simple hairpin to expose your face.
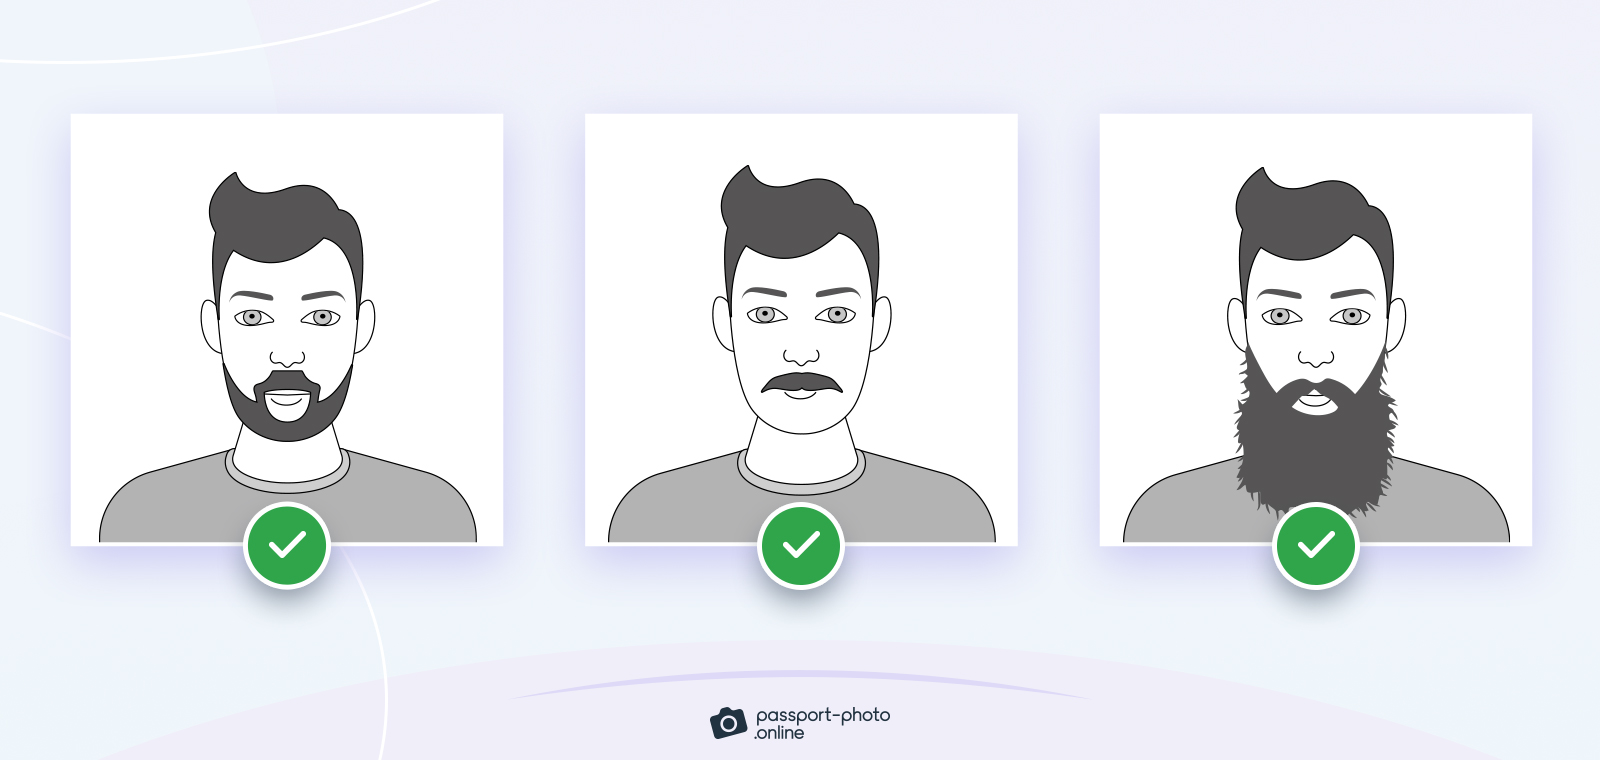
Step #2.5: you can let your mustache grow
Similar rules apply to facial hair as well. The situation here is quite simple; you can have any facial hair you want, with no restrictions whatsoever.
Similar to the previous case, beards, mustaches, or goatees are not considered biometrics data; therefore, there is complete flexibility on how to wear them.
If you want to learn more about this topic, you can have a look at what are the official facial hair regulations.
Step #3: wear casual clothes or passport photo dress code
Although your face plays a crucial role in passport photographs, there are quite a few regulations on what attire to wear as well.
Let’s begin with the simplest advice when choosing attire for your new passport image: dress up casually.
According to the passport photo guidelines on the US Department of State website, the best outfit is the one you wear on a daily basis.
Many people think that it is only advisable to wear elegant clothes for such an occasion as taking a picture for an official document. The truth is that although such an outfit is not forbidden, it is best to put on your everyday clothes.
However, keep in mind the fact that only some casual outfits are acceptable. Take a look at the list below to see a quick summary:
- You cannot wear any uniforms or any clothes with elements of camouflage;
- You can only wear simple jewelry;
- No hair accessories (except a simple hairpin) or scarfs are allowed;
- You can’t wear glasses unless proven it’s for medical reasons (signed note from a doctor);
- Avoid using black and white clothes and outfits that are too elegant.
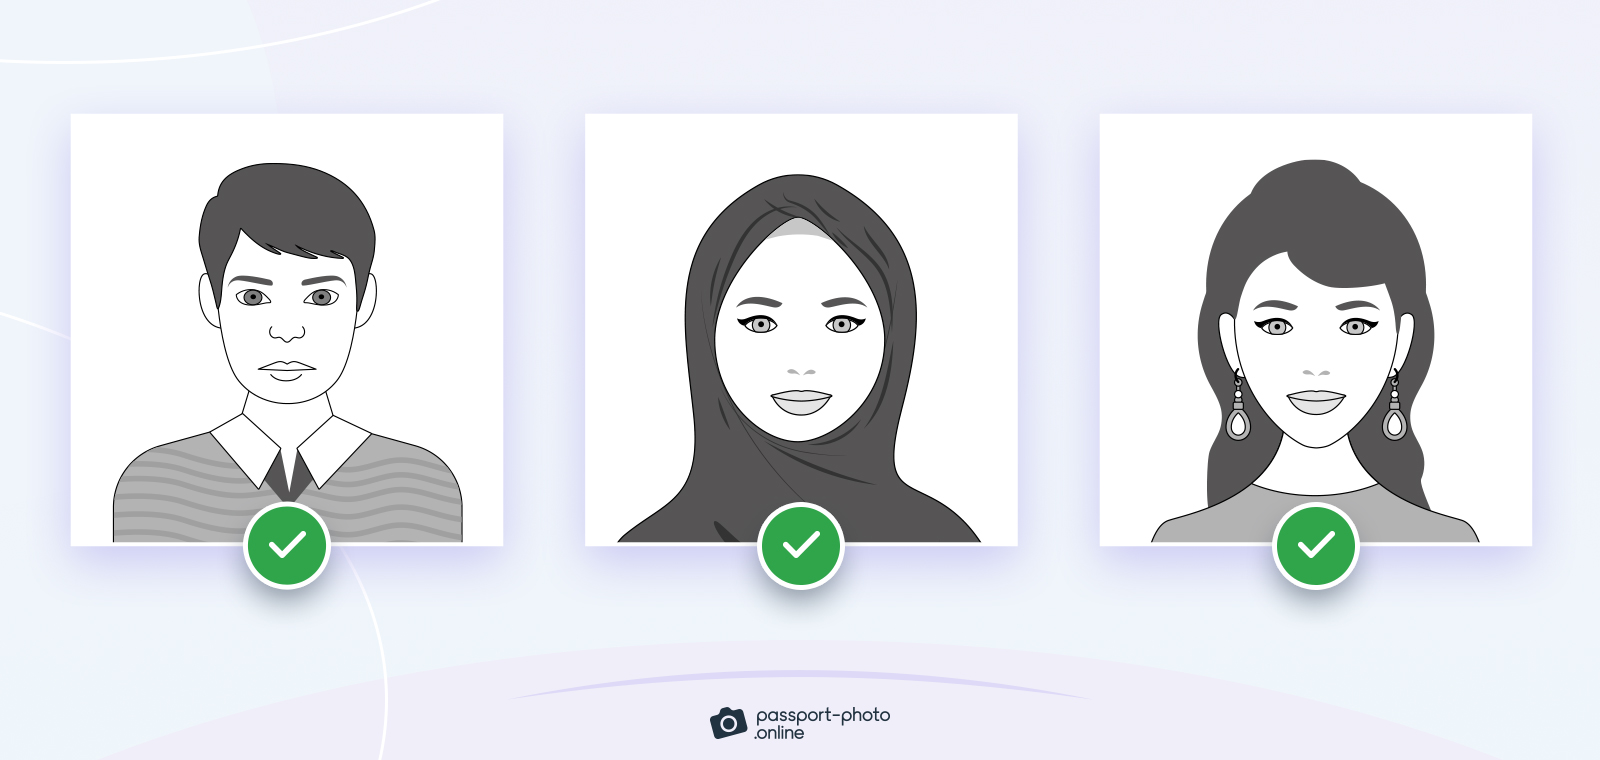
You are allowed to wear head coverings, hearing aids, or glasses, but only if you provide a signed doctor’s note stating that such accessories are an essential part of your healing process, or are required for your everyday functioning.
Moreover, a head covering is also allowed for religious purposes and requires a signed statement from a religious authority.
As to jewelry and piercings, you can wear them, but only under the condition that they don’t cover your face. Therefore, simple earrings or necklaces should not cause any objections at the Passport Acceptance Facility.
If you want to learn more about this topic, you can take a look at this passport photo dress code guide, which covers it in more depth.
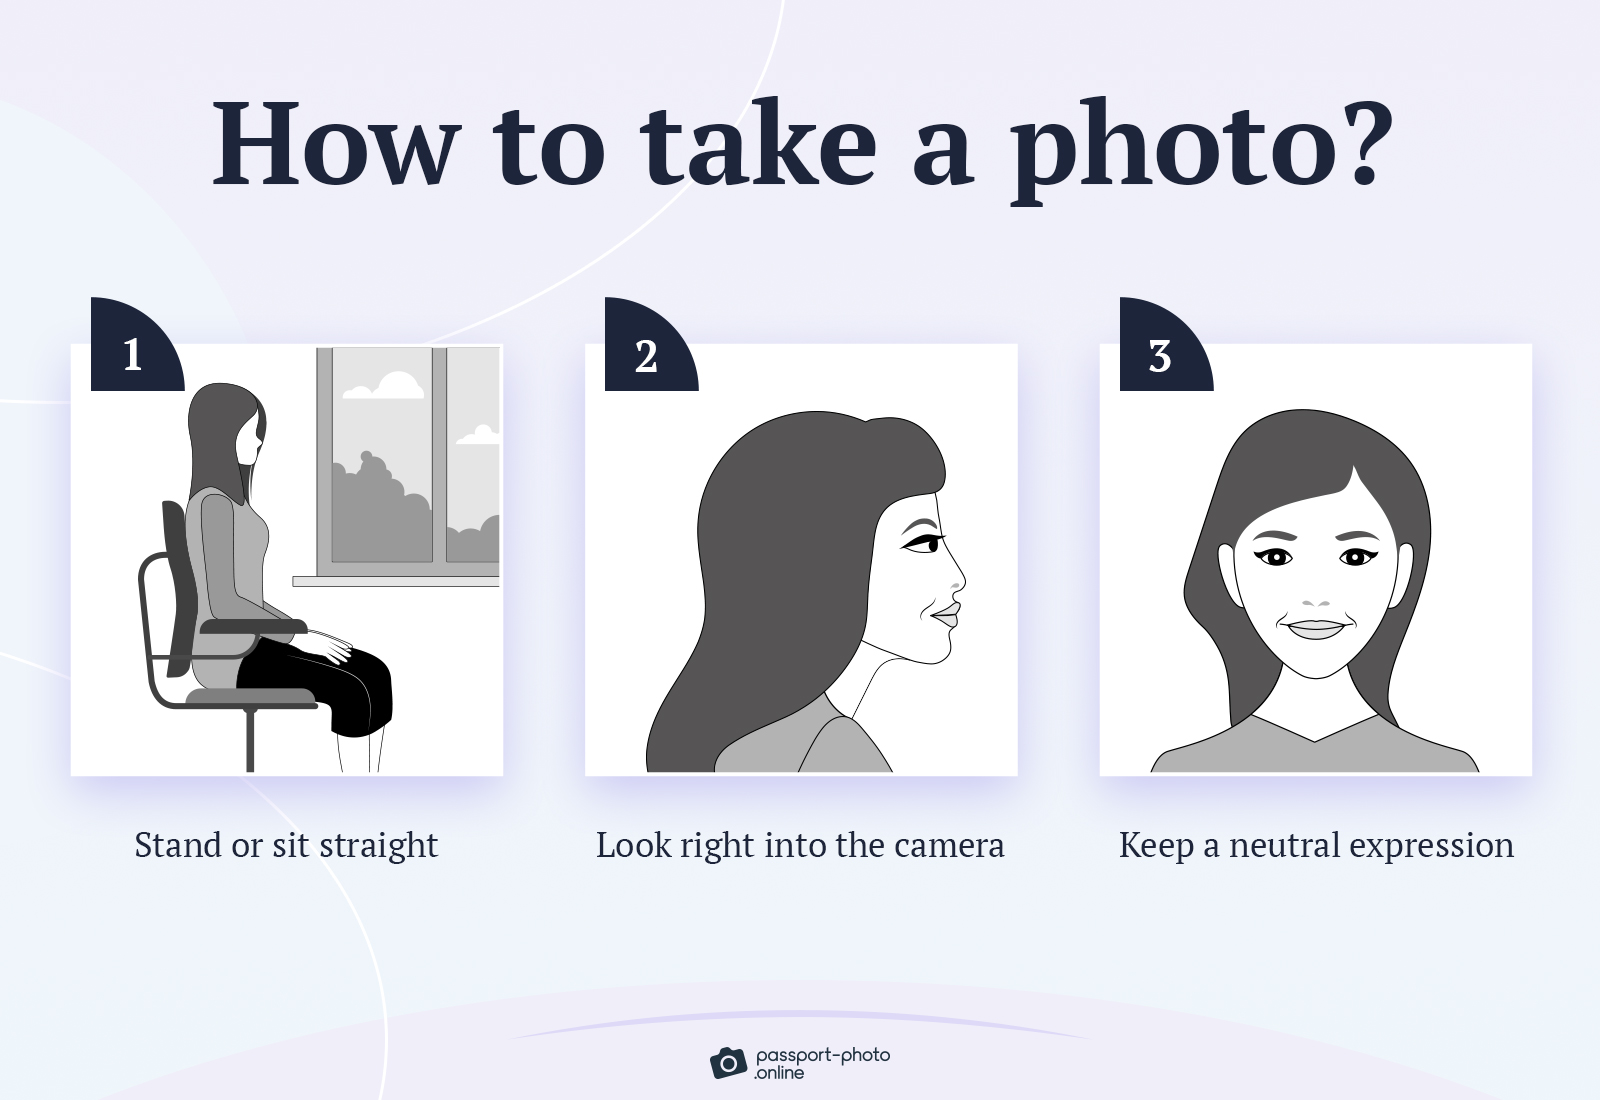
Step #4: focus on posture
You can either sit or stand up for your photo; however, remember to keep a straight position and look right into the camera. You are not allowed to tilt your head in any direction; whether it is sideways or to the front, your face needs to remain on the same level as the camera.You can slightly move your chin forward to look more confident and avoid any unwanted shadows.
Your hands should not be visible in the picture whatsoever. Let them fall freely alongside your body. It is best to refrain from performing any unusual moves, as this might result in having your photograph rejected.
To make things easier, just follow these 5 steps listed below:
- Stand or sit straight.
- Face the camera directly, and don’t tilt your body.
- Look right into the camera.
- Do not tilt your head sideways, to the front or the back.
- Keep a neutral facial expression.
And that’s pretty much it.
With the information provided in the previous paragraphs, you should be able to take the perfect passport photograph on your own.
In the next section, you will find the tool to properly manage your already taken image, so it meets all the passport photo criteria.
Passport Photo Online: a photo tool in your pocket
It’s not a surprise: we look good in our photos if we feel good. Visiting a photographer or a local drugstore might not be the most pleasant experience ever. And if you feel awkward, how can you take your best passport photo?
That’s when Passport Photo Online enters the stage.
Passport Photo Online is an automated generator of passport photos that allows you to transform your homemade picture into a perfect passport image. Its intuitiveness, quick processing, and on-the-spot functioning have been recognized and appreciated by many journals, Forbes included.
Take a photo with your smartphone or a digital camera. Thanks to its sophisticated AI algorithm, the application scans the uploaded picture and adjusts it according to the official passport requirements. After uploading your photo, the system swaps the background into a plain white in a matter of seconds and crops the image. Hence, it meets the official criteria and adjusts the proportions, so there is always a certainty of having your photos accepted.
Moreover, you are free to upload as many photographs as you wish, because you don’t pay until you choose your final passport photo. You can therefore experiment with different settings, poses, and angles without worrying about the price. All of this from the comfort of your own apartment.
Once you choose your perfect passport photograph, you can receive it in as a digital passport photo right to your email, or you can have it printed for you on quality photo paper that meets the official criteria.
The app has already been used by millions worldwide and can pride itself in a 100% acceptance rate. However, if you’re the unfortunate one to have your photo rejected by the authorities, you will receive a double money refund.
FAQ
Below let us address some essential issues on how to take the perfect passport photo.
Do I need to shave my face for the US passport photo?
Can your hair be in your face in a passport photo?
What is the best color to wear for passport photos?
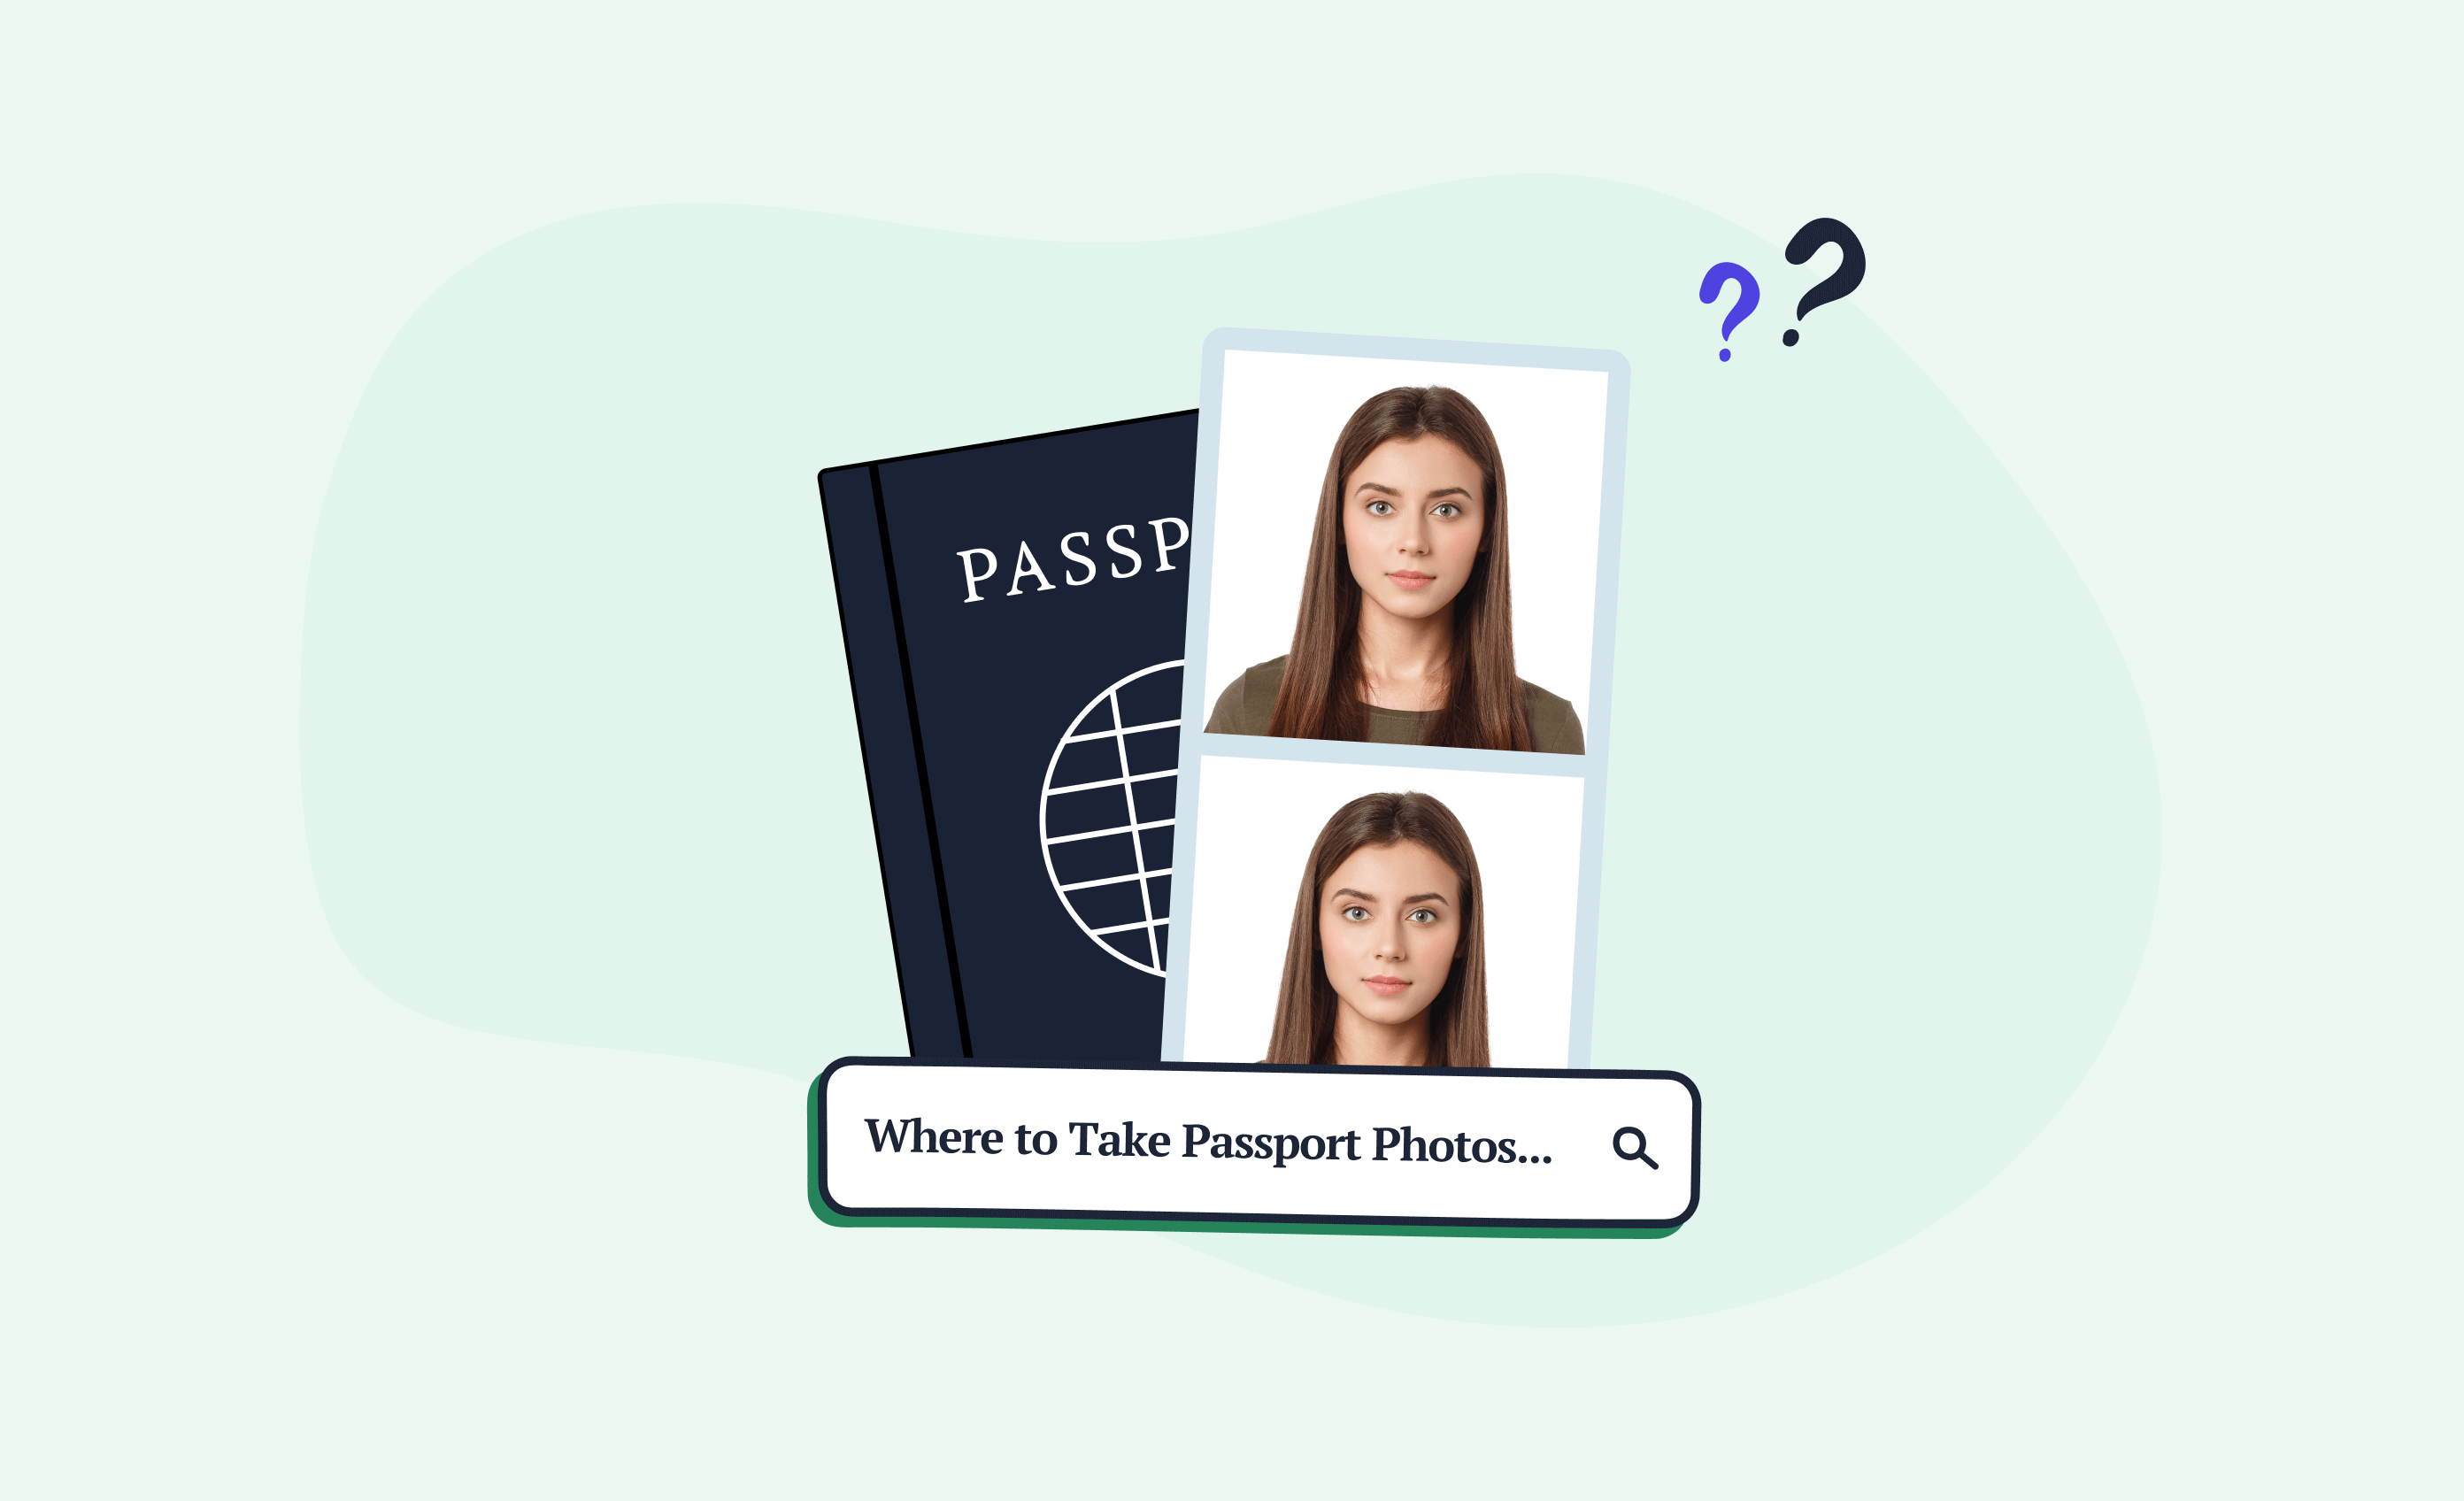
How to take the best passport photo at home?
Should you smile in a passport photo?
How to pose for a passport photo?
Closing thoughts
So here’s what it takes to have the best passport photo possible: following the technical requirements and posing for the picture in the most natural way possible. Dress casually, ensure your face is fully visible, and fix a straight posture.
You know exactly your comfortable pose for an ideal passport photo. However, to make sure your picture meets the official regulations as well, use Passport Photo Online. 100% satisfaction or a 200% money refund!
Adam is an SEO & Digital PR writer with a child’s curiosity about the surrounding world. His superpower to dig out juicy facts got him citations in Forbes, Social Media Today, and 90+ other news outlets. Adam enjoys snapping pictures and won the national Huawei Next Image Award.