


In this day and age, all you need to take a passport photo at home is a phone and an app.
And we’ll show you how to do this in four easy steps.
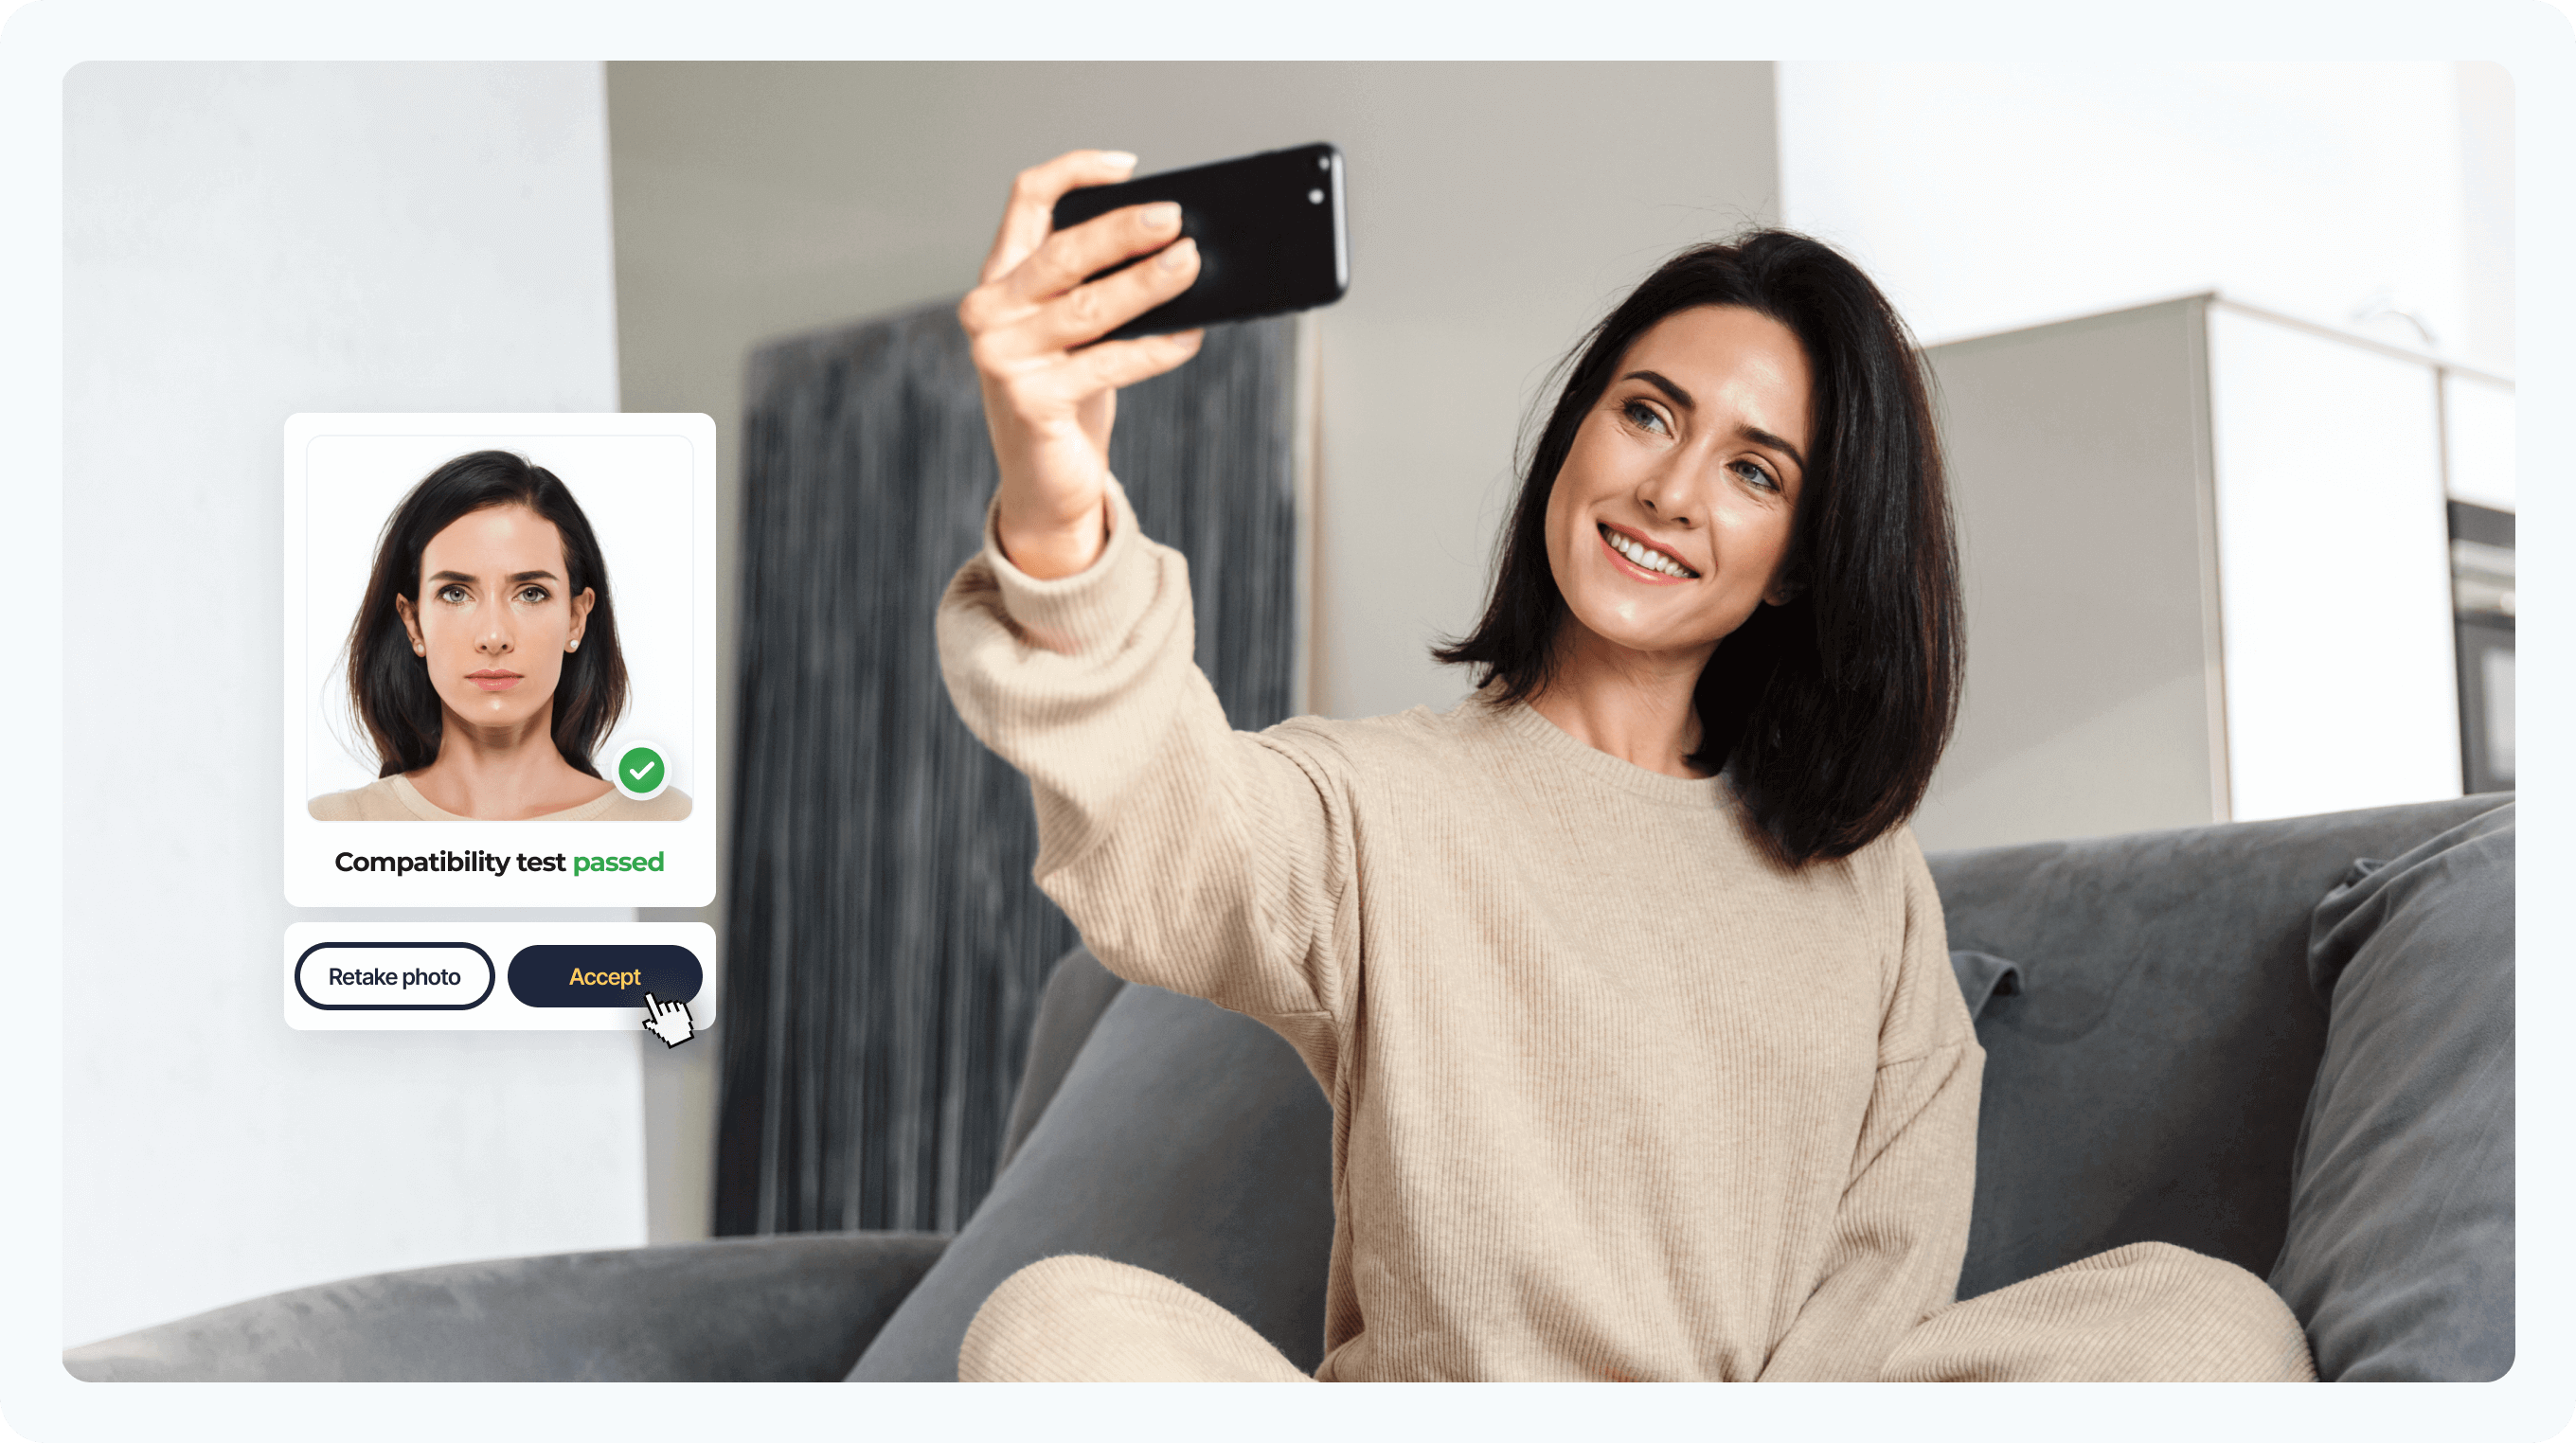
Get a 100% compliant passport photo with Passport Photo Online.
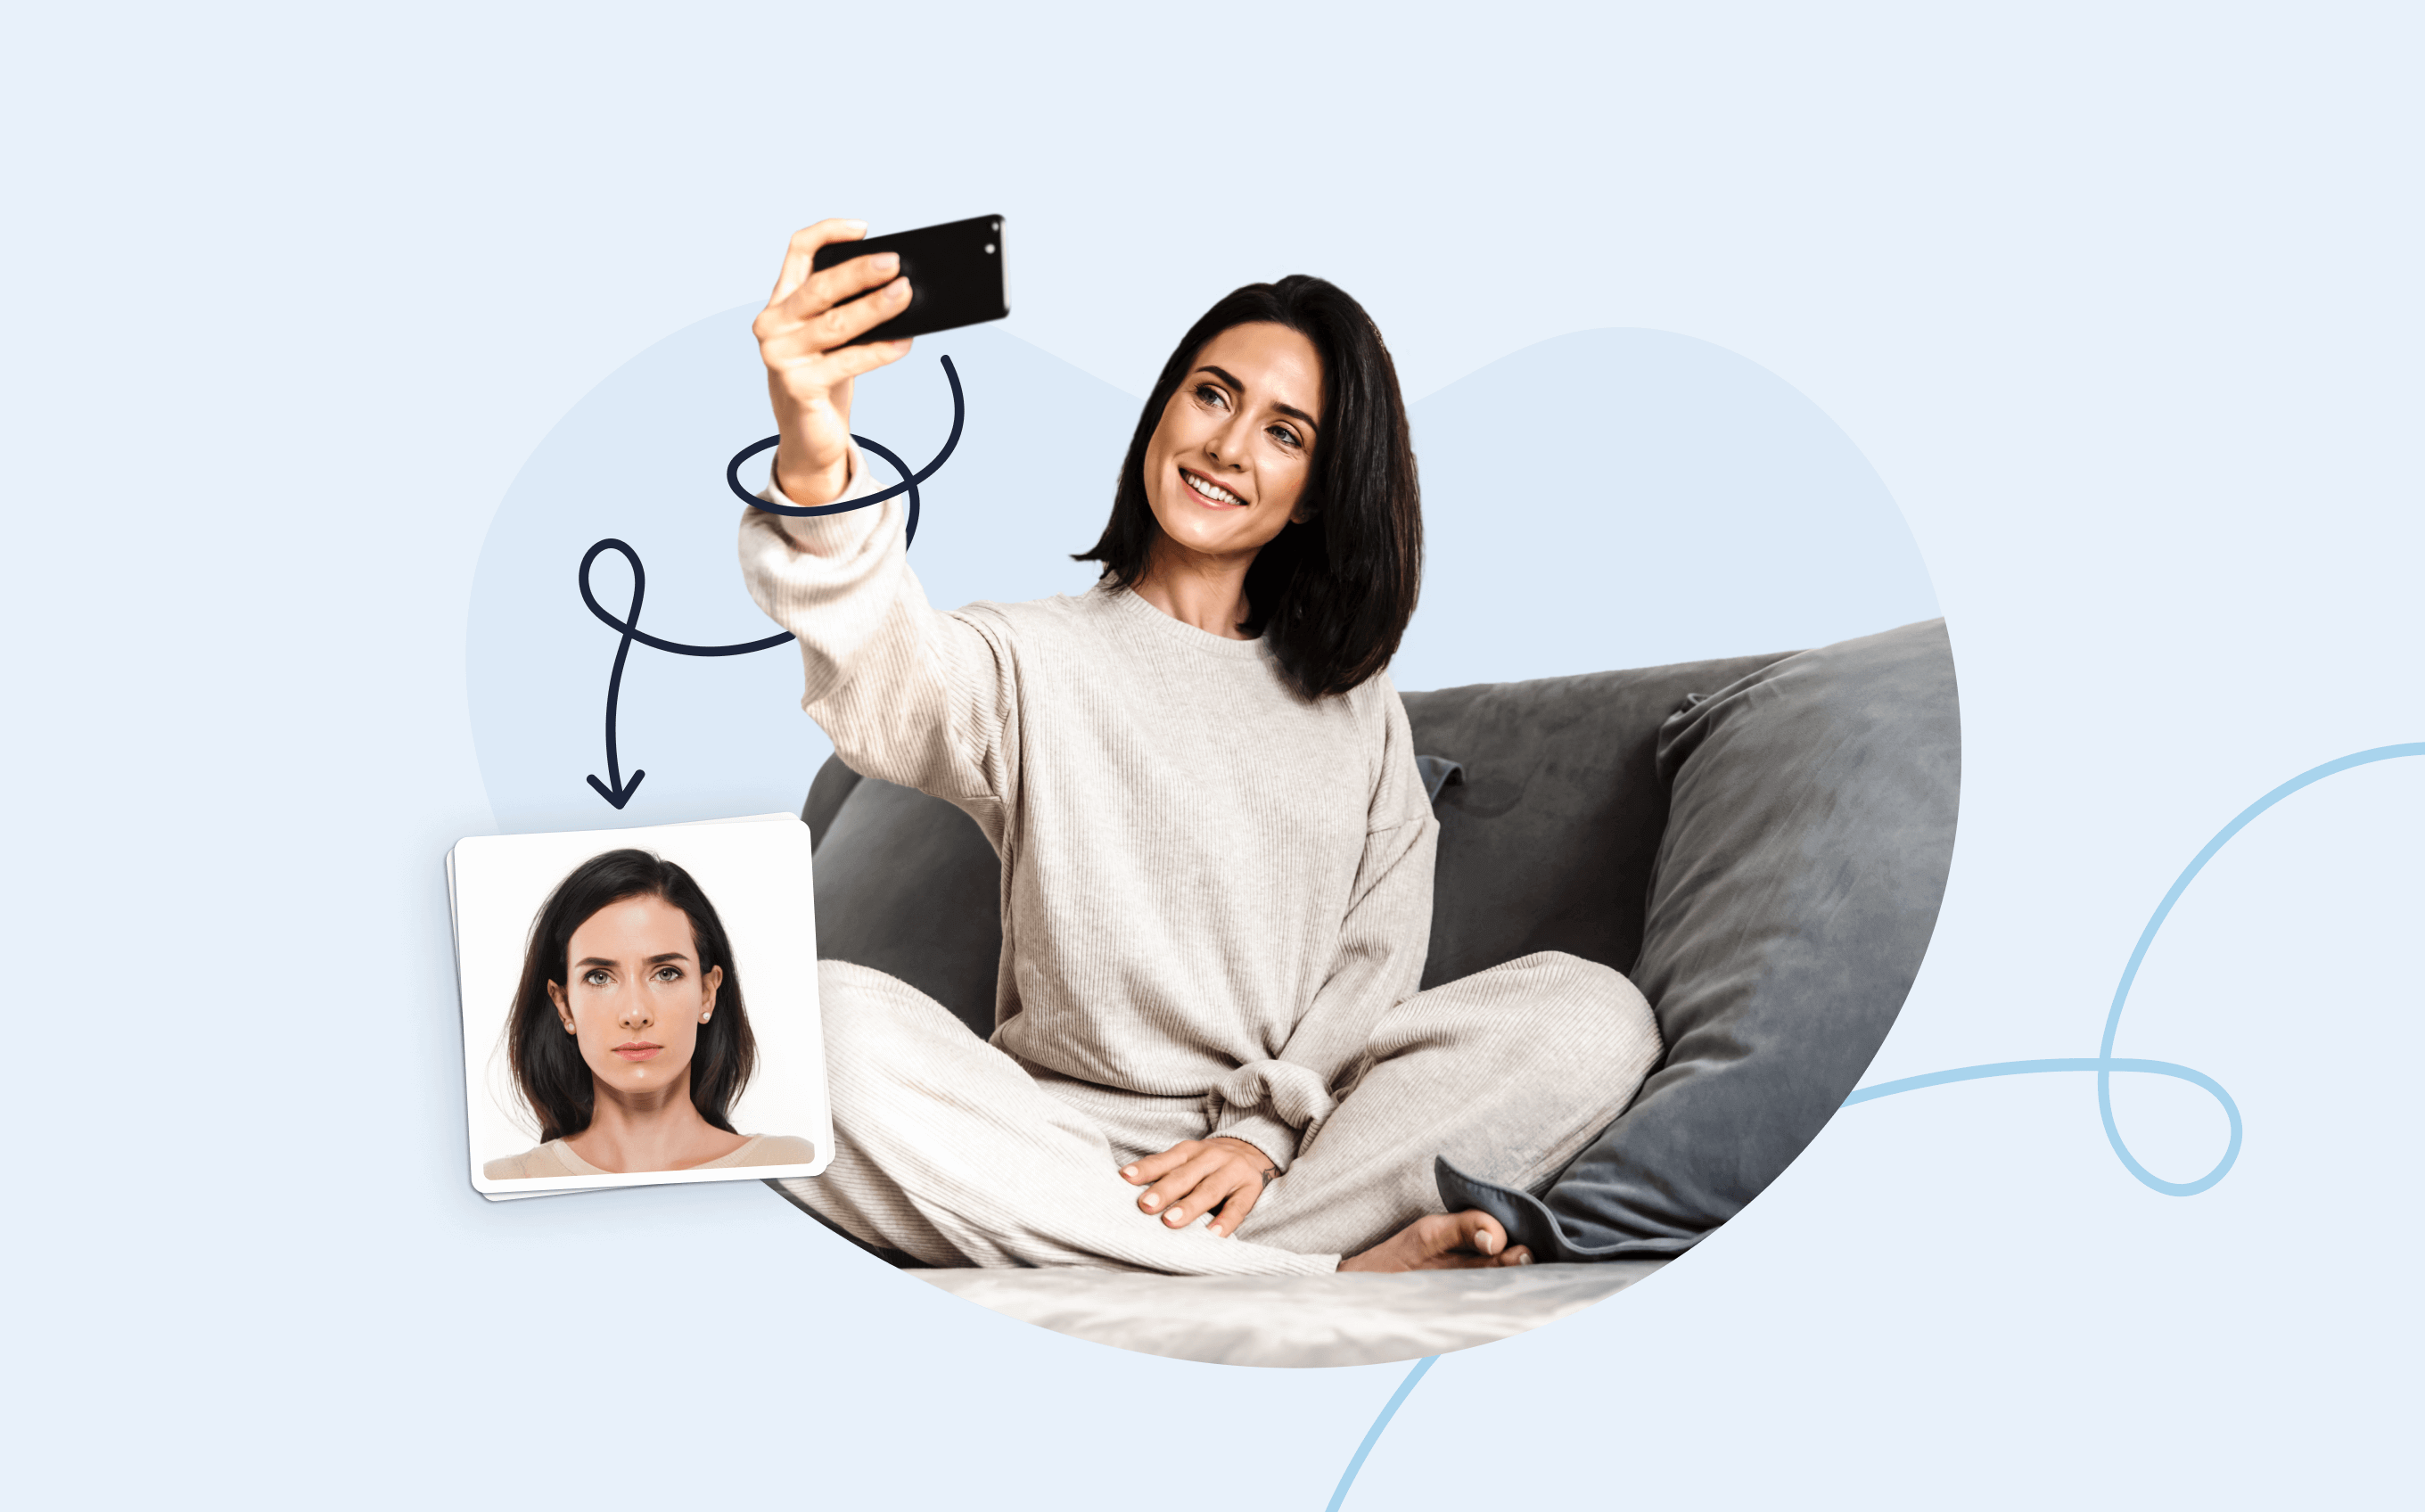
- Upload a selfie.
- Our AI crops, resizes, cleans the background, and adjusts the lighting.
- One of our human experts (available 24/7) reviews your photo within minutes.
- Download a high-res JPEG instantly or order prints with 2–3 business day delivery.


Get a digital passport photo – or order prints with Passport Photo Online.**
Unlimited Retakes
Competitive Pricing
GDPR & CCPA Compliant
Used by 1M+ Users Annually
I used Passport Photo Online and got a verified, compliant digital passport photo from a simple selfie. The whole process took about five minutes. The prints arrived just a few days later. I saved time and money and my passport application was accepted!
Debating whether or not to take you own passport photo? Check out these similar posts on DIY passport photos:
- The Truth About Selfie Passport Photos
- How to Take the Best Passport Photo
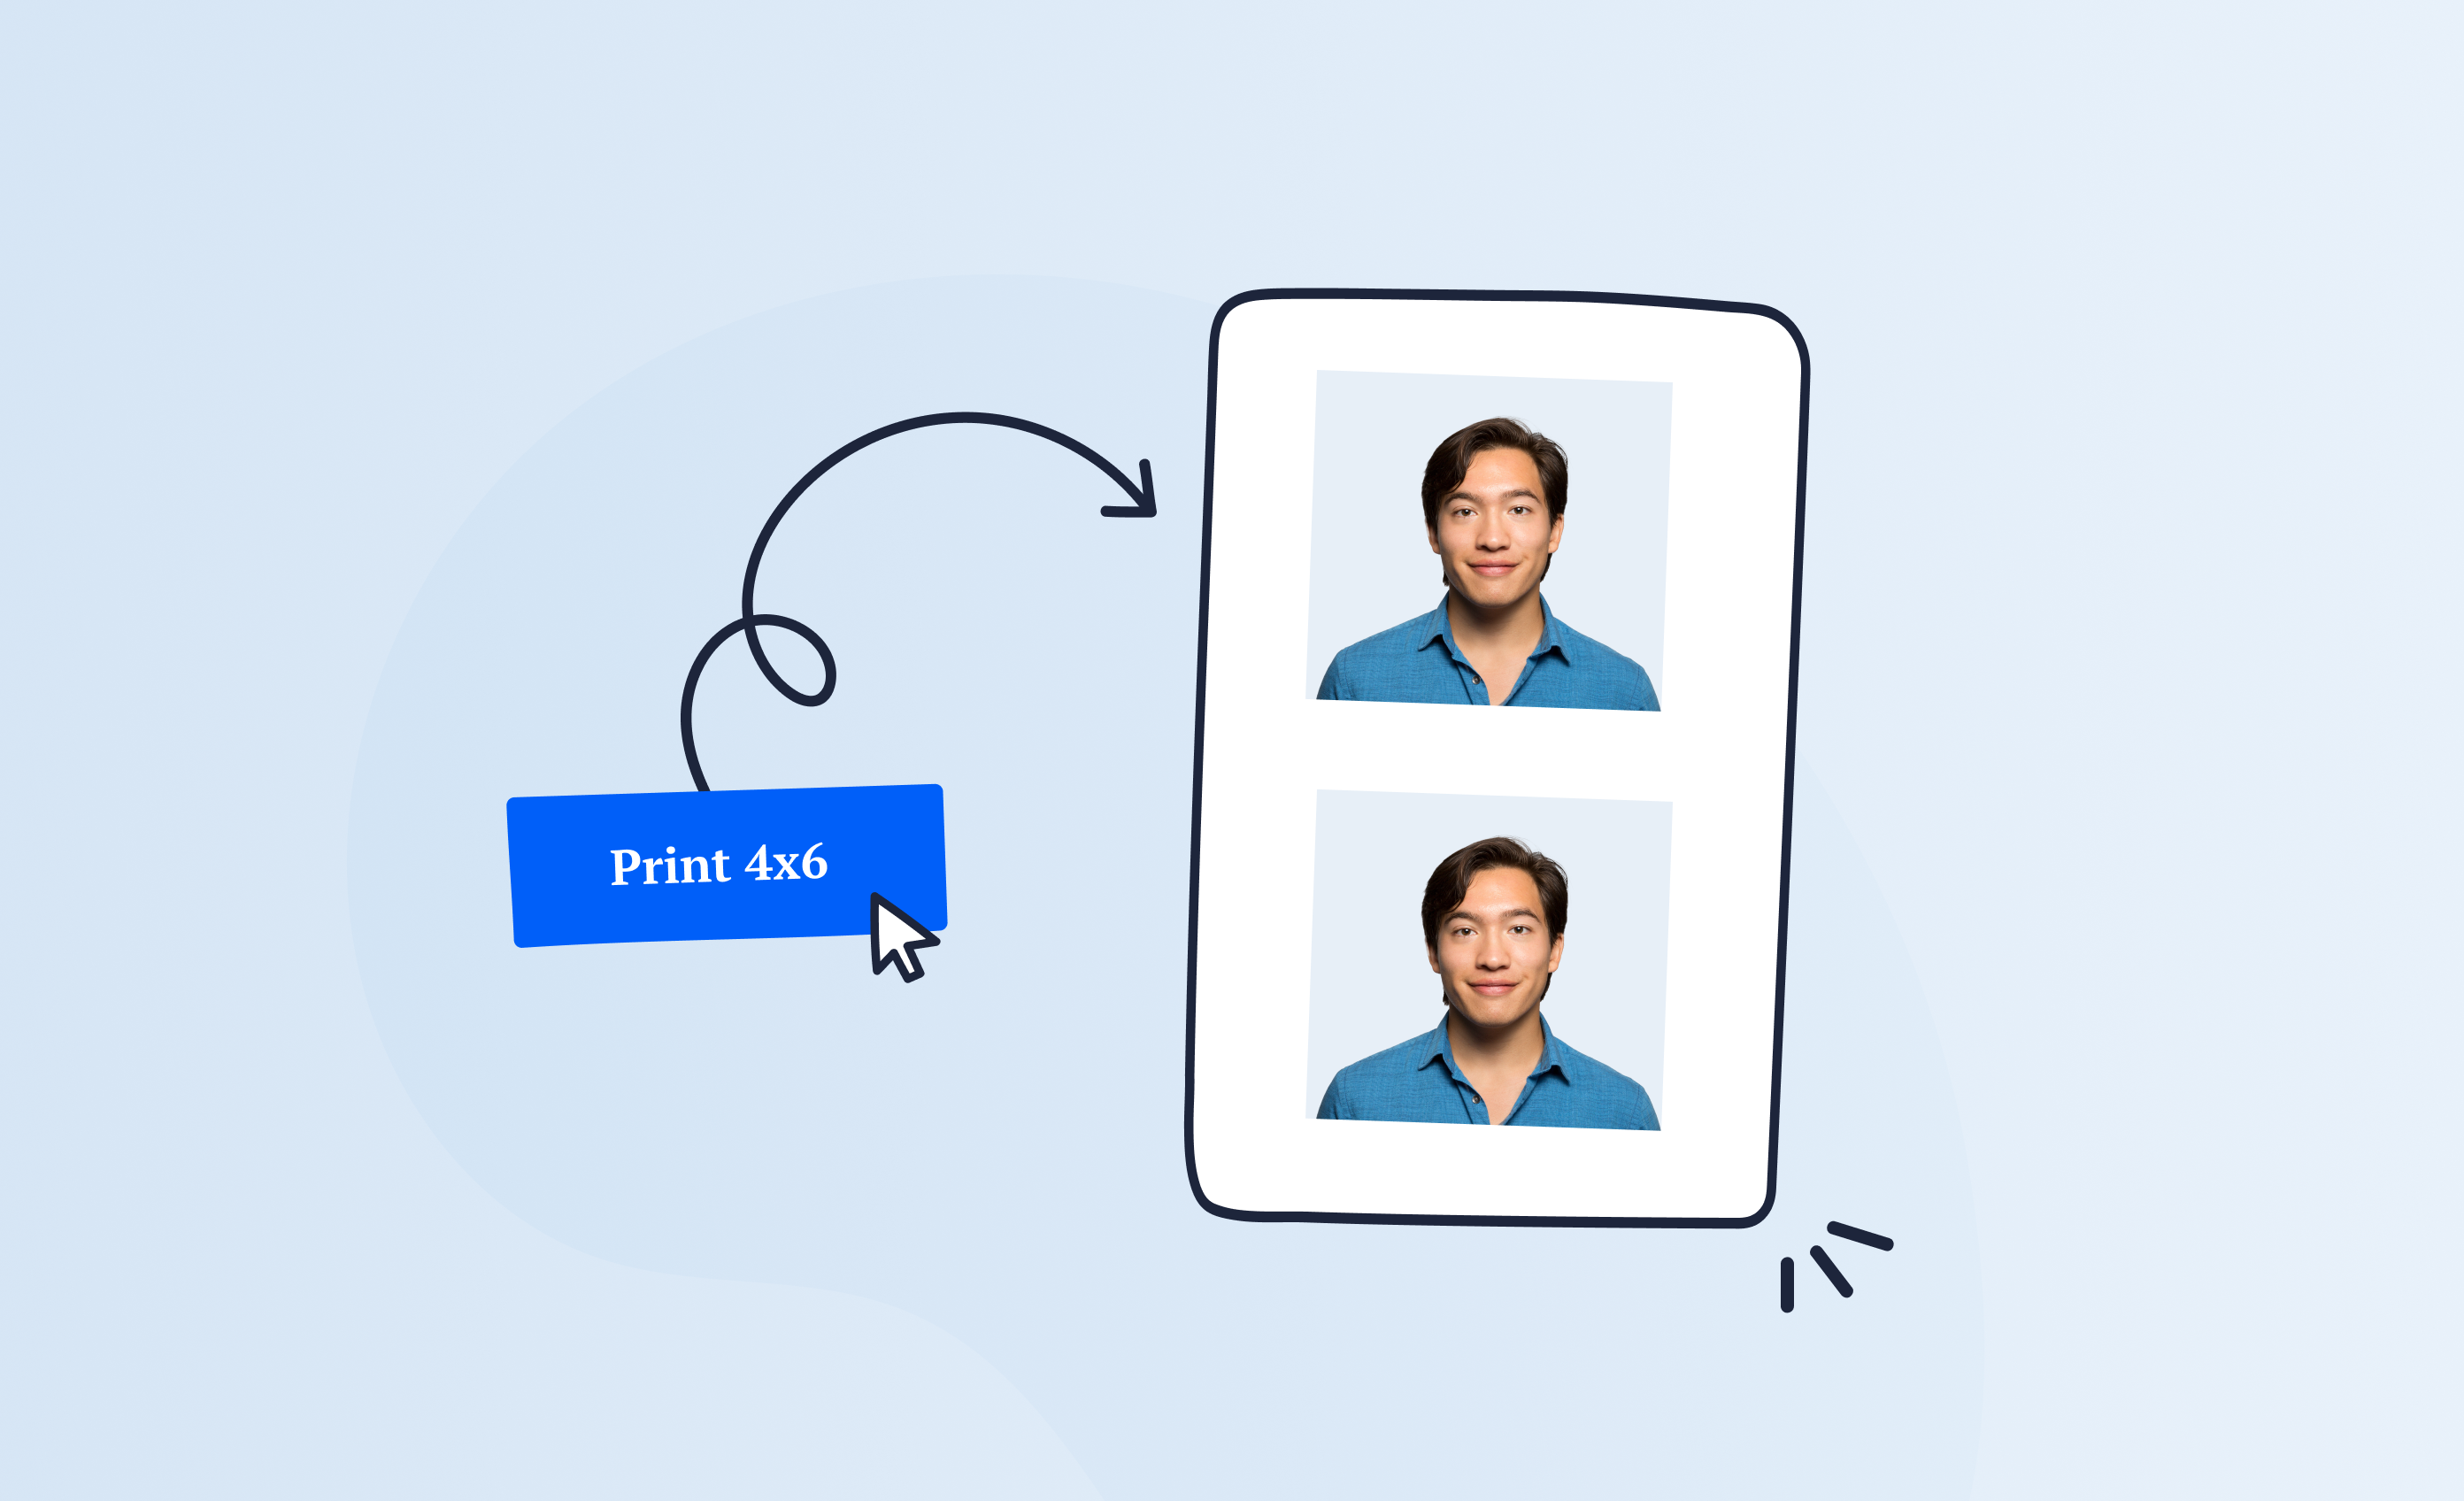
- How to Print a Passport Photo on 4×6 Paper? [2 Options]
Step 1: Learn what a passport photo looks like
Before grabbing your phone and dressing in your Sunday best, know that the passport photo you take at home must be in line with the latest US Department of State guidelines on passport photos.
We’ve saved you a click by arranging them below as an easy-to-follow list of dos and don’s.
List of Requirements for Passport Photos Taken at Home—Dos and Don’ts
✅ Do
- Submit a color photo taken in the last 6 months with a clear image of the face
- Use a white or off-white background without shadows, texture, or lines
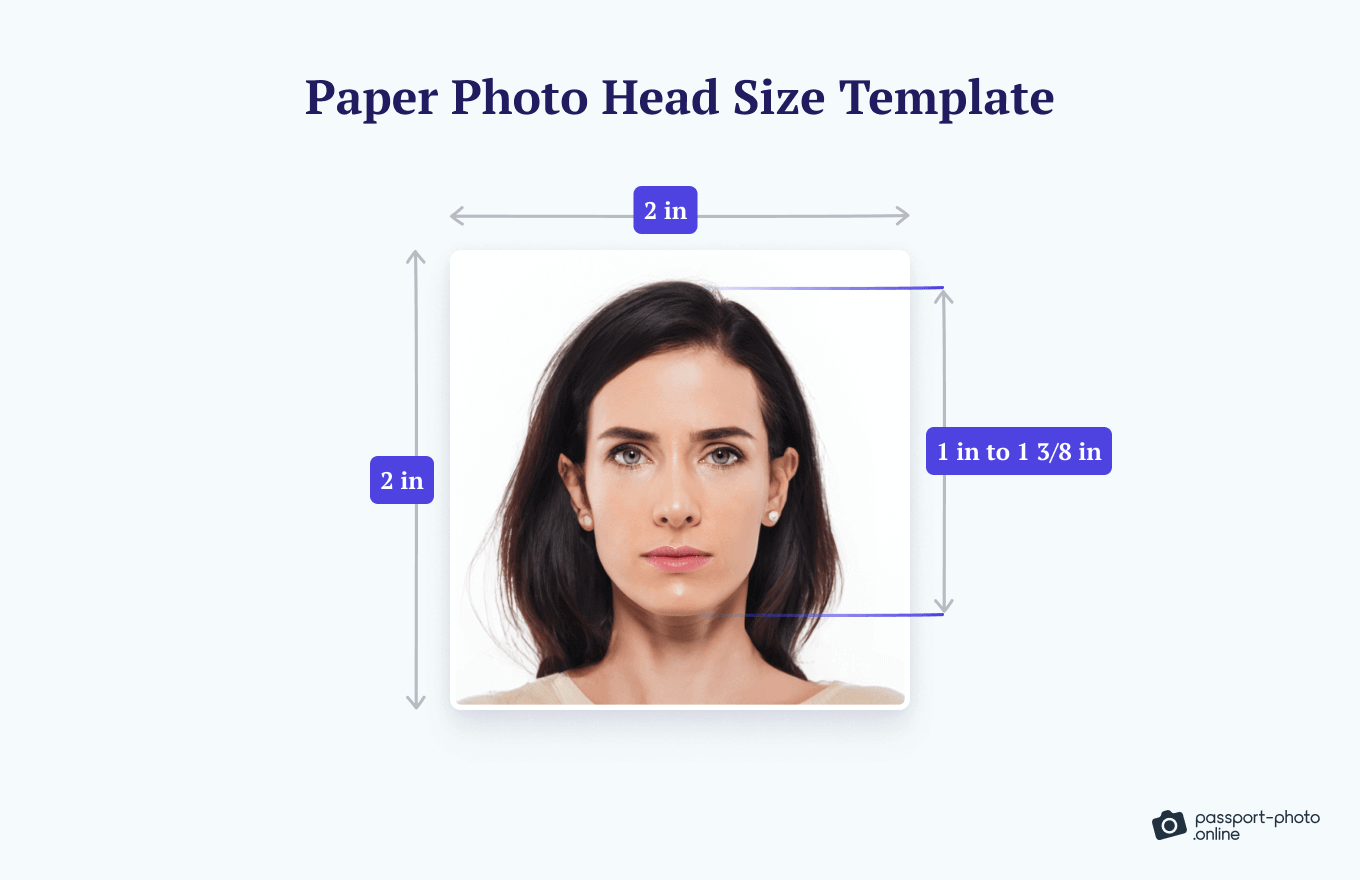
- Keep the head between 1–1 3/8 inches from the bottom of the chin to the top of the head
- Print the photo on matte or glossy photo quality paper
- Have a neutral facial expression with both eyes open and mouth closed
- Wear clothing normally worn on a daily basis
❌ Don’t
- Use filters commonly used on social media
- Wear glasses unless for medical reasons (with a signed statement)
- Wear hats or head coverings unless for religious or medical purposes (with a signed statement)
- Wear a uniform, clothing that looks like a uniform, or camouflage attire
- Have shadows or coverings on the face
- Have a blurry, grainy, or pixelated photo
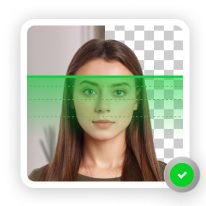
At the end of the day, your US passport photo should look something like this.
Example of a Good Passport Photo Taken at Home
Step 2: Set up your shot
With today’s technology, your smartphone is capable of taking quality passport photos. And with the right app, you can even convert selfies to 100% compliant passport photographs.
So—
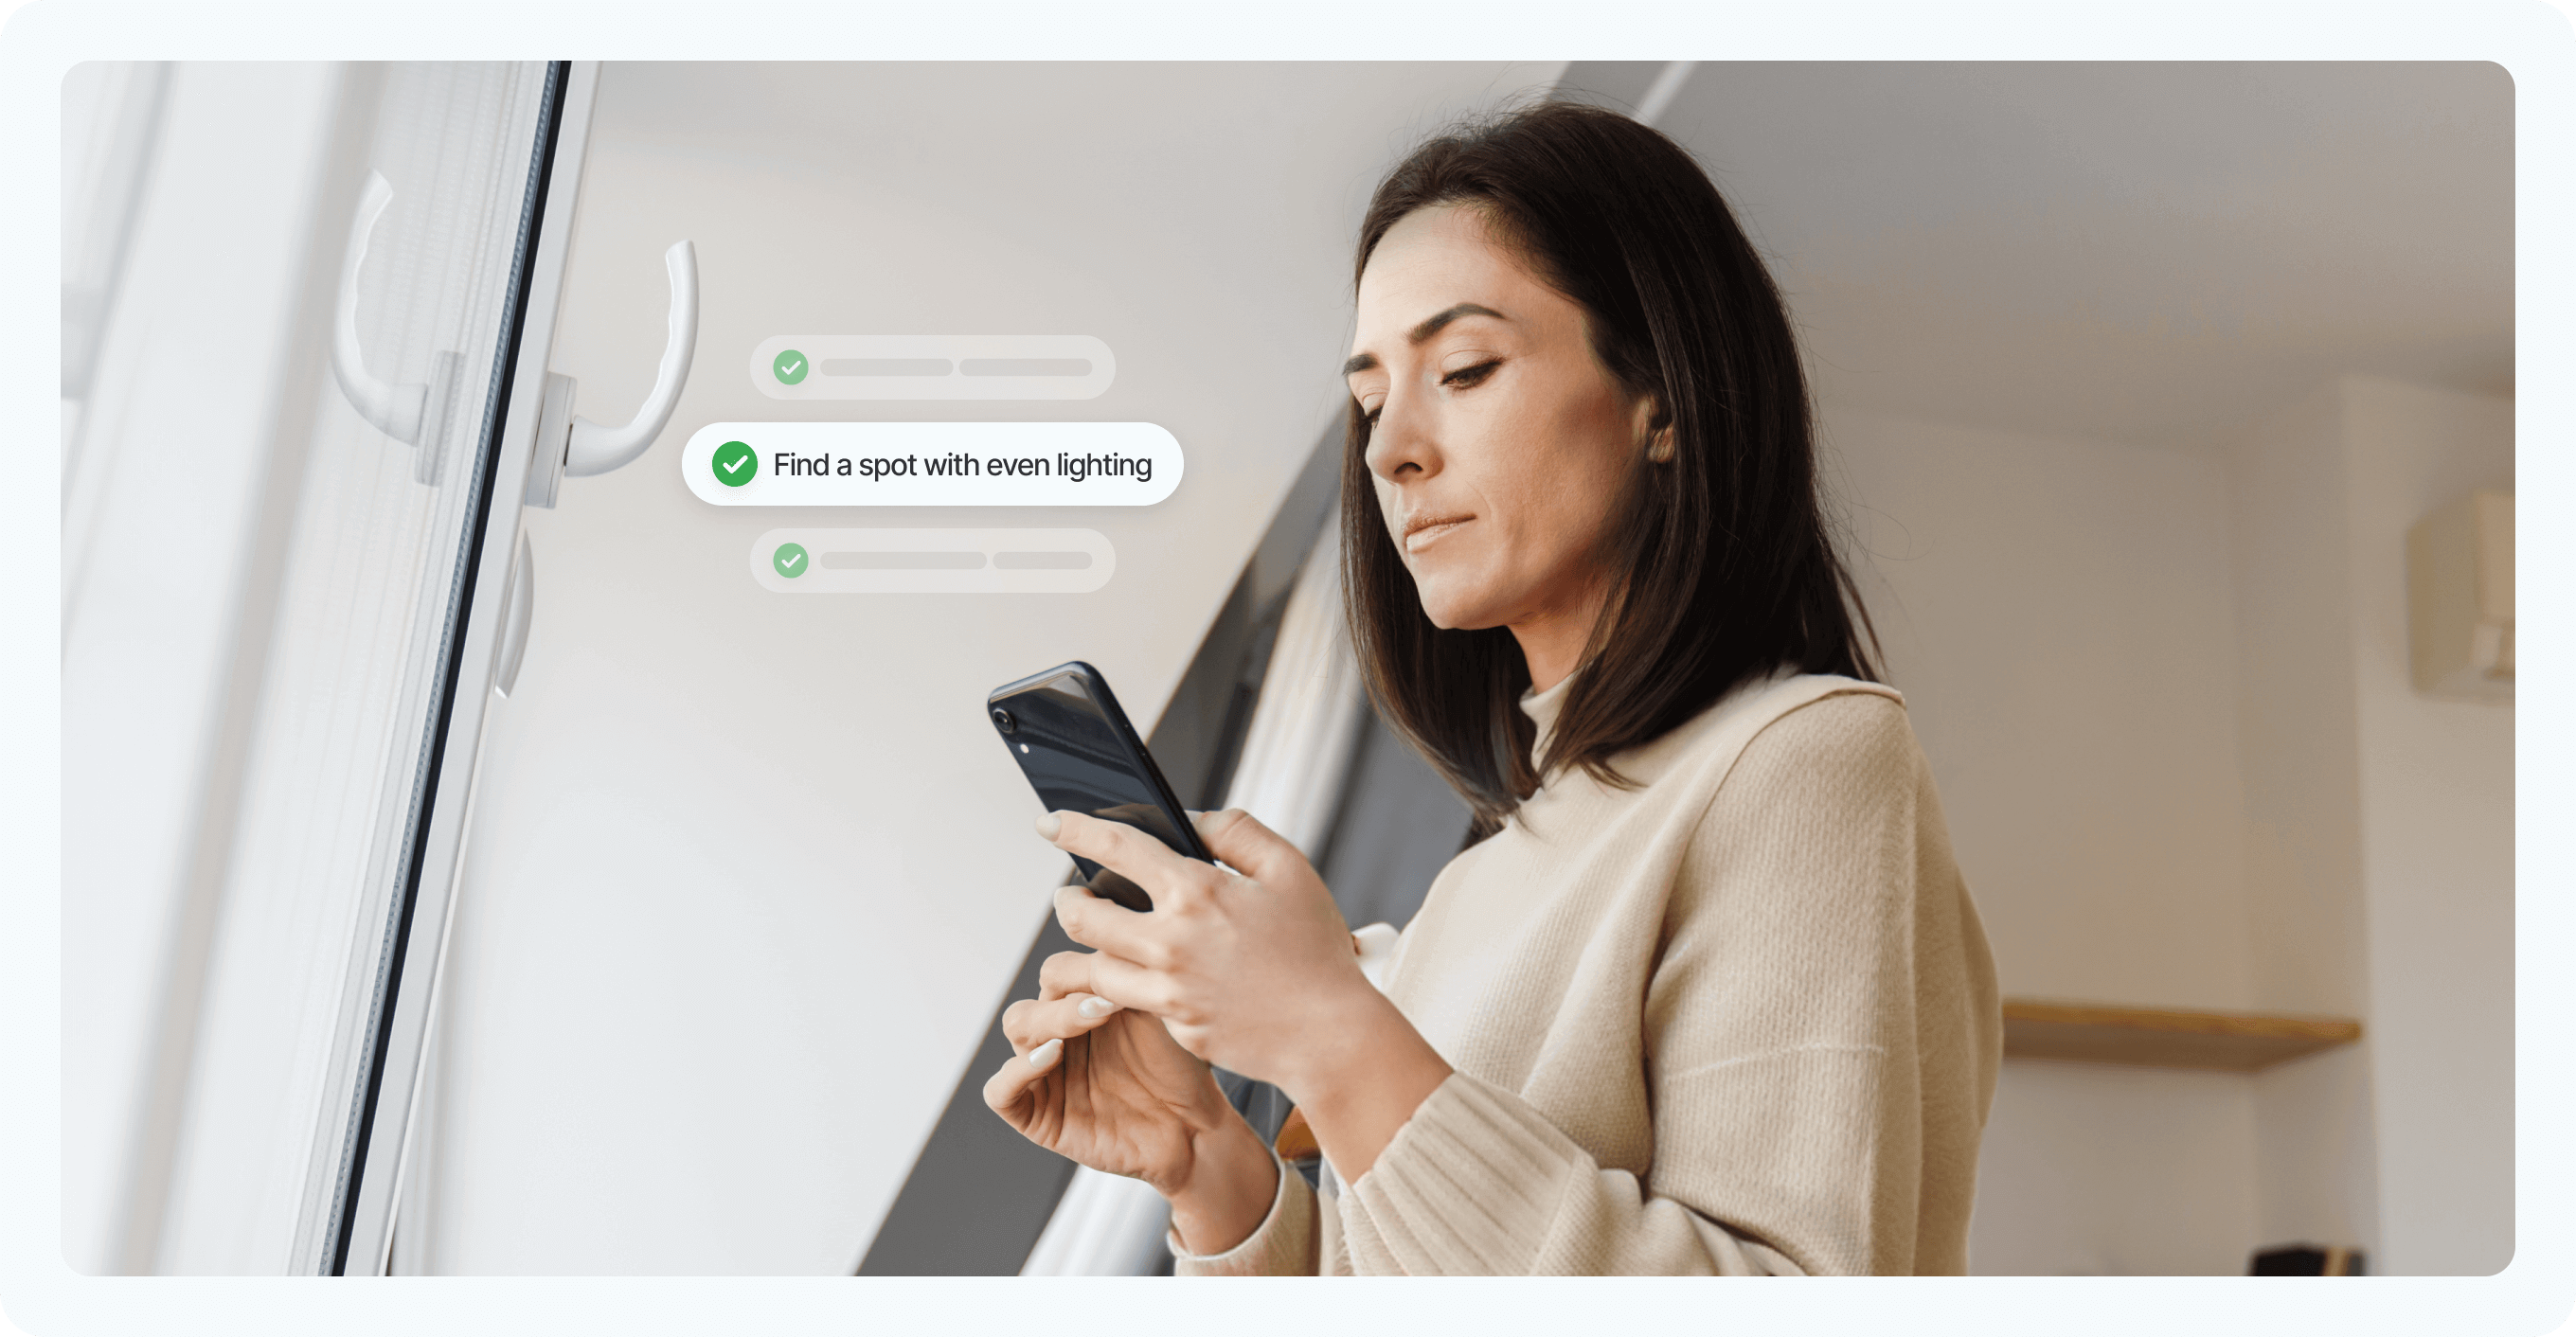
To set up your shooting location, all you really need to do is stand in front of a window in daylight.
Additionally, try to snap your passport photo at an angle that minimizes distractions in the background. Ideally, look for a spot where there’s a window in front of you, and a plain wall behind you.
To avoid casting a shadow on the wall, take a step or two away from it.
And remember,
The number one mistake you can make when taking your passport photo is standing too close to the camera. Place your device on a flat surface and stand 4 feet away from it—no more drastic close-ups!
-Matt Chodakowski
Great! You’re ready to start taking pictures!
Pro Tip: If you can’t find a plain wall, fret not—our app will remove the background, and our expert will double-check your photo for compliance. If need be, you’ll receive instructions on how to retake the photo.
Step 3: Take your DIY passport photo
All you need to do now is take the photo.
Since you’re at home, there’s no time pressure (unless your friend involved in the photo session gets impatient).
Snap away to your heart’s content.
Just be sure to follow all of the official regulations regarding your pose (i.e., a neutral expression or slight close-mouthed smile) and face the camera directly.
Whether using your Android or iPhone, your device’s storage capacity is the only limit to the number of photos you can take!
Looking for an in-depth tutorial on taking passport photos with your smartphone? Check out our dedicated guides on the subject:
Step 4: Edit, check, and print your passport photos at home
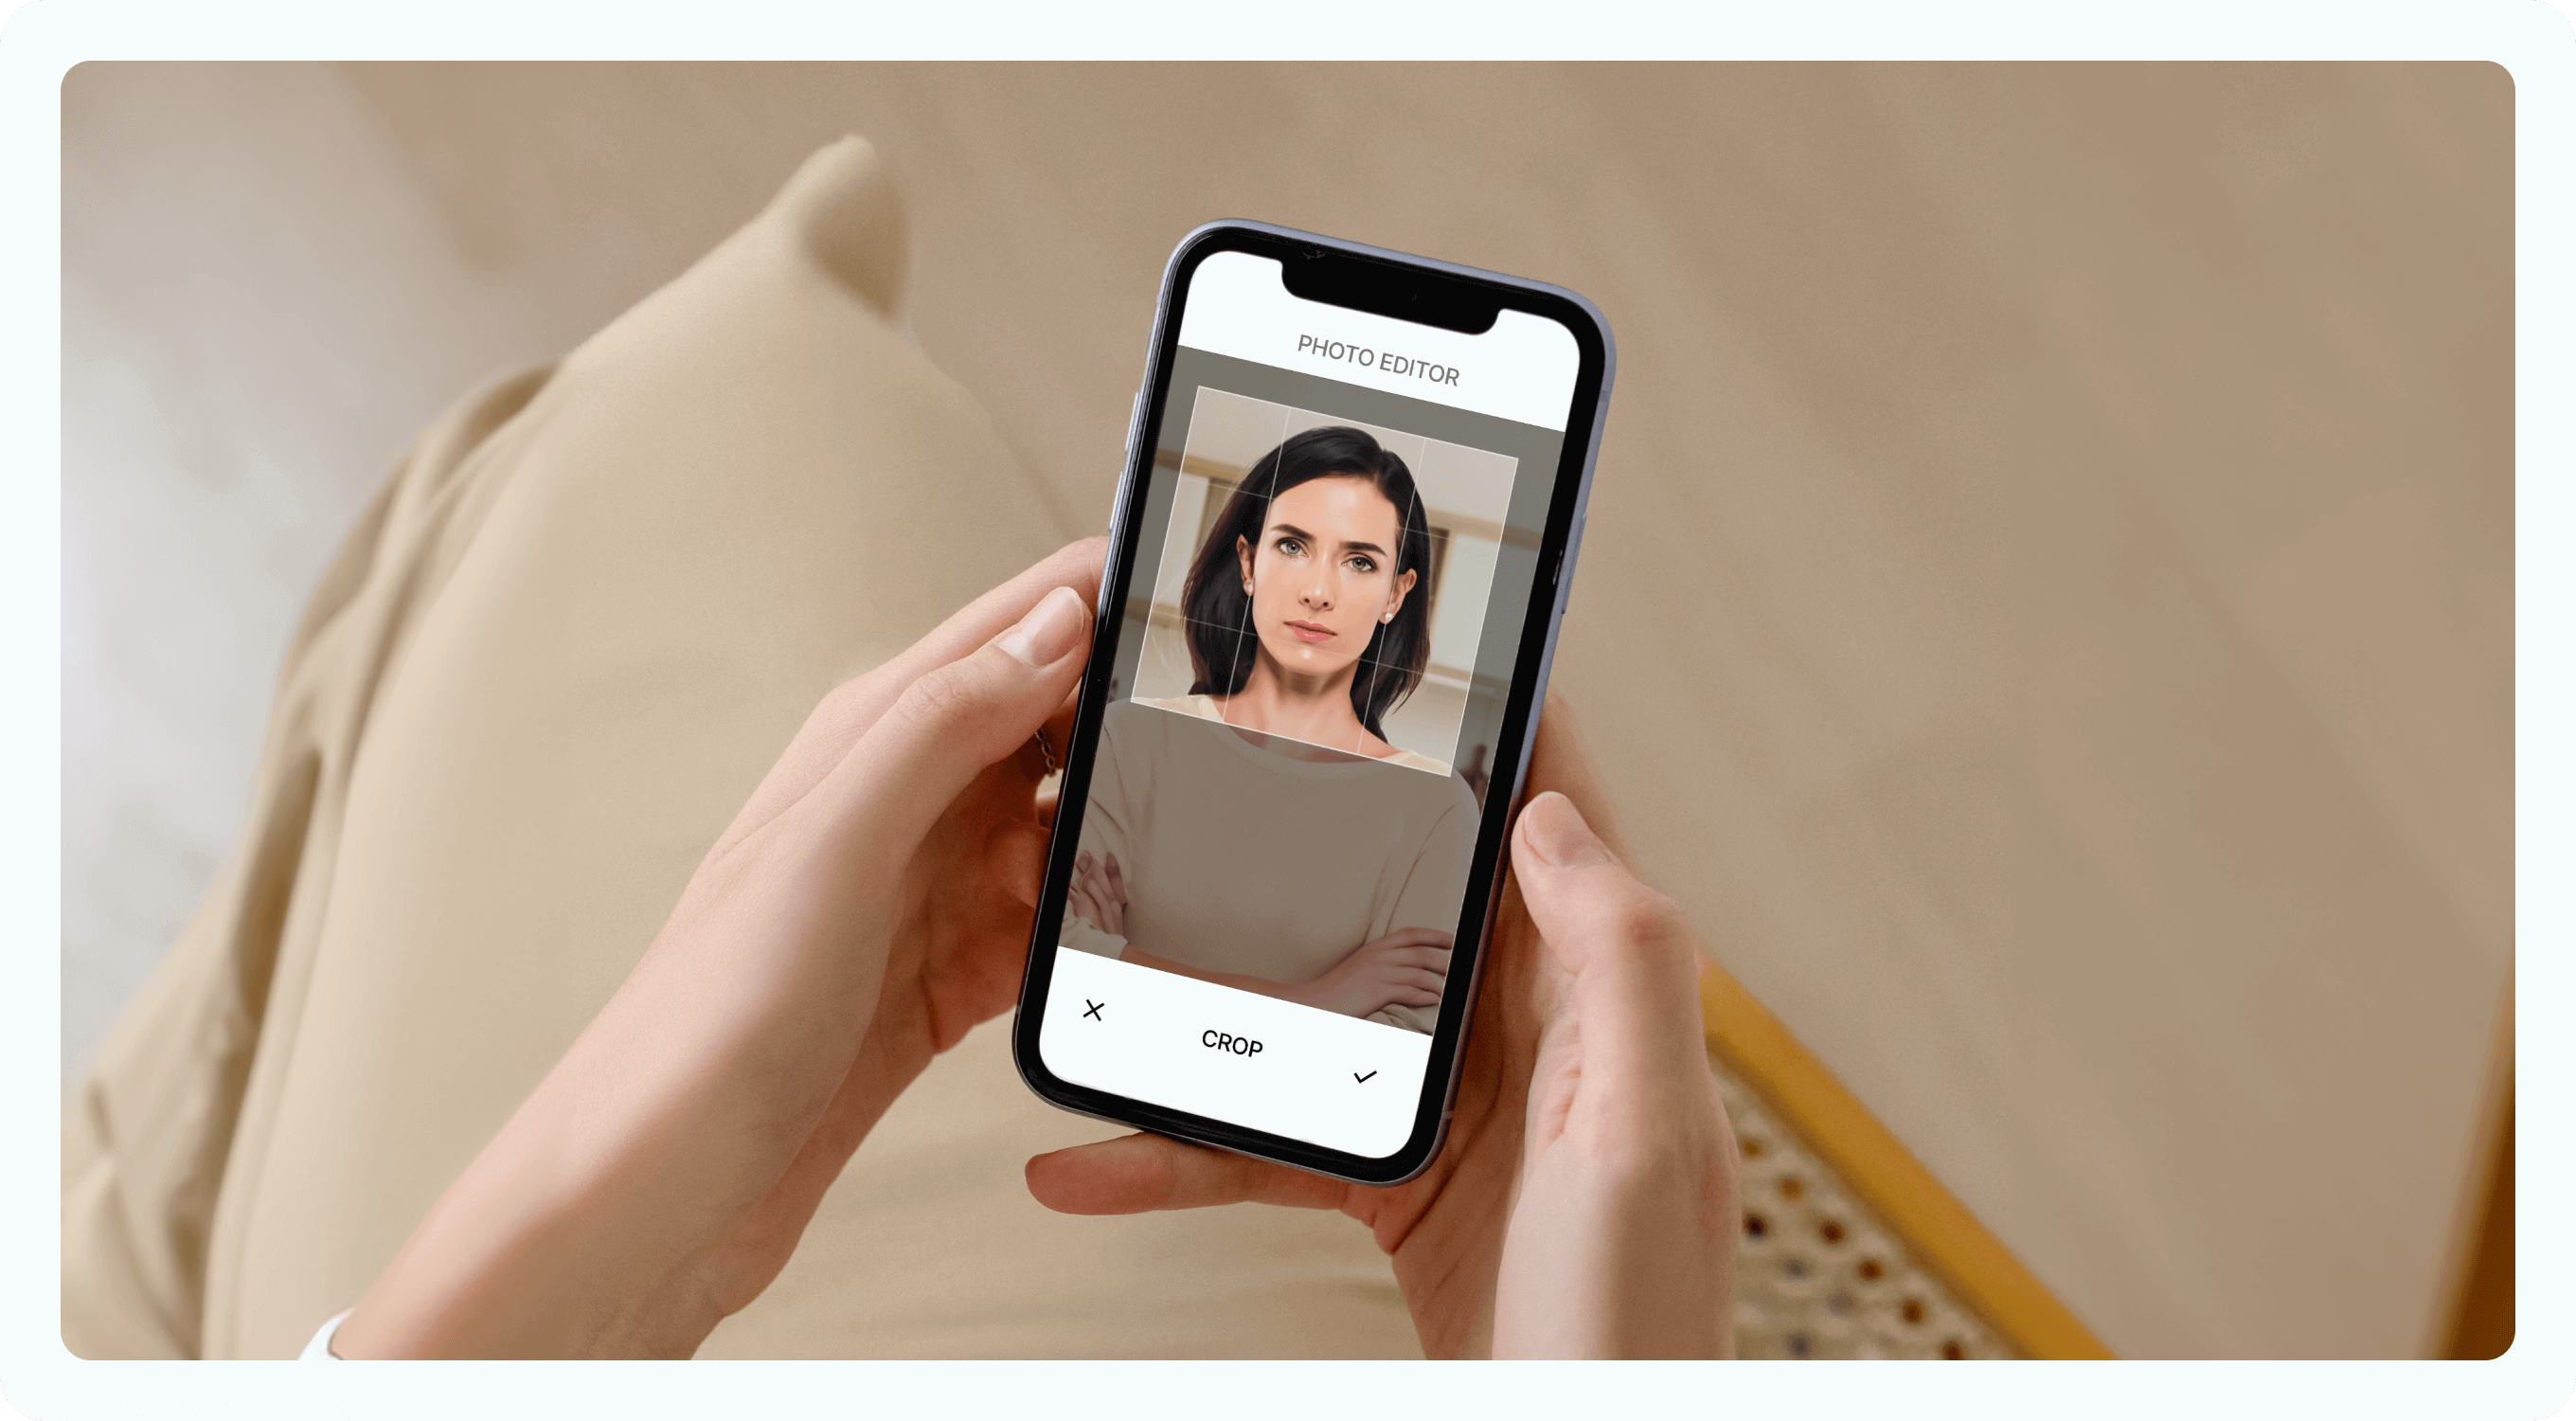
After taking your own passport pictures, you’ll need to do some editing to ensure your photos meet all official US passport photo requirements.
If using Passport Photo Online’s application, all editing and verification procedures are included in the software—you instantly get a digital photo ready for US online passport renewals or physical prints delivered to any address in the US.
If you wish to edit and print your photos manually, here’s an overview of photo editing tools and common adjustments that may be needed to ensure compliance with US passport photo regulations.
Photo editing tools for home-made passport photos
When you want to make your own passport photo, editing is necessary to ensure the photo meets all official requirements, such as the correct size, background, and lighting.
There are many editing tools available, from simple online croppers to professional-grade software.
Have a look at the list below for several popular software options you have for editing your home-made passport photos:
- Adobe Photoshop is one of the most popular and powerful photo editing tools available. It offers such editing features as cropping, resizing, and color correction, to name but a few
- Canva is a user-friendly online editing tool that’s perfect for beginners. It offers pre-made templates and easy-to-use editing features
- Skylum Luminar is a great option for those who want professional-grade editing tools without the steep learning curve of Photoshop
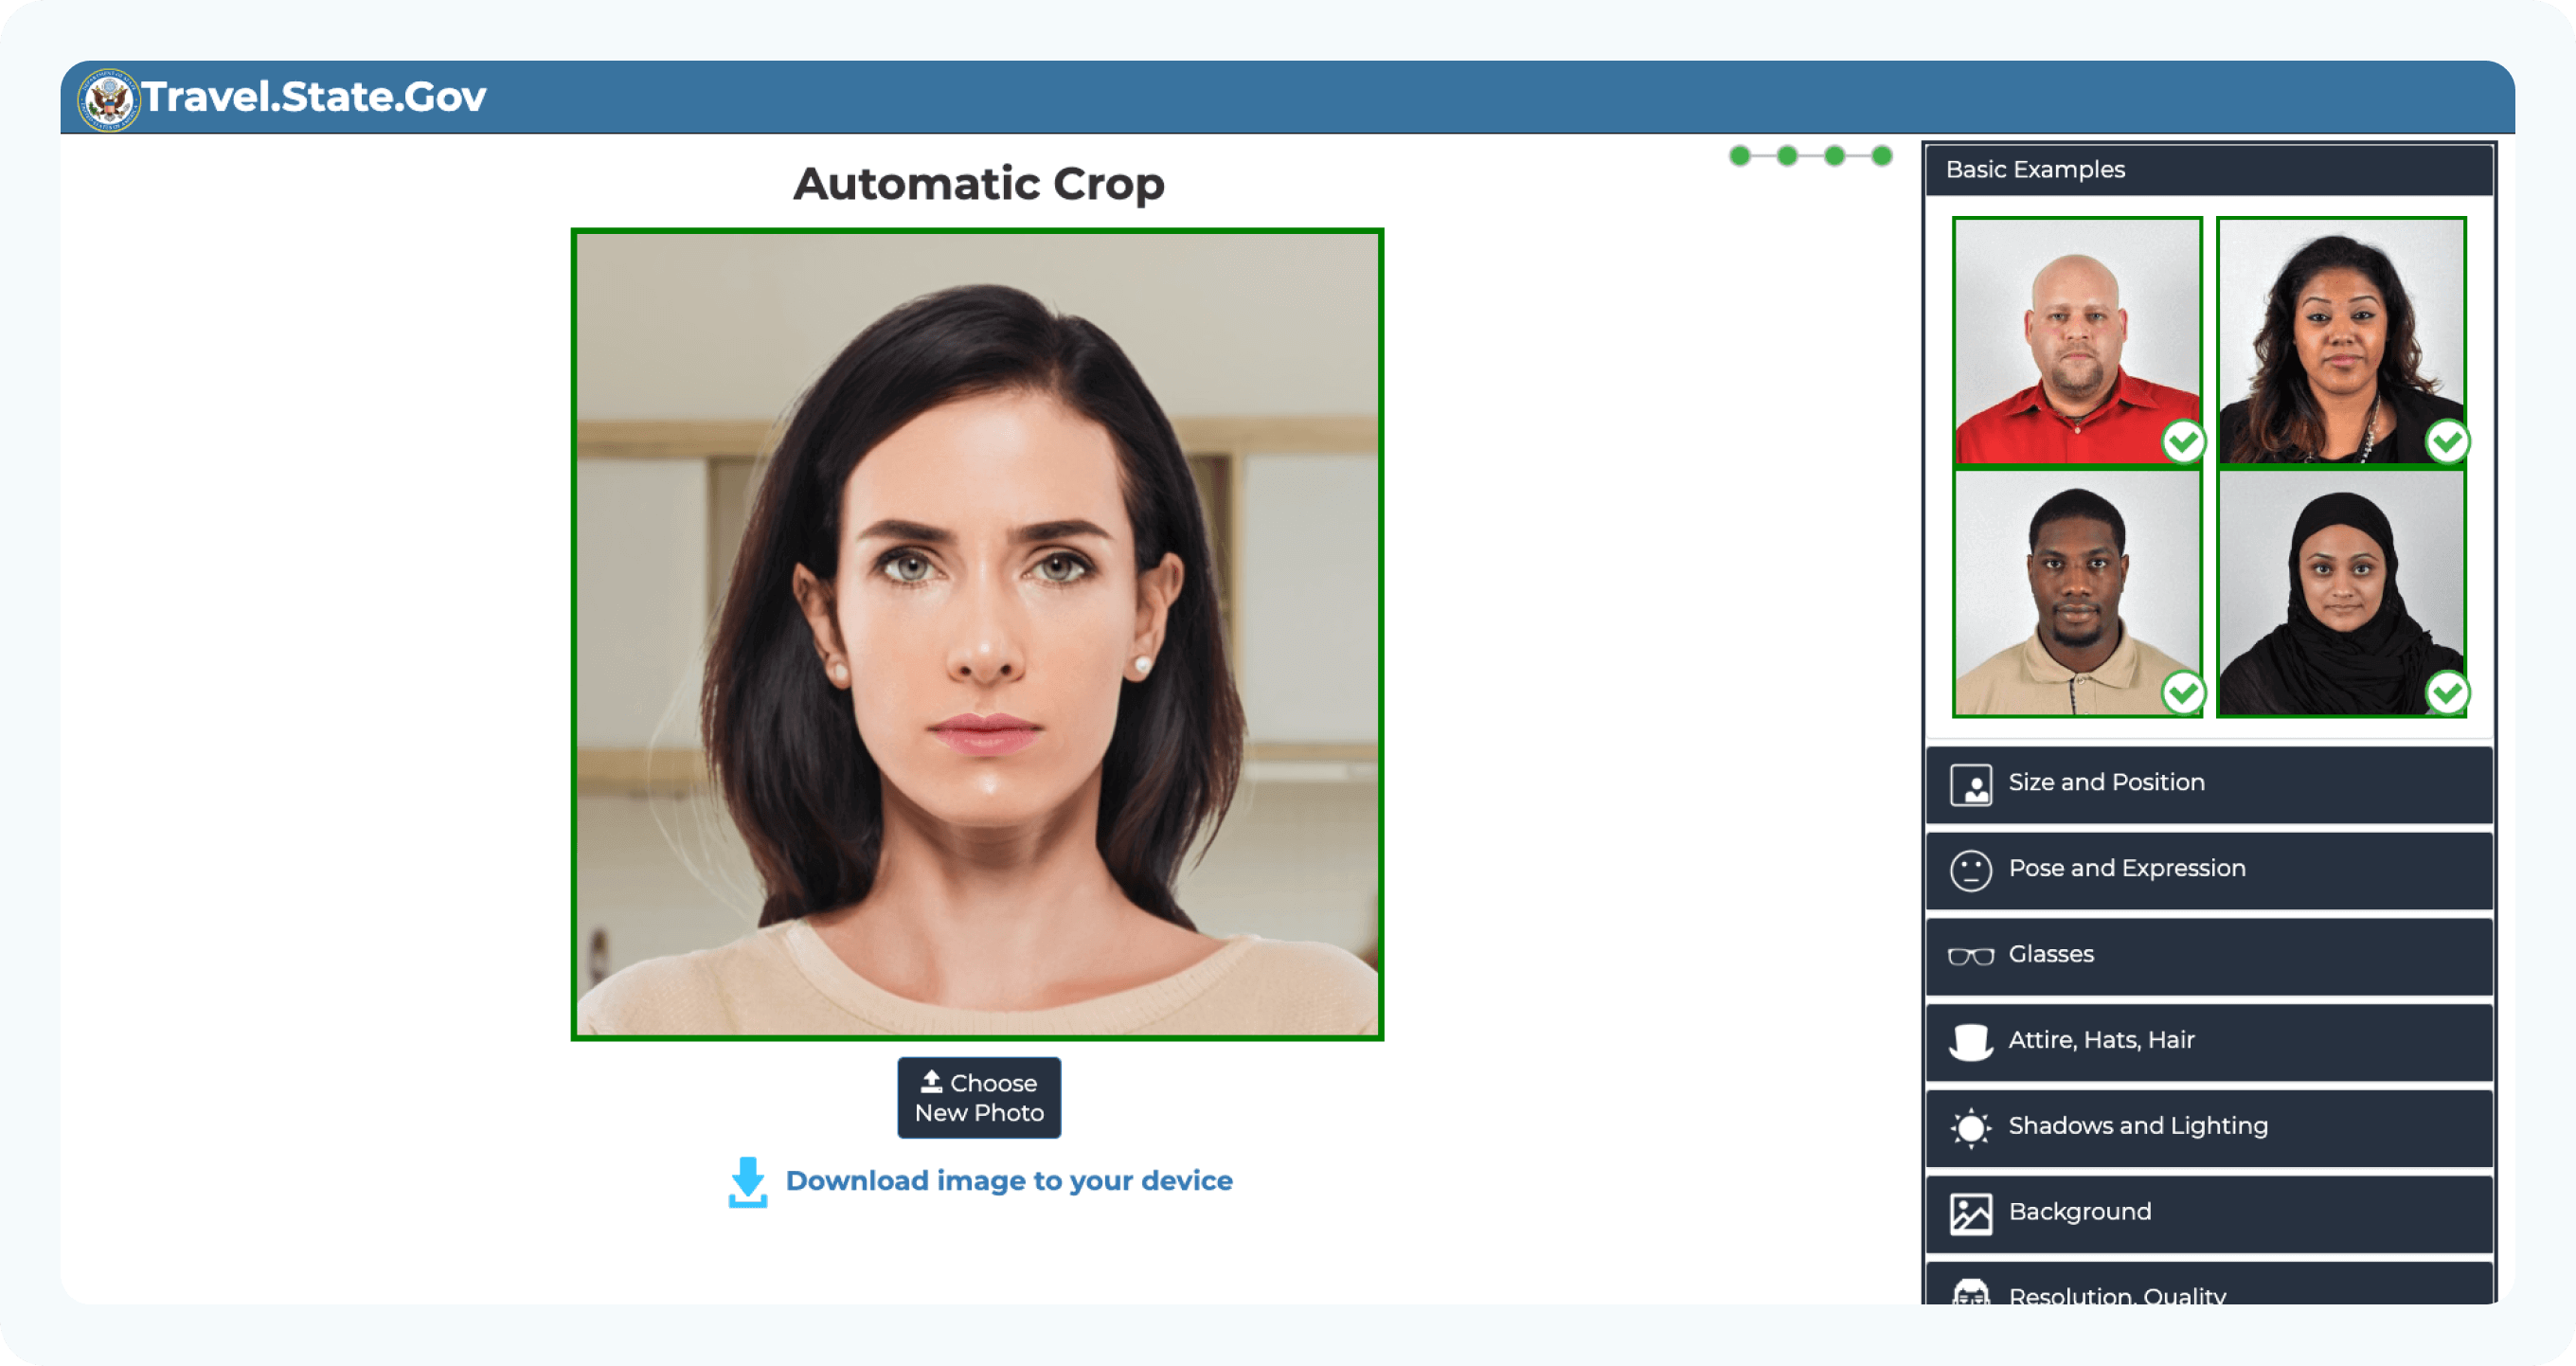
- The State Department has its own cropping tool to transform any image into a 2×2-inch passport photo. It also provides examples of rejected passport photos, as well as compliant ones to illustrate each guideline. However, the tool does not offer background removal or a compliance check (as evident in the example below).
Common editing adjustments
What kind of adjustments to make to your DIY passport photo?
Here’s a quick look at the tools you may need to edit your home-made passport photo:
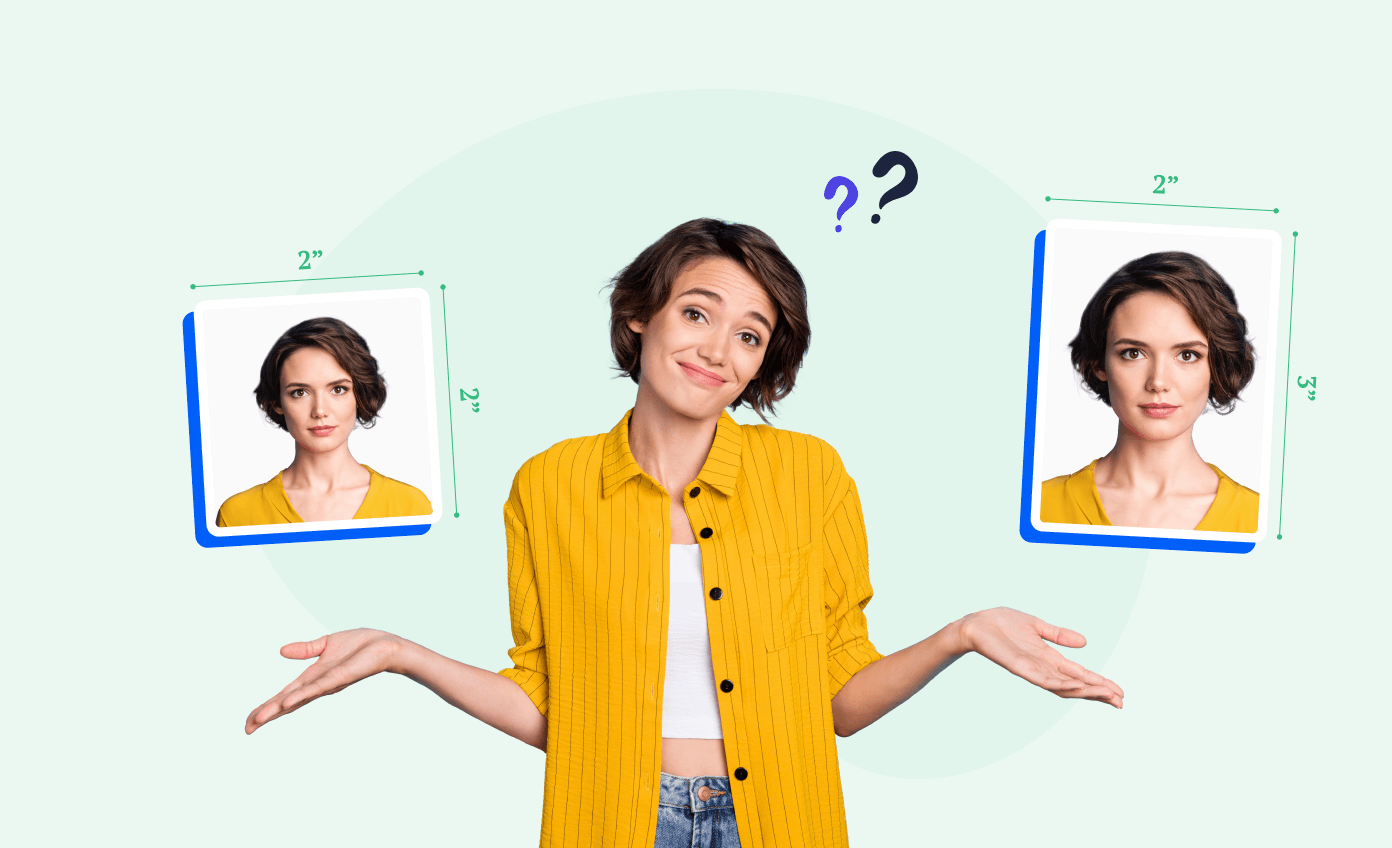
- Cropping: You may need to resize your passport photo to meet the 2×2 inch official size requirements
- Color correction: Adjusting the color balance can help to improve the overall quality of the photo. However, the colors must appear natural, or the photo will be rejected
- Brightness and contrast: These adjustments can help to enhance the details in the photo and make it more visually appealing. The image must have normal exposure and can’t be too bright or too dark
- Background removal: If your background isn’t completely white or off-white, you will need to remove it and replace it with a plain white background
By using these editing tools and making the necessary adjustments, you can ensure that your passport photo is high-quality and meets all official requirements.
Remember—
Keep it simple and avoid any drastic edits that could be deemed misleading or inaccurate, as these will void your photo, thereby prolonging the passport application/renewal process.
Printing
All that’s left to do is print your passport photos at home or using a commercial photo center such as the ones offered by Walmart, CVS, or Walgreens.
To print at home, ensure you follow a few simple rules to maximize the chances your photo will be deemed compliant by US passport authorities.
- Use a high-quality printer: Look for a printer with a resolution of at least 600 dpi
- Print on photo paper: Use photo-quality paper with either a matte or glossy finish
- Find a passport photo template: Use an online passport photo template that ensures your photos are formatted to the correct size
Pro Tip: Printing at home? Find out how to choose the best printer for your passport photos.
How to take passport photo at home: FAQs
Looking for additional information? Check out these frequently asked questions on taking US passport photos at home.
Can I take a passport photo with my phone?
How do I take a 2×2 passport photo on my iPhone?
How do I take my own US passport picture?
How can I make my own passport photo?
If you already have a photo you’d like to use for a passport, you can quickly and easily upload it to our web-based application. Once you do, we’ll run it through a test, and our biometric photography expert will let you know if the photo is compliant. Try it now!

Conclusion
According to the US State Department, over 22 million Americans applied for passports in 2022. Can you take a passport photo at home? Yes, you can—and it will save you time and money!
Here’s a brief overview of how to take your own passport photo at home:
- Learn the official requirements mandated by the US State Department.
- Find a well-lit area in your house.
- Snap your photo while looking directly into your phone’s camera.
- Crop and adjust the photo to adhere to official regulations.
And perform a compliance check to prevent problems with your US passport application.
Whether you decide to DIY your passport photo from scratch or use Passport Photo Online’s software to get everything expertly verified and done in seconds, we hope this guide saves you at least a bit of time sitting in traffic.
Enjoyed the post? Leave a comment below.

Simon Wojtyczka is a writer with experience living and working in 7 countries, each adding depth to his work. Holding a Master’s in Applied Linguistics, he has a profound grasp of language and its intricate ties to culture.