


If you take passport photos yourself, you’ll have to use editing software to adjust them to the official requirements.
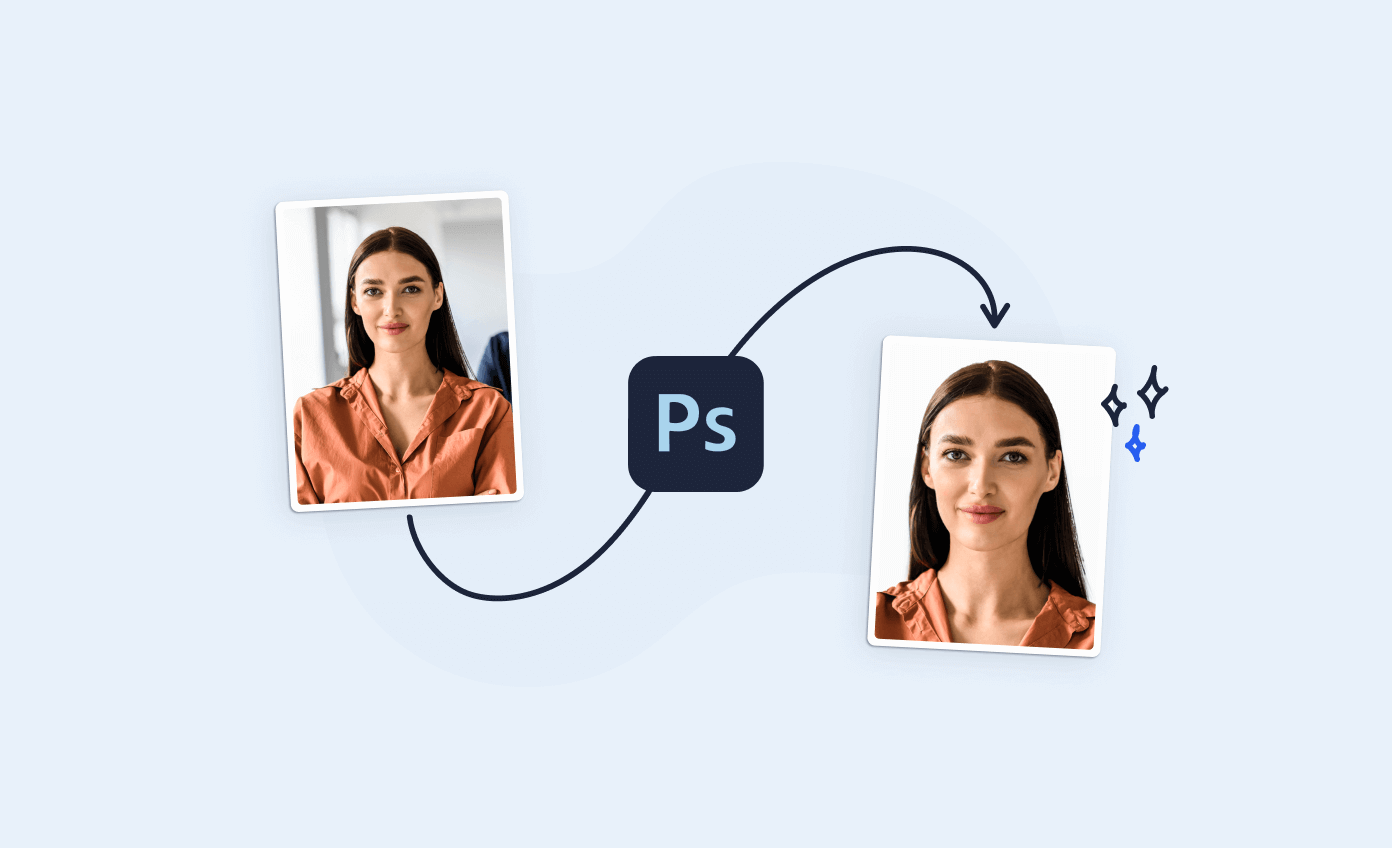
The first tool that comes to mind is probably Adobe Photoshop—one of the most used graphic editing programs in the world.
But how much can you actually photoshop a passport photo?
Let’s go over all the edits you can make on passport pictures and how to do them without having to be an expert graphic designer.
Want to effortlessly take a passport photo right now? Get our Passport Photo Booth App for iOS or our Passport Photo Maker App for Android and get started immediately!
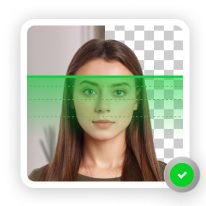
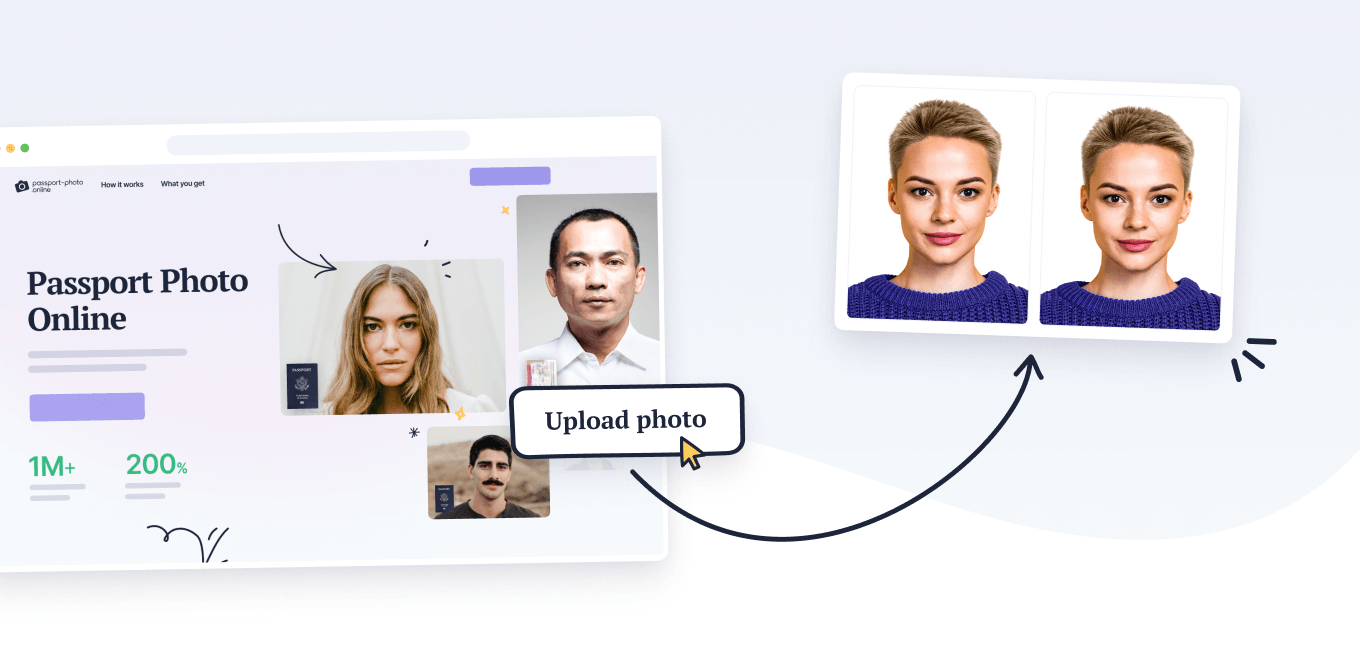
Get a 100% compliant passport photo with Passport Photo Online.
- Upload a selfie.
- Our AI crops, resizes, cleans the background, and adjusts the lighting.
- One of our human experts (available 24/7) reviews your photo within minutes.
- Download a high-res JPEG instantly or order prints with 2–3 business day delivery.


Get a digital passport photo – or order prints with Passport Photo Online.**
Unlimited Retakes
Competitive Pricing
GDPR & CCPA Compliant
Used by 1M+ Users Annually
I used Passport Photo Online and got a verified, compliant digital passport photo from a simple selfie. The whole process took about five minutes. The prints arrived just a few days later. I saved time and money and my passport application was accepted!
Looking for other ways you can edit a photo without spending money on Photoshop? Check these out:
- How to Resize a Photo to Passport Size
- How To Take a Passport Size Photo with a Mobile Phone
- Guide To Taking a Passport Photo on iPhone
- How to Take a Passport Photo with an Android Phone?
- Top 10 Apps to Take 2×2 Pictures
What can you photoshop in a passport photo?
You might have heard that the US government requirements don’t allow the use of editing software.
Technically, this statement is correct.
You aren’t allowed to modify colors, facial features, or any other elements that might interfere with identification. This also includes removing the red-eye effect or blemishes.
However, you can use Photoshop to change the following aspects:
- The passport photo’s size
- The picture’s background
That said, these edits need to be seamless.
If your head isn’t perfectly centered or there are any evident signs of editing, the authorities will reject the photos.
Now that we’ve clarified the basics, let’s see how to properly edit your photos with Adobe Photoshop.
How to change a passport photo’s size with Photoshop
The first thing you need to do is take a picture in a well-lit environment and upload it to your computer.
Follow our guide on how to take a passport photo at home for the perfect result.
Once you have your photo, you can start with the editing process:
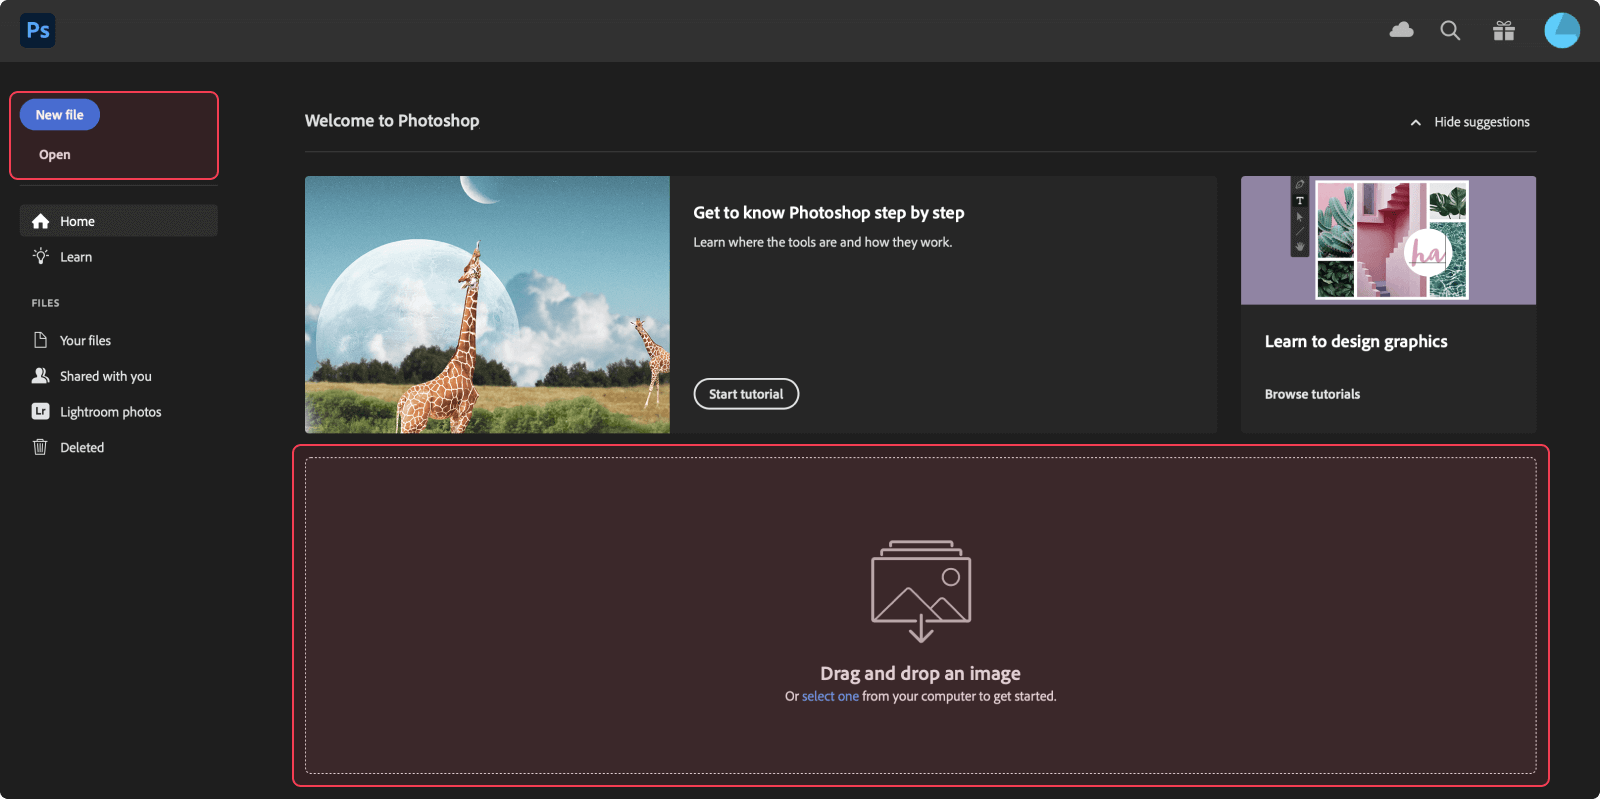
Run Adobe Photoshop and open the file
You can either drag and drop the icon or click on “File” in the top left corner, then choose “Open” on the drop-down menu, and finally select the file you want to work on.
Open the crop tool and resize the image
Go to the left side toolbar and select the crop tool icon (the 5th one from the top). This will open a new bar on the top of the screen, next to the home button.
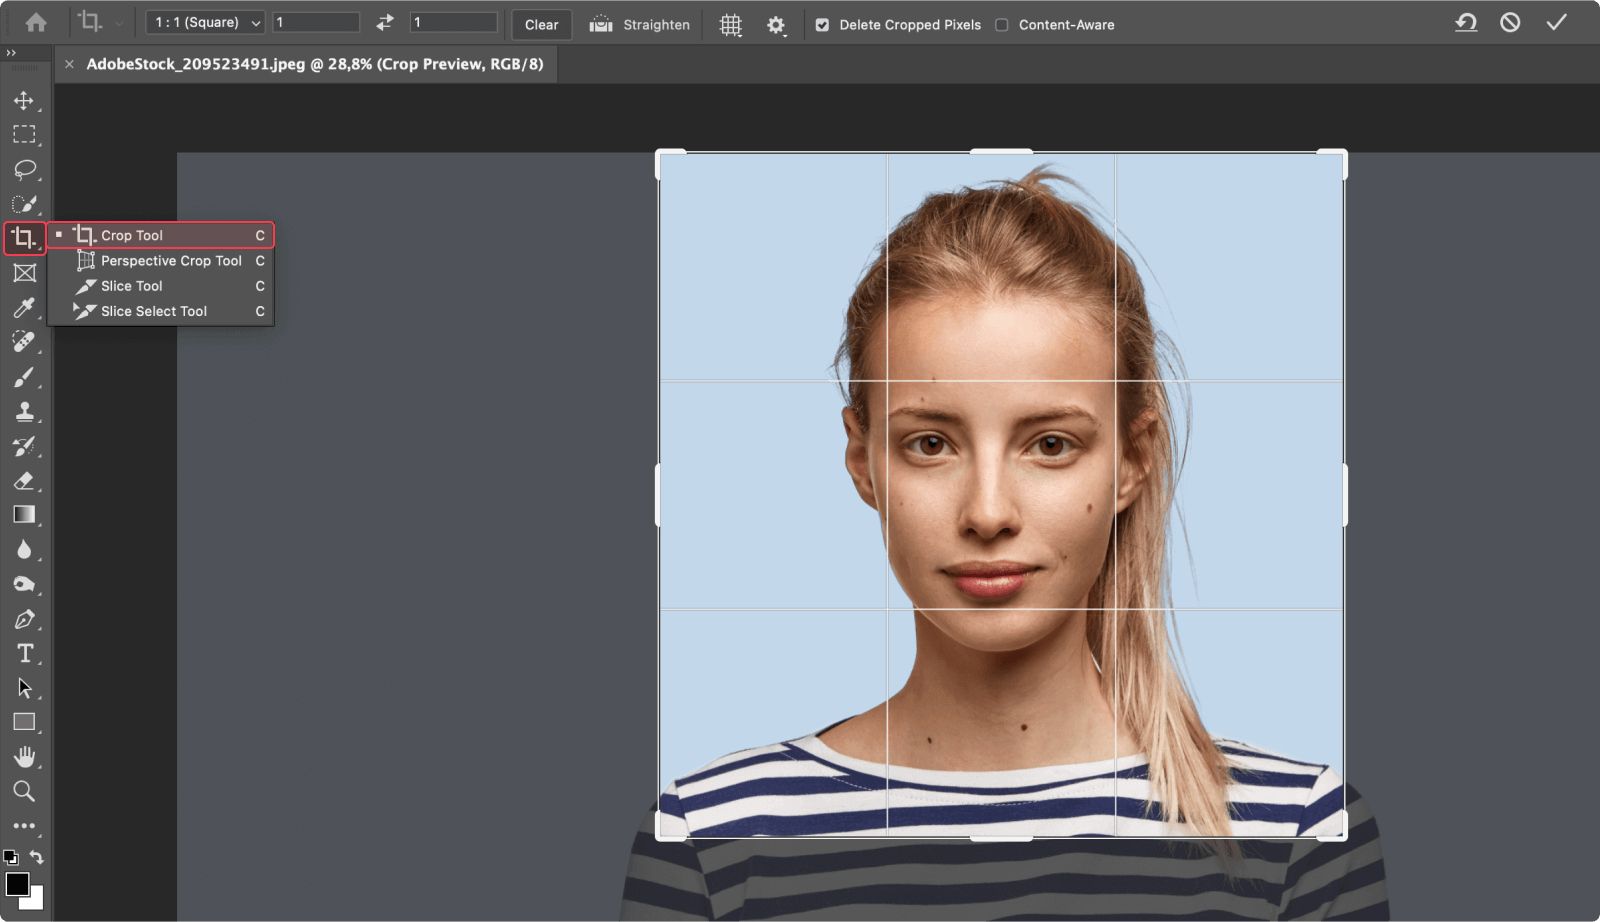
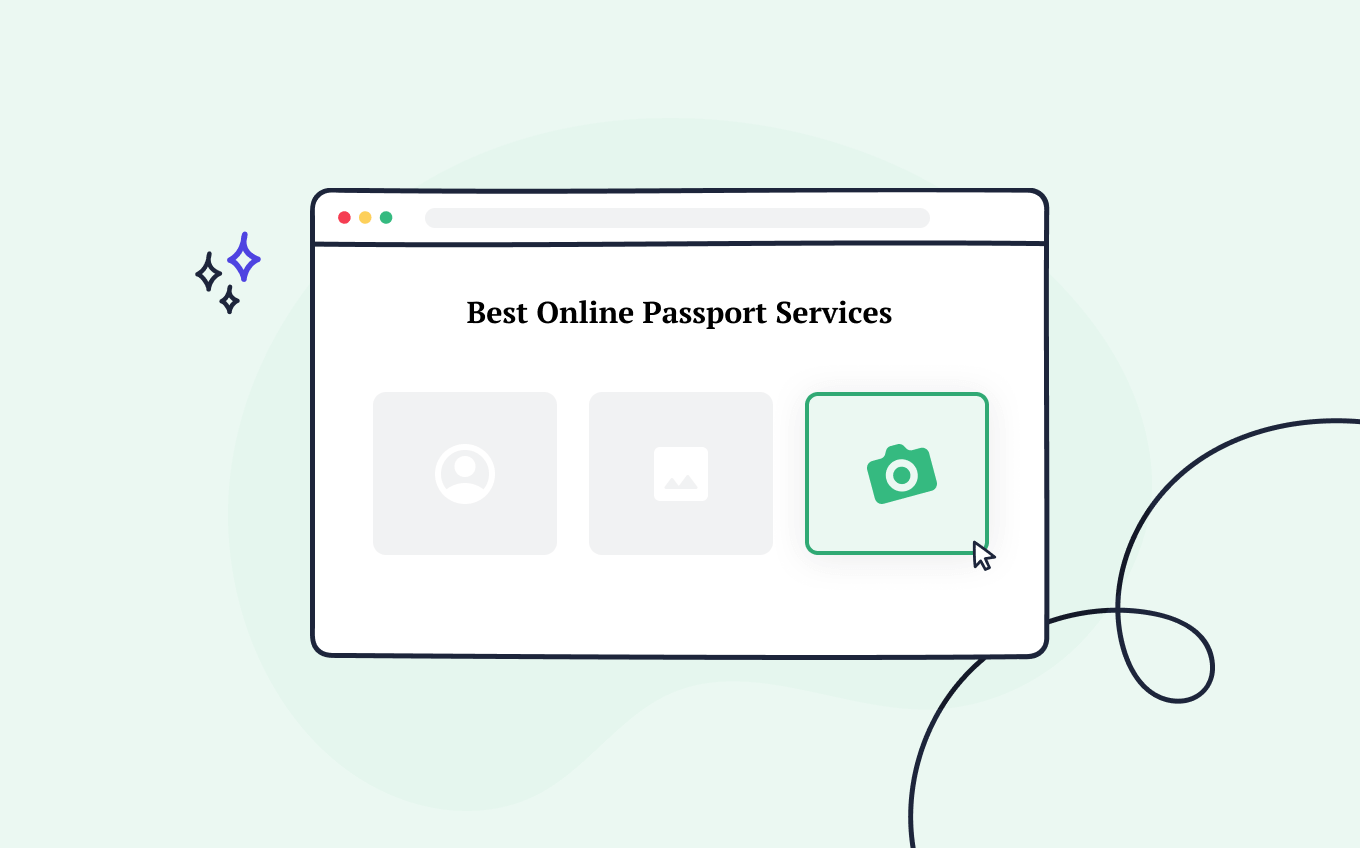
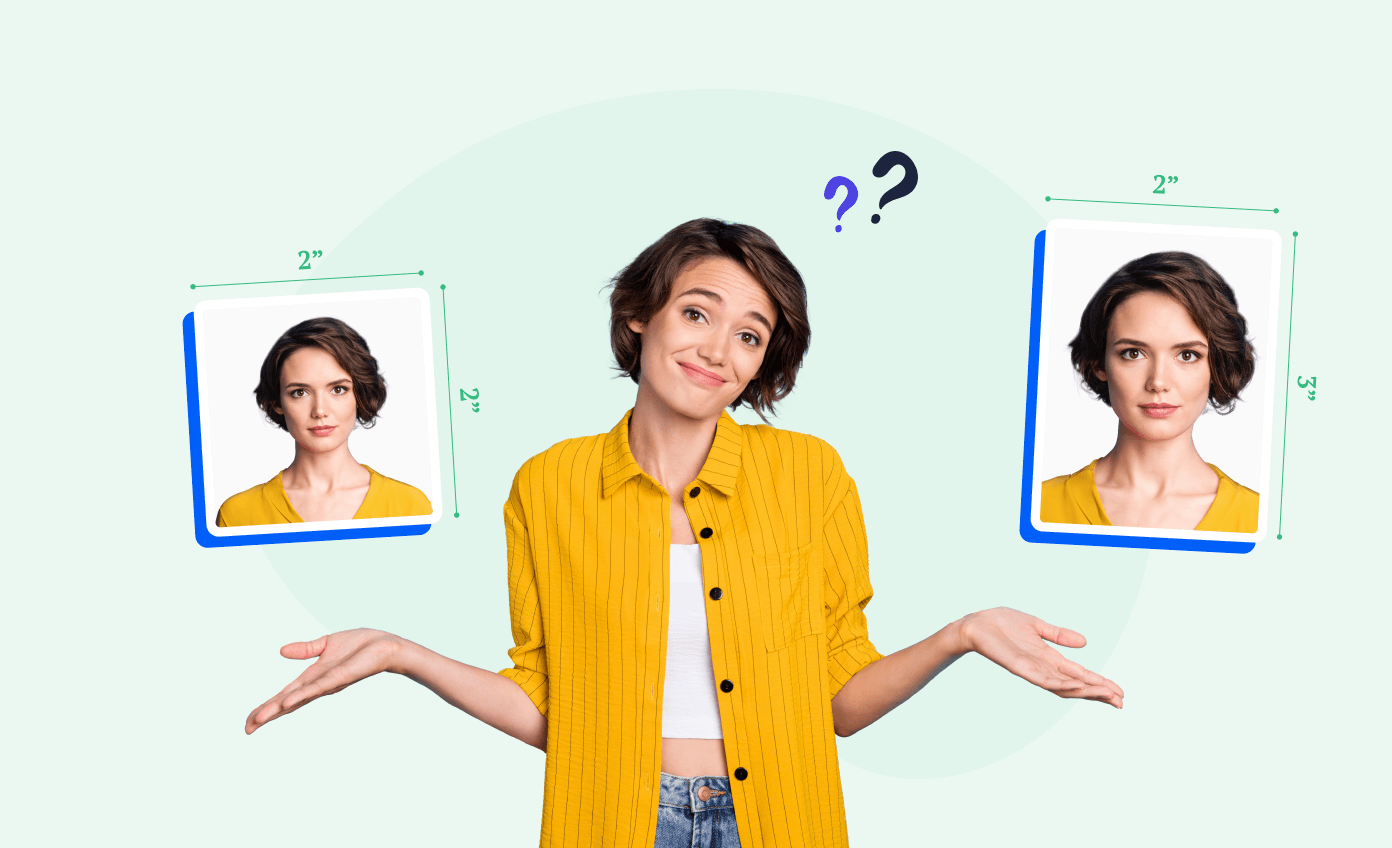
There, you can set both height and width to 2 inches. Then, set the resolution to 300 px. If necessary, center the head by moving the crop tool on the image (just as you would do with the State Department’s photo tool).
Save the image
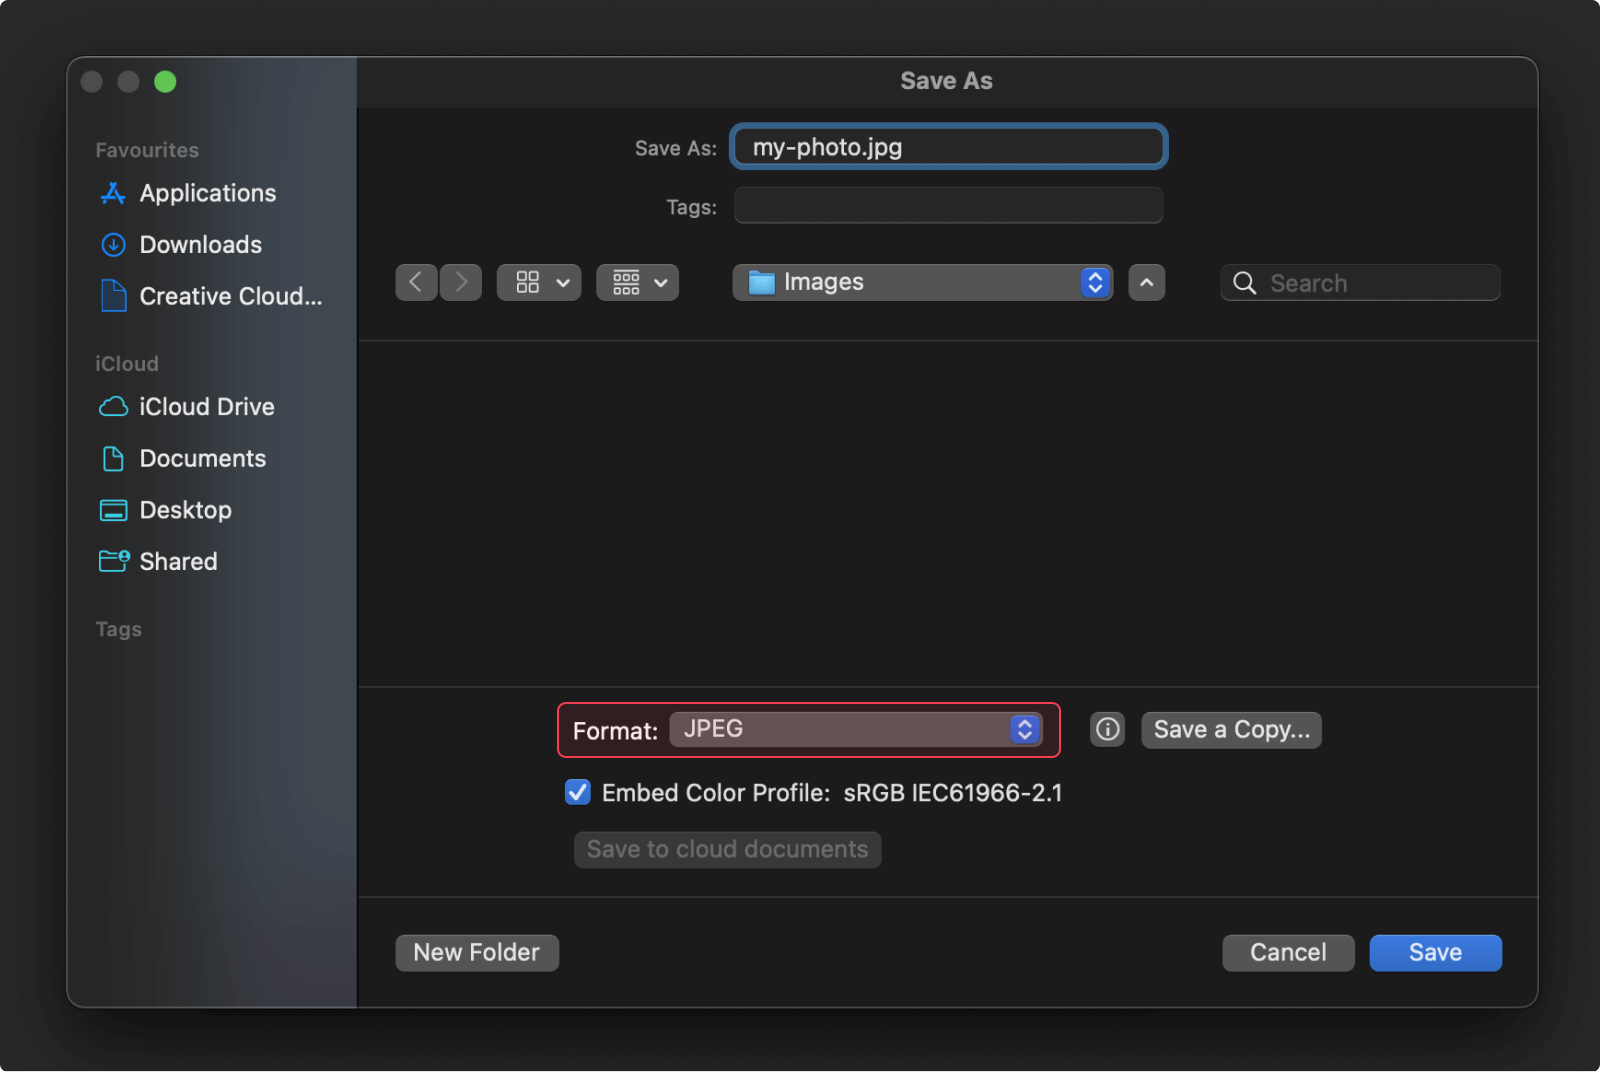
If you only need to resize your picture, you’re almost done. Go to the top left and select “File” again, then “Save As…”.
This will open a dialogue box in which you can select the format (in this case, JPEG) and choose the destination folder for your photo.
And…you’re done! Now you have a perfectly cropped US passport photo.
How to change a passport photo’s background color with Photoshop
There is more than one way to change the background color of a passport photo using Photoshop.
Theoretically, you could do it manually by using the brush tools, but there is also a selection tool that will do most of the work for you.
In this post, we’ll discuss the much easier and effective automatic selection tool.
Open the selection tool
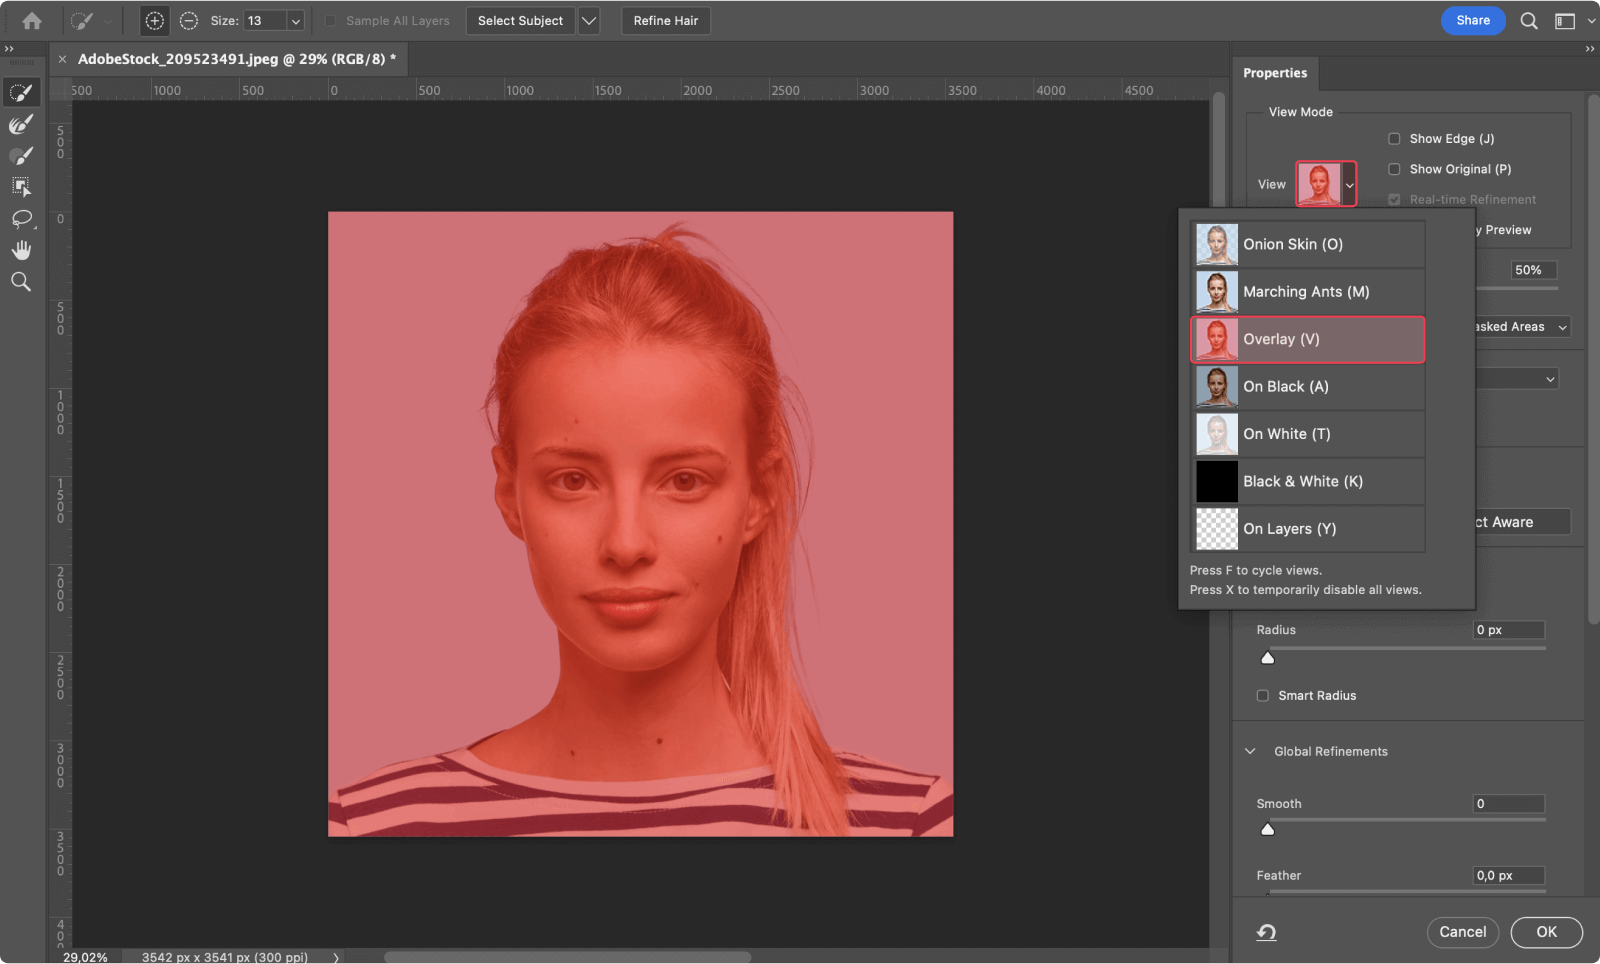
Import the image to Photoshop and click “Select” on the menu bar on the top. Then “Select and mask.” This will open a sidebar on the right side of the screen.
Go to “Viewing mode” and choose “Overlay” (V). After doing this, you should have a red layer over the image.
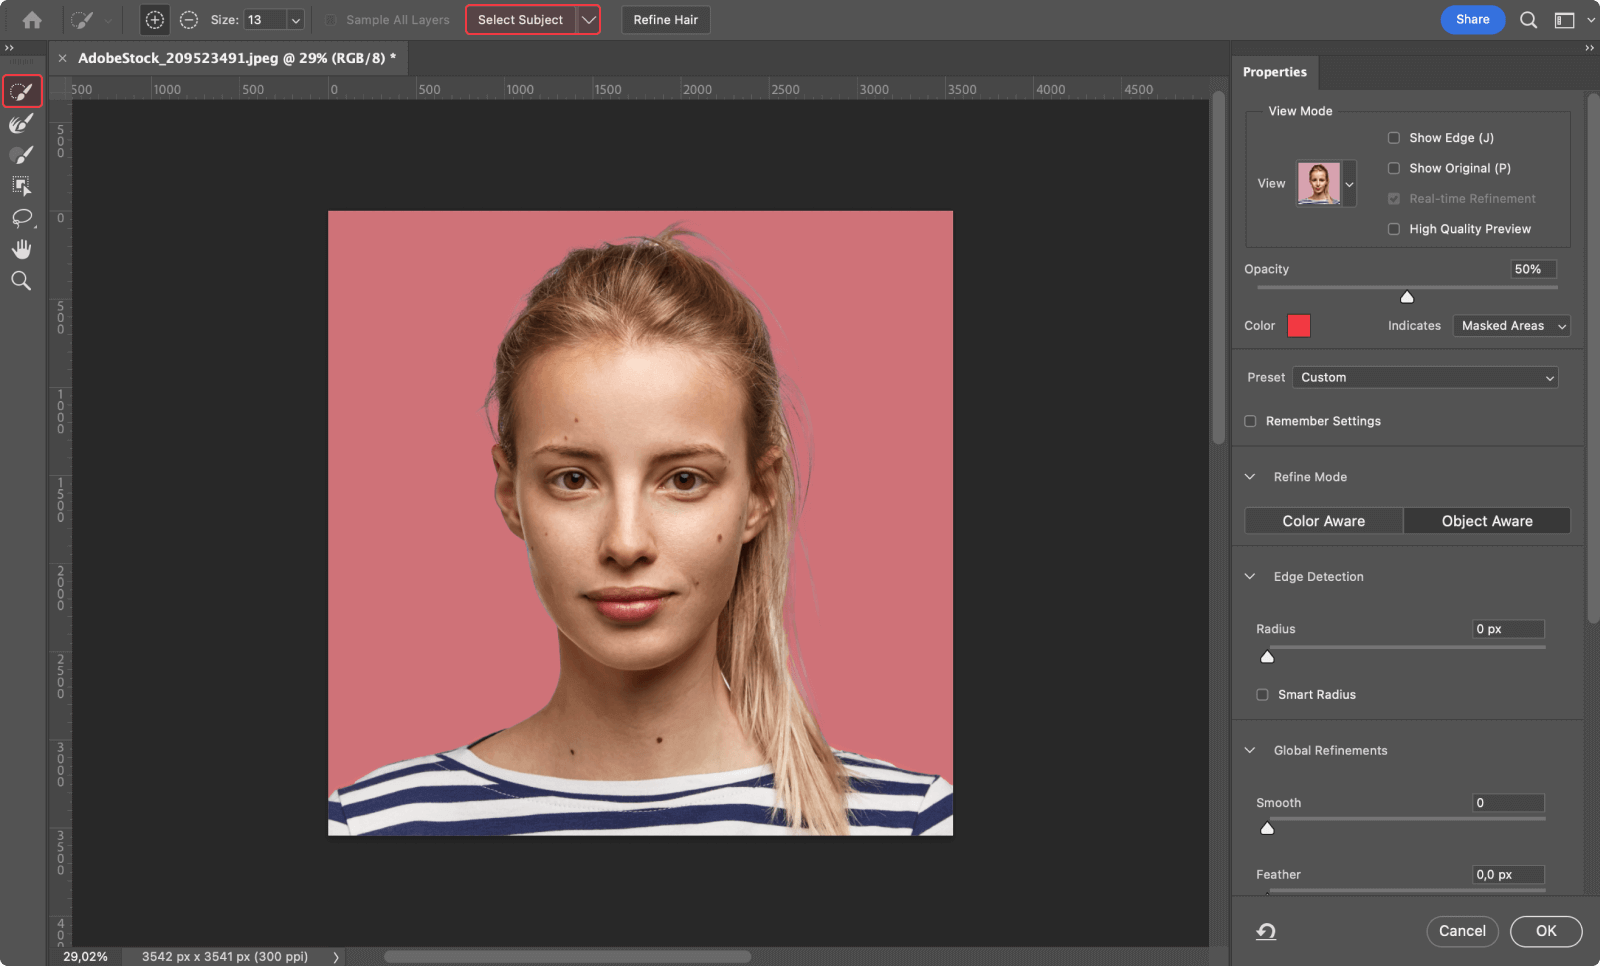
Select the subject
Go to the “Quick selection tool”. Zoom in and start cutting out the image. The AI should be able to distinguish the subject from the background automatically. If not, you can fix the mistakes by hand.
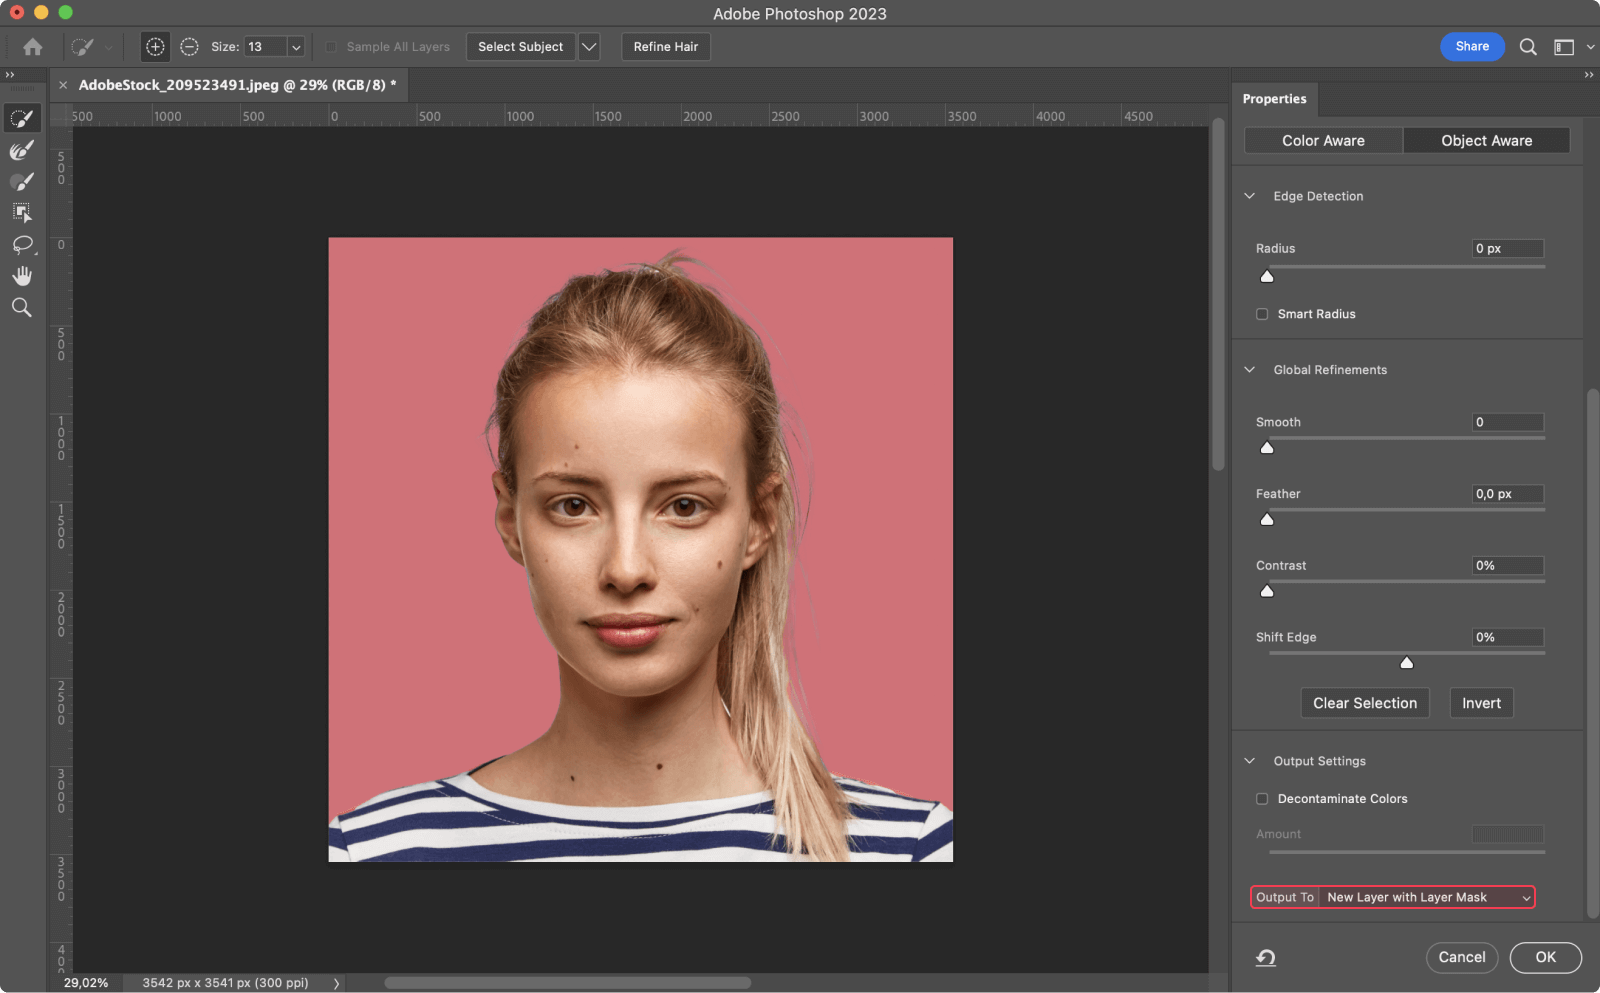
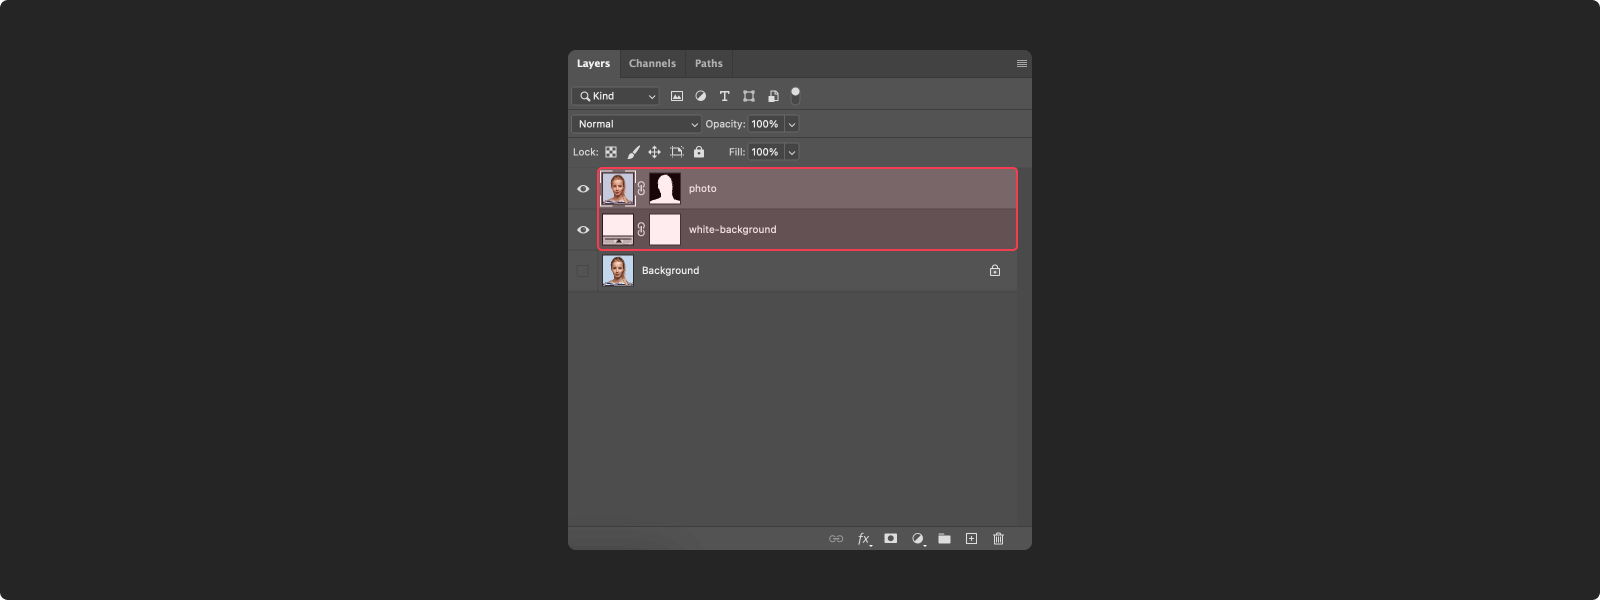
Create a new layer
Now that you’ve selected the part you’d like to keep, go to the bottom right of the screen and click on “Output to”, and then “New layer with layer mask”.
This will create a new layer containing only the highlighted part.
Create a plain white background
Create a new layer, use the fill tool to set it to plain white, and place it under the one you just created in the layers panel.
Once done, you should have your subject on a plain background, perfect for a passport picture.
Check for imperfections
The selection tool should have cut out the background properly, however, it’s always better to double check. Take a look at the edges around the hair and shoulders, making sure they look natural.
Go to the top menu bar, select “Layers,” then “Matting,” and “Defringe.” You can also do this step manually, by refining the edges with a black brush tool on the mask.

Your passport photo should be ready.
Creating a passport photo with Photoshop—pros and cons
Now that you know how to make a passport-size photo with Photoshop, let’s consider the advantages and disadvantages of using this photo editing tool.
Pros of using Photoshop for passport photos
- It’s a top quality editing software
- You can prepare your passport photos at home
- You can pick the size and resolution you need
Cons of using Photoshop for passport photos
- It requires some editing skills
- There is no guarantee that the changes you make follow official guidelines
- It’s a paid software (from $9.99 to $82.49 per month, depending on the version)
You’d rather not edit the photo yourself? Use Passport Photo Online and get a 100% compliance guarantee from our experts. We’ll also provide a passport photo template to print your pictures whenever you need.
FAQ
Can I photoshop my passport photo?
How do I make a 2×2 picture in Photoshop?
What is the resolution of a passport photo in Photoshop?
Conclusion
If you want to prepare your passport photos at home, Adobe Photoshop can help you resize the picture and remove the background.
However, you’ll need some editing skills to achieve a good result and, even then, there will be no guarantee you did everything right.
With Passport Photo Online, you can take passport photos with your smartphone and have them prepared without doing any of the work—100% guaranteed to comply with passport photo standards.
Sources

Riccardo Ollmert is a multilingual writer and travel expert. He studied Languages, Literature and Publishing Industry at La Sapienza University of Rome. His passions include traveling and learning new skills.