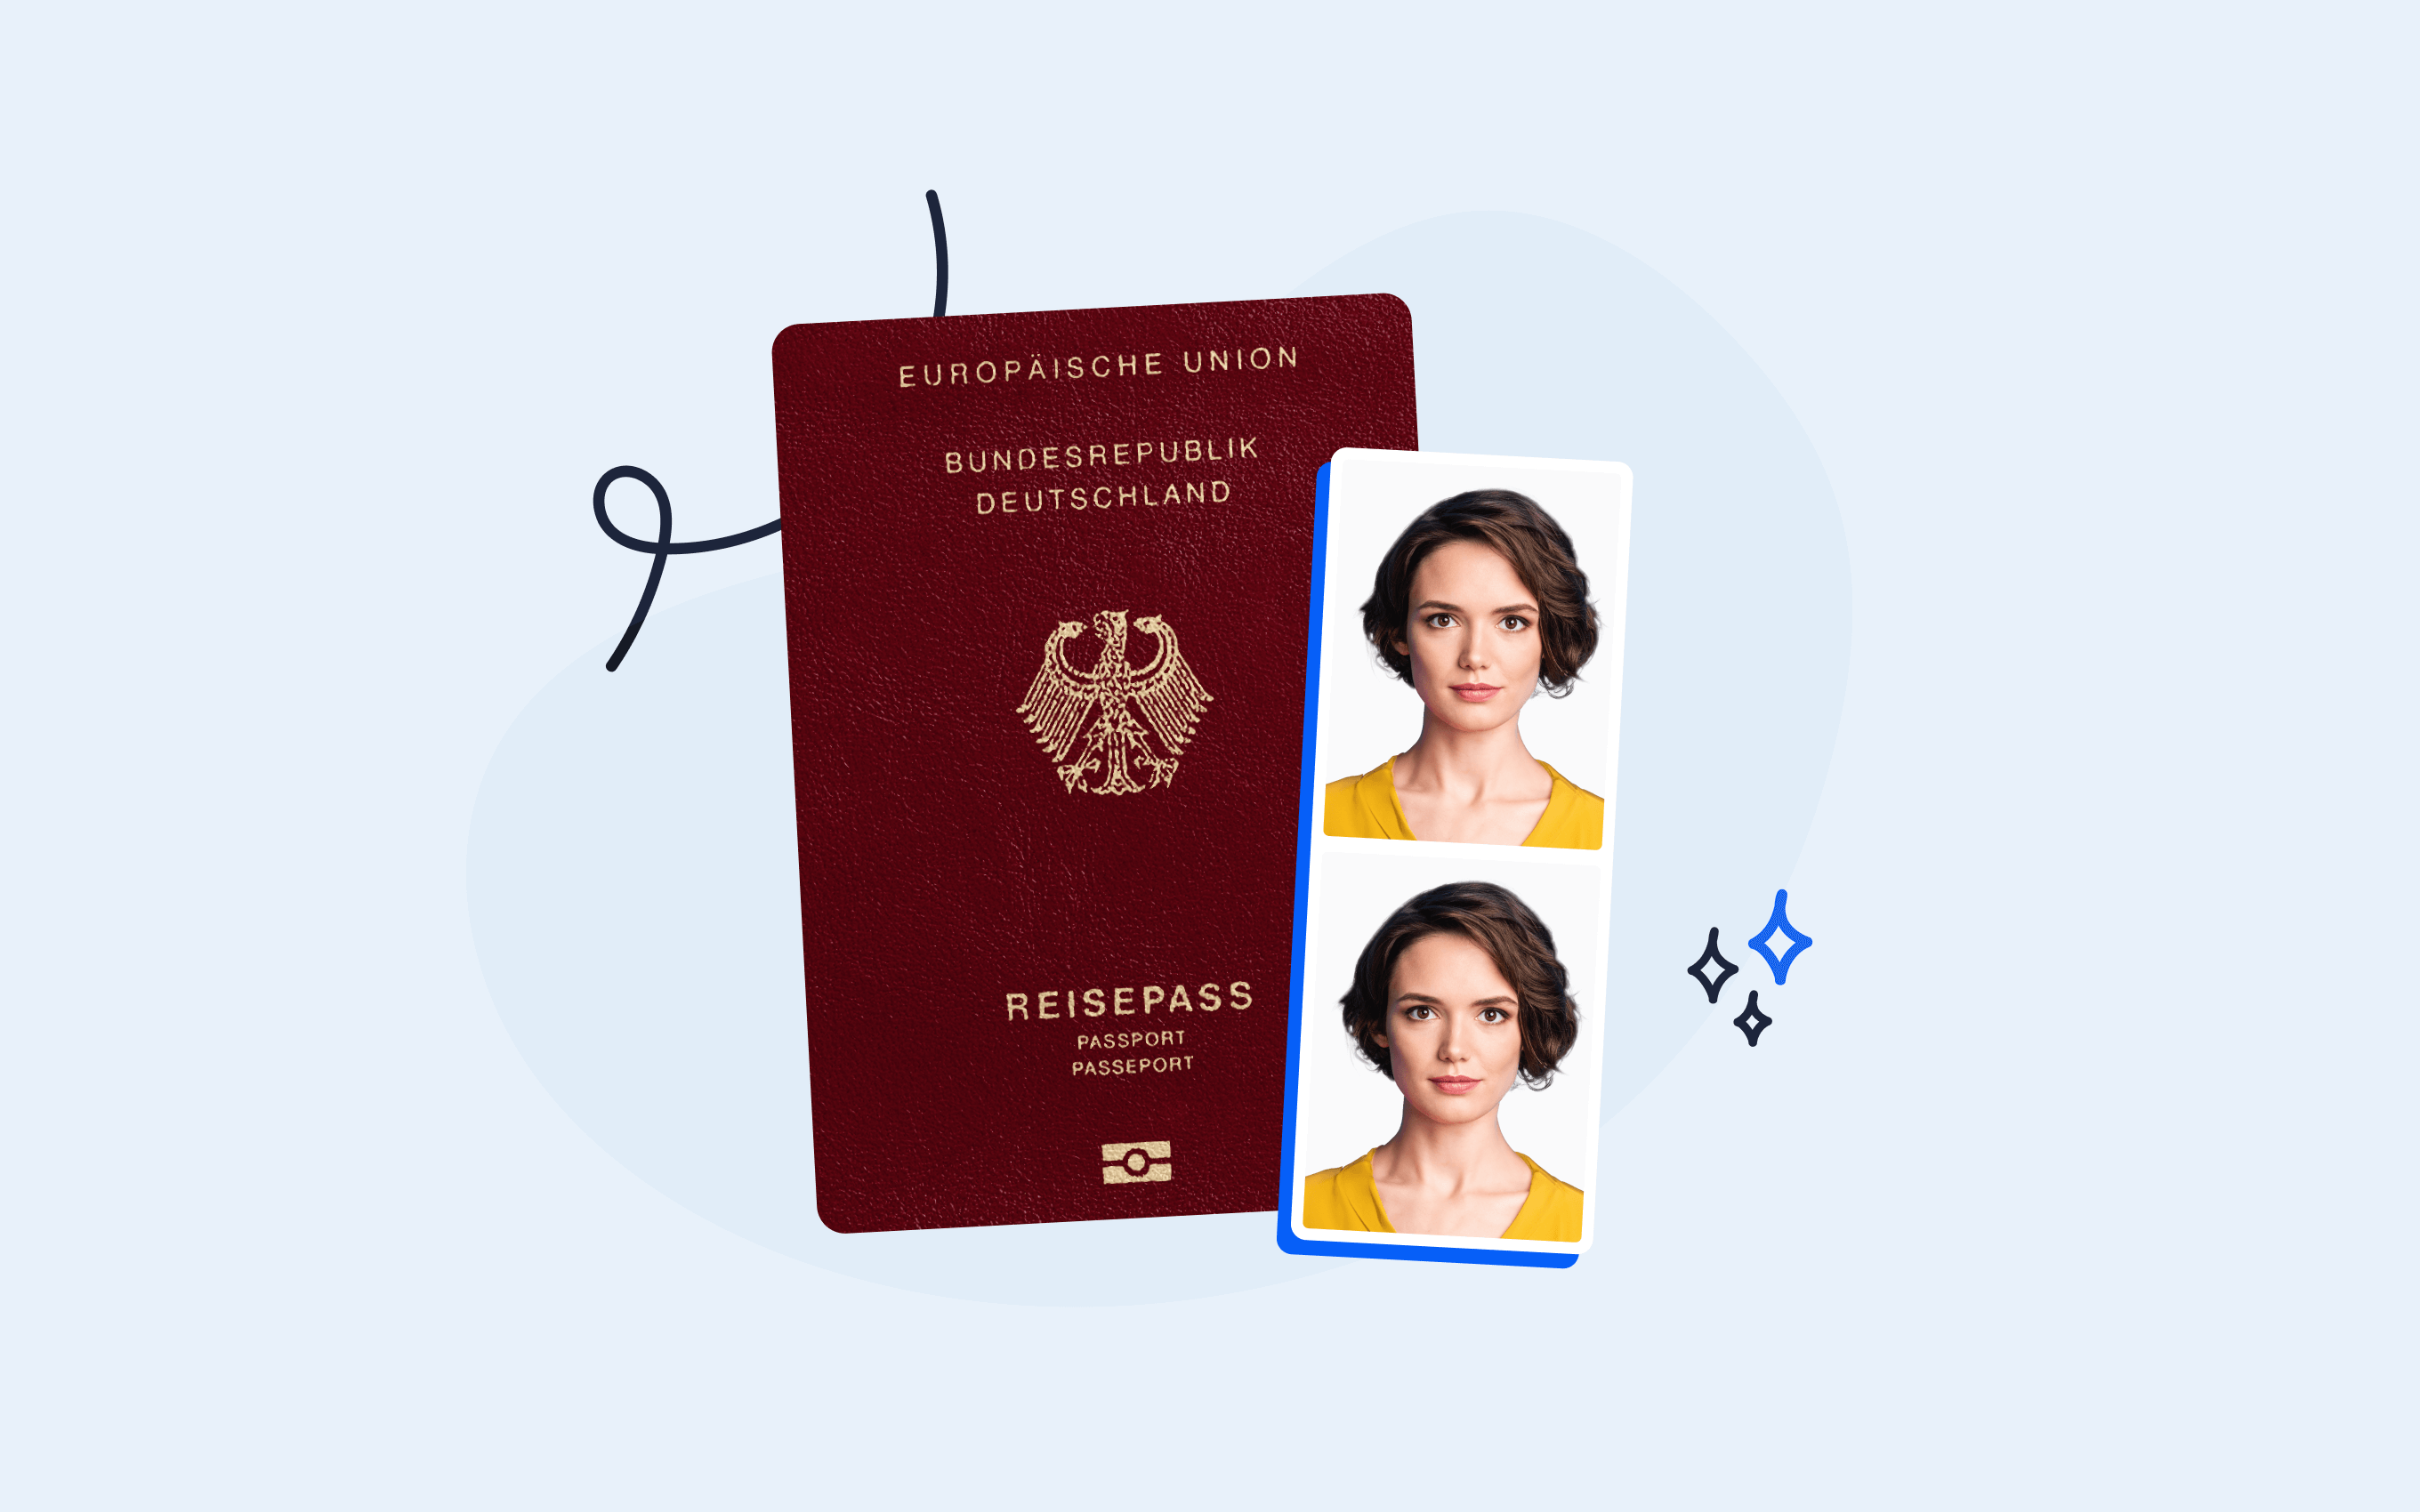
A US passport is a document that will stick with us for years. Ten years, to be exact. A decade is a long time, during which there will be plenty of opportunities to wave our travel document in front of someone – be they a border security officer, a civil servant at some national agency or even our employers requiring some documentation.
The circumstances may just keep on coming, so it makes perfect sense that you want to have a great passport photo, a photograph that you can proudly show off to anyone asking, without the slightest feeling of shame. Learn the most helpful passport photography tips and feel satisfied with your new passport picture.
Get a 100% compliant passport photo with Passport Photo Online.
- Upload a selfie.
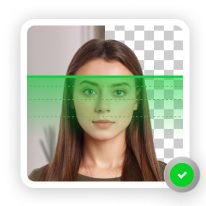
- Our AI crops, resizes, cleans the background, and adjusts the lighting.
- One of our human experts (available 24/7) reviews your photo within minutes.
- Download a high-res JPEG instantly or order prints with 2–3 business day delivery.


Get a digital passport photo – or order prints with Passport Photo Online.**
Unlimited Retakes
Competitive Pricing
GDPR & CCPA Compliant
Used by 1M+ Users Annually
I used Passport Photo Online and got a verified, compliant digital passport photo from a simple selfie. The whole process took about five minutes. The prints arrived just a few days later. I saved time and money and my passport application was accepted!
How to take a good passport photo
In order to get a great passport shot, there are two things that come into play: the picture’s compliance with passport photo regulations, and how good you look.
There is no use in preparing yourself and spending money for a passport photo shoot, only to end up with a rejected passport application. The key is to find the balance between requirements and looks.
Let’s start with the face: make-up and beard in a passport photo
What do officials say about make-up in passport photos? It’s perfectly fine to have it.
Although the official guidelines use such words as “basic” and “simple”, as long as you do not cover any key characteristics of your face, you are clear to not only wear makeup, but also to be a bit more generous with it. The camera can be unforgiving when it comes to any imperfections of the skin, so you may put on a little extra foundation.
Despite make-up’s classification as a woman’s tool, if you are a man you may also consider putting on a little bit, especially if you have dark circles under your eyes. It may make the difference between a tired face and a good looking face.
However, please make sure not to cover any scars or other characteristic marks, as these are considered biometric features. If you do so, you risk having your passport application rejected. To learn more about the rules and regulations regarding faces in passport photos, read our dedicated blog post.
Just like you are allowed to put on some make-up, you are also allowed to grow a long, thick beard, a goatee, or a mustache. All types, sizes and styles of beards are allowed in passport photos. The official requirements on beards and facial hair in passport photos are quite gentle, which means you don’t have to do anything with your beard. You may just let it remain as it is.
Keep your hair classic for a passport photo
You don’t need to, but it’s better to have a classic hairstyle for a passport photo. Trends come and go, but your passport picture remains the same for 10 years.
If you have long hair, a simple ponytail is the best option. Not only does it give you the convenience of not having to style your hair, but it is also an absolutely classic look that never gets old or outdated.
If you prefer not to go with this option, you may style your hair any way you want. It can go up, it can go down, it can even go sideways – in the official passport photo requirements, there is no list of accepted hairstyles.
If you have a beautiful bush of curls that goes in every direction, that’s fine as well. Simply make sure that your hair doesn’t go beyond the boundaries of the picture.
In the case of short hair and bangs, officials recommend tucking them sideways, so that your forehead is exposed. You may, however, keep your bangs as they usually are, as long as they do not cover your eyebrows.
The number of styles is countless and you can basically style your hair the way you please. However, whatever style you decide to opt for you must bear in mind two important things:
- Your face and eyes (with eyebrows) need to be visible, and
- Your hair must be fully visible within the photograph’s frame.
Extra advice:
Make sure your clothes are visible and not hidden below your hair. Otherwise, due to the close-up nature of the passport photo, you may appear topless.
How to dress for a passport photo
Even though clothing is not the main part of the picture and it takes up just a little space in the picture’s frame, the passport photo dress code is more important than you might think.
First of all are the colors. People have the tendency to dress elegantly for government issued photo identification documents, such as passports. Often, this means wearing a white collar shirt.
However, unless you want to look like a levitating head, it is better to avoid wearing white clothes with a white background – which is used for document photographs. Use colors instead: red, navy blue, green, yellow – you name it.
Due to the nature of passport photo cropping, only a part of your neck and chest will be visible. For this reason it is better to wear clothes that have a tight neckline. If your clothing exposes your cleavage, it may come off like you’re not wearing any clothes at all in the passport photo. Who wants a topless passport picture?
Don’t overthink your appearance. The best way to dress for a passport photo is simply casual. Put on the clothes that you wear on a daily basis, do not overdress. Not only because it may look bad, but also because these are the official passport photo guidelines of the Department of State. Casual is the best passport photo look.
Important note: generally, any head coverings are not allowed, but, if it’s for religious or medical purposes, passport agents may approve such a photo. However, you need to convince them that you indeed have a legitimate reason for covering your head in your passport photo, with either a signed doctor’s statement (in case of medical), or a signed note from a religious representative.
Pose naturally and neutral, but a natural smile is also okay
The US Department of State recommends a neutral facial expression for passport photos, but a gentle smile is also allowed. If you are looking for a charming, yet delicate smile, it may be difficult to get it perfect on the first try.
You may find your mouth dry, and the smile might come off a bit unnatural. Just like with sports, it’s good to give your face muscles a bit of exercise to warm them up. So, if you want to get a perfect shot – chew some gum beforehand.
When it comes to the rest of your body, you may either sit down or stand up. Despite what choice you make, remember to keep your back straight, and you can even move your shoulders slightly backwards, to give yourself a better looking posture. Additionally, you can also put your chin forward ever so slightly, to give yourself a better looking jawline.
And of course – look straight at the camera. Remember to keep your eyes open, but don’t overdo it. Unnaturally big eyes are not good passport photo material.
Passport photo do’s and don’ts
Taking a passport photo comes with some regulations and guidelines. Regardless of whether you are using the services of a professional photographer or prefer taking a passport photo yourself, it is better to be aware of what those limitations are, so as to avoid any unpleasant surprises when you submit your passport application.
Here are 9 (nine) tips on how to take good passport photos:
- Avoid wearing colorful or large hair accessories (a regular pin is OK).
- Keep a natural facial expression (a gentle smile is acceptable).
- Put on clothes you usually wear (no camouflage or uniforms).
- Do not hide distinctive facial features (if any).
- Ensure your face is free of shadows.
- Do not go over the top with makeup.
- Look straight into the camera.
- Keep your eyes open.
- Do not wear glasses.
Need a new passport photo soon? Learn the rules by checking out
- Best Online Passport Photo Service in 2025 [6 Tools Reviewed, Legitimacy Checked]
- Where Is the Best Place to Get a Passport Photo?
- Wallet Size Photo Dimensions: How Big Is a Wallet-Size Photo?
- German Passport Photos [Guidelines & Where to Get Them Near You]
- UK Passport Photo Online [Expert-Verified]
- 4×6 Passport Photo Template for Printing [Make One at Home & Print for Cents]
- US Passport Photo Size & Dimensions for 2025
Technical requirements of passport photography
This part of the blog is dedicated specifically to those of you who want to take their own passport pictures. But even if you took a trip to a professional photography studio as a certainty, you may reconsider this option after seeing how easy it is to actually take a passport photo yourself!
We won’t be going into details here, but if you would like to get a complete guide on how to take a passport photo yourself at home, have a look at our dedicated post!
US passport photo size
The official guidelines on passport photo size and dimensions might seem a little off putting at first sight, but with a little explanation and the proper tools, the task to take a properly sized photo becomes trivial.
First, let’s take a glance at what the US Department of State has to say about passport photo size:
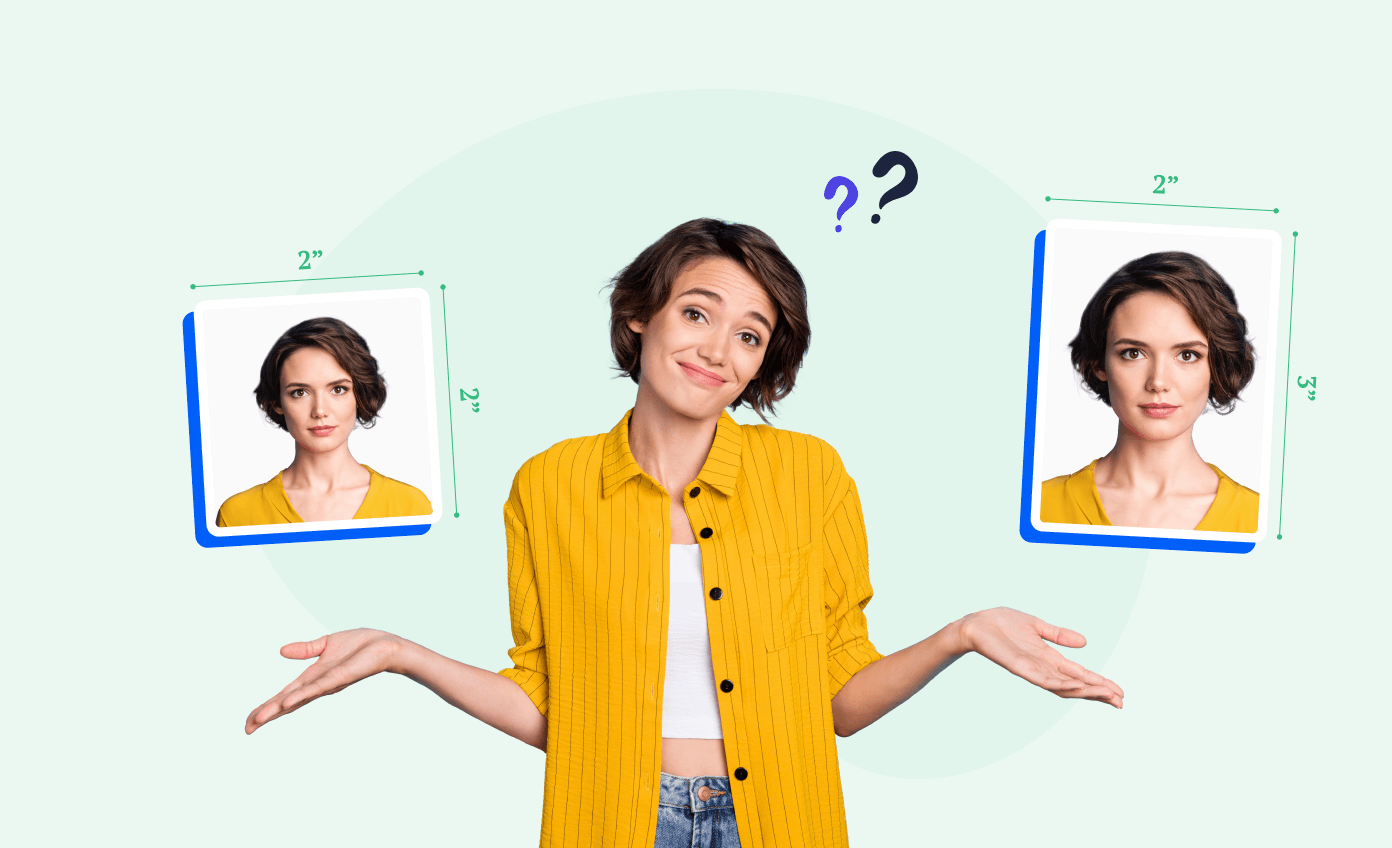
- US passport pictures must have a size of 2 x 2 inches (51mmx51mm).
- Your head has to be between 1-1 3/8 inches (25 – 35 mm) from the bottom of the chin to the top of the head.
The first part is no challenge – you simply need to remember to print the photo accordingly. But measuring my head from the bottom of my chin to the top of the head? That one stands out as more of an obstacle while taking a passport photograph.
For this reason, it is best to use specialized tools, which will crop the image according to the official passport photo regulations. That way you can make sure your head is exactly between 1 and 1 3/8 inches. If you want to learn more about the software, please keep reading – we’ll be covering it in more depth later on.
Background for passport photo
Let’s say you are all fit and ready for taking your new perfect passport picture. You’ve got your make-up on, suitable clothes (with a tight neckline) and you are aware of what the correct passport photo size is. Now it is time to find a background.
In the official US passport photo guidelines, we can find information stating that the best background is a plain white one. However, some other whitish or grayish colors are acceptable as well.
When it comes to choosing a background for a passport photo, there are two things you should take into consideration:
- The color and structure, and
- Lighting conditions.
The color is obvious – we want a plain white background, which means it is best to find a white wall. As to the structure, make sure there are no objects, nor substantial imperfections showing. Nothing should disrupt the picture or provide a distraction.
But proper lighting is just as equally important. The passport photo can be rejected due to a number of factors, and improper lighting is one of them. But the solution to this problem is super easy – just look for a wall that is facing a window. And that’s it. Natural sunlight is not only sufficient, but also provides the best lighting conditions for passport photos.
Once you have found a (preferably white) wall facing a window, you just need to apply our tips on how to pose and face the camera.
Taking the passport photo
So now we have all the ingredients for taking, potentially, the best passport photo yet. Now, it is just a matter of actually taking it. Do you need a professional camera to do so? No.
As it turns out, you can use either your smartphone or your camera. We have covered that topic in more depth in this blog post.
The story is simple: use a tripod or ask a friend to help you, because selfies are not allowed. Position the camera at eye level to get the most flattering angle.
Once you have this covered, it is just a matter of taking the photograph. Make sure it is not over or underexposed. If you are not sure what this means, just use the automatic mode on your phone or camera. You don’t need to struggle with taking the picture perfectly – both the proportions and cropping will be taken care of later on. Just try to make it sharp and without any blurs.
And voilà – your new passport photo is almost ready for submission at the passport agency.
Before you submit your passport photo: the do’s and don’ts
According to the statistics provided by the US Department of State, incorrect passport photos are the no.1 reason for failed passport applications. In order to avoid facing rejection, have a look at our list with the most common mistakes and aspects to pay extra attention to.
Passport photo do’s and don’ts:
- make sure the photo is not under or overexposed,
- don’t retouch the images (filters, enhancements, etc.),
- use natural daylight,
- don’t use the flash on your camera,
- camera should be level with your eyes,
- don’t cut your face out of a larger photo,
- some digital alterations, like cropping, are allowed,
- it’s better to take a slightly bigger picture and then resize it,
- use specialized tools for cropping.
Passport Photo Online can help you get the passport picture just right
We have already mentioned the online tools which can help you get the passport picture just right. Now it is time to explain this a little more.
What we recommend using is Passport Photo Online – a generator that can transform your home-made photographs into legitimate passport photos in a matter of seconds. And it does so very accurately.
Passport Photo Online uses advanced AI technology to scan your pictures to ensure compliance with official passport photo regulations – the program will tell you if everything with your image is right, and if not it will specify what aspects are incorrect. There is also a panel of experts who can double check the photograph, to make sure your photo will be accepted.
Once your picture is clear in terms of the requirements, Passport Photo Online then adjusts it visually, by removing the original background and replacing it with a plain white one. The lion’s share of the algorithm is dedicated to this aspect, to make sure the picture looks just like it would if it were taken in a professional photo studio.
The last step is to crop the picture, and Passport Photo Online does this automatically for you, taking into account the required size and dimensions.
As a result, you will receive a passport photo ready for submission with a guaranteed acceptance. The whole process takes just seconds and you can repeat it as many times as you wish, uploading different photographs.
And when you have your perfect passport photo, you can order it either in a digital version, or have it shipped straight to your doorstep, printed on a high quality paper, and suitable for passport applications.
Passport photography tips – a wrap up
There are quite a few aspects to pay attention to when taking a passport photo. Some are more relevant while others are less so. The most important thing is for the photo to be in accordance with the official guidelines, because if you fail to comply with the rules, a flattering photograph will be of no use.
Make sure, then, to not only dress appropriately, but also to use professional tools, which will guide you through the process and edit your photos to ensure compliance.
Use our tips and Passport Photo Online to not only receive a good looking passport photo, but also one that is perfectly suitable for your submission !
FAQs
Can I use a selfie for a US passport photo?
Can I show my teeth in my passport photo?
Can I wear a necklace in a US passport photo?
Sources
Adam is an SEO & Digital PR writer with a child’s curiosity about the surrounding world. His superpower to dig out juicy facts got him citations in Forbes, Social Media Today, and 90+ other news outlets. Adam enjoys snapping pictures and won the national Huawei Next Image Award.
