


Create the Perfect Student ID Photo
Take the perfect student ID photo from the comfort of your home. Acceptance guaranteed.

As seen in


As a data-driven content creator and a member of the Society of Professional Journalists (SPJ), Max has 5+ years of writing experience. Over the course of his career, Max's work has garnered significant attention, with features in numerous prominent publications such as The New York Times, Forbes, Inc., Business Insider, Fast Company, Entrepreneur, BBC, TechRepublic, Glassdoor, and G2.
Mateusz is a seasoned specialist in biometric photography with over 5 years of hands-on experience. As a member of the prestigious British Institute of Professional Photography (BIPP) and the Association of Photographers (AOP), he has helped thousands of clients worldwide capture compliant photos for official documents.
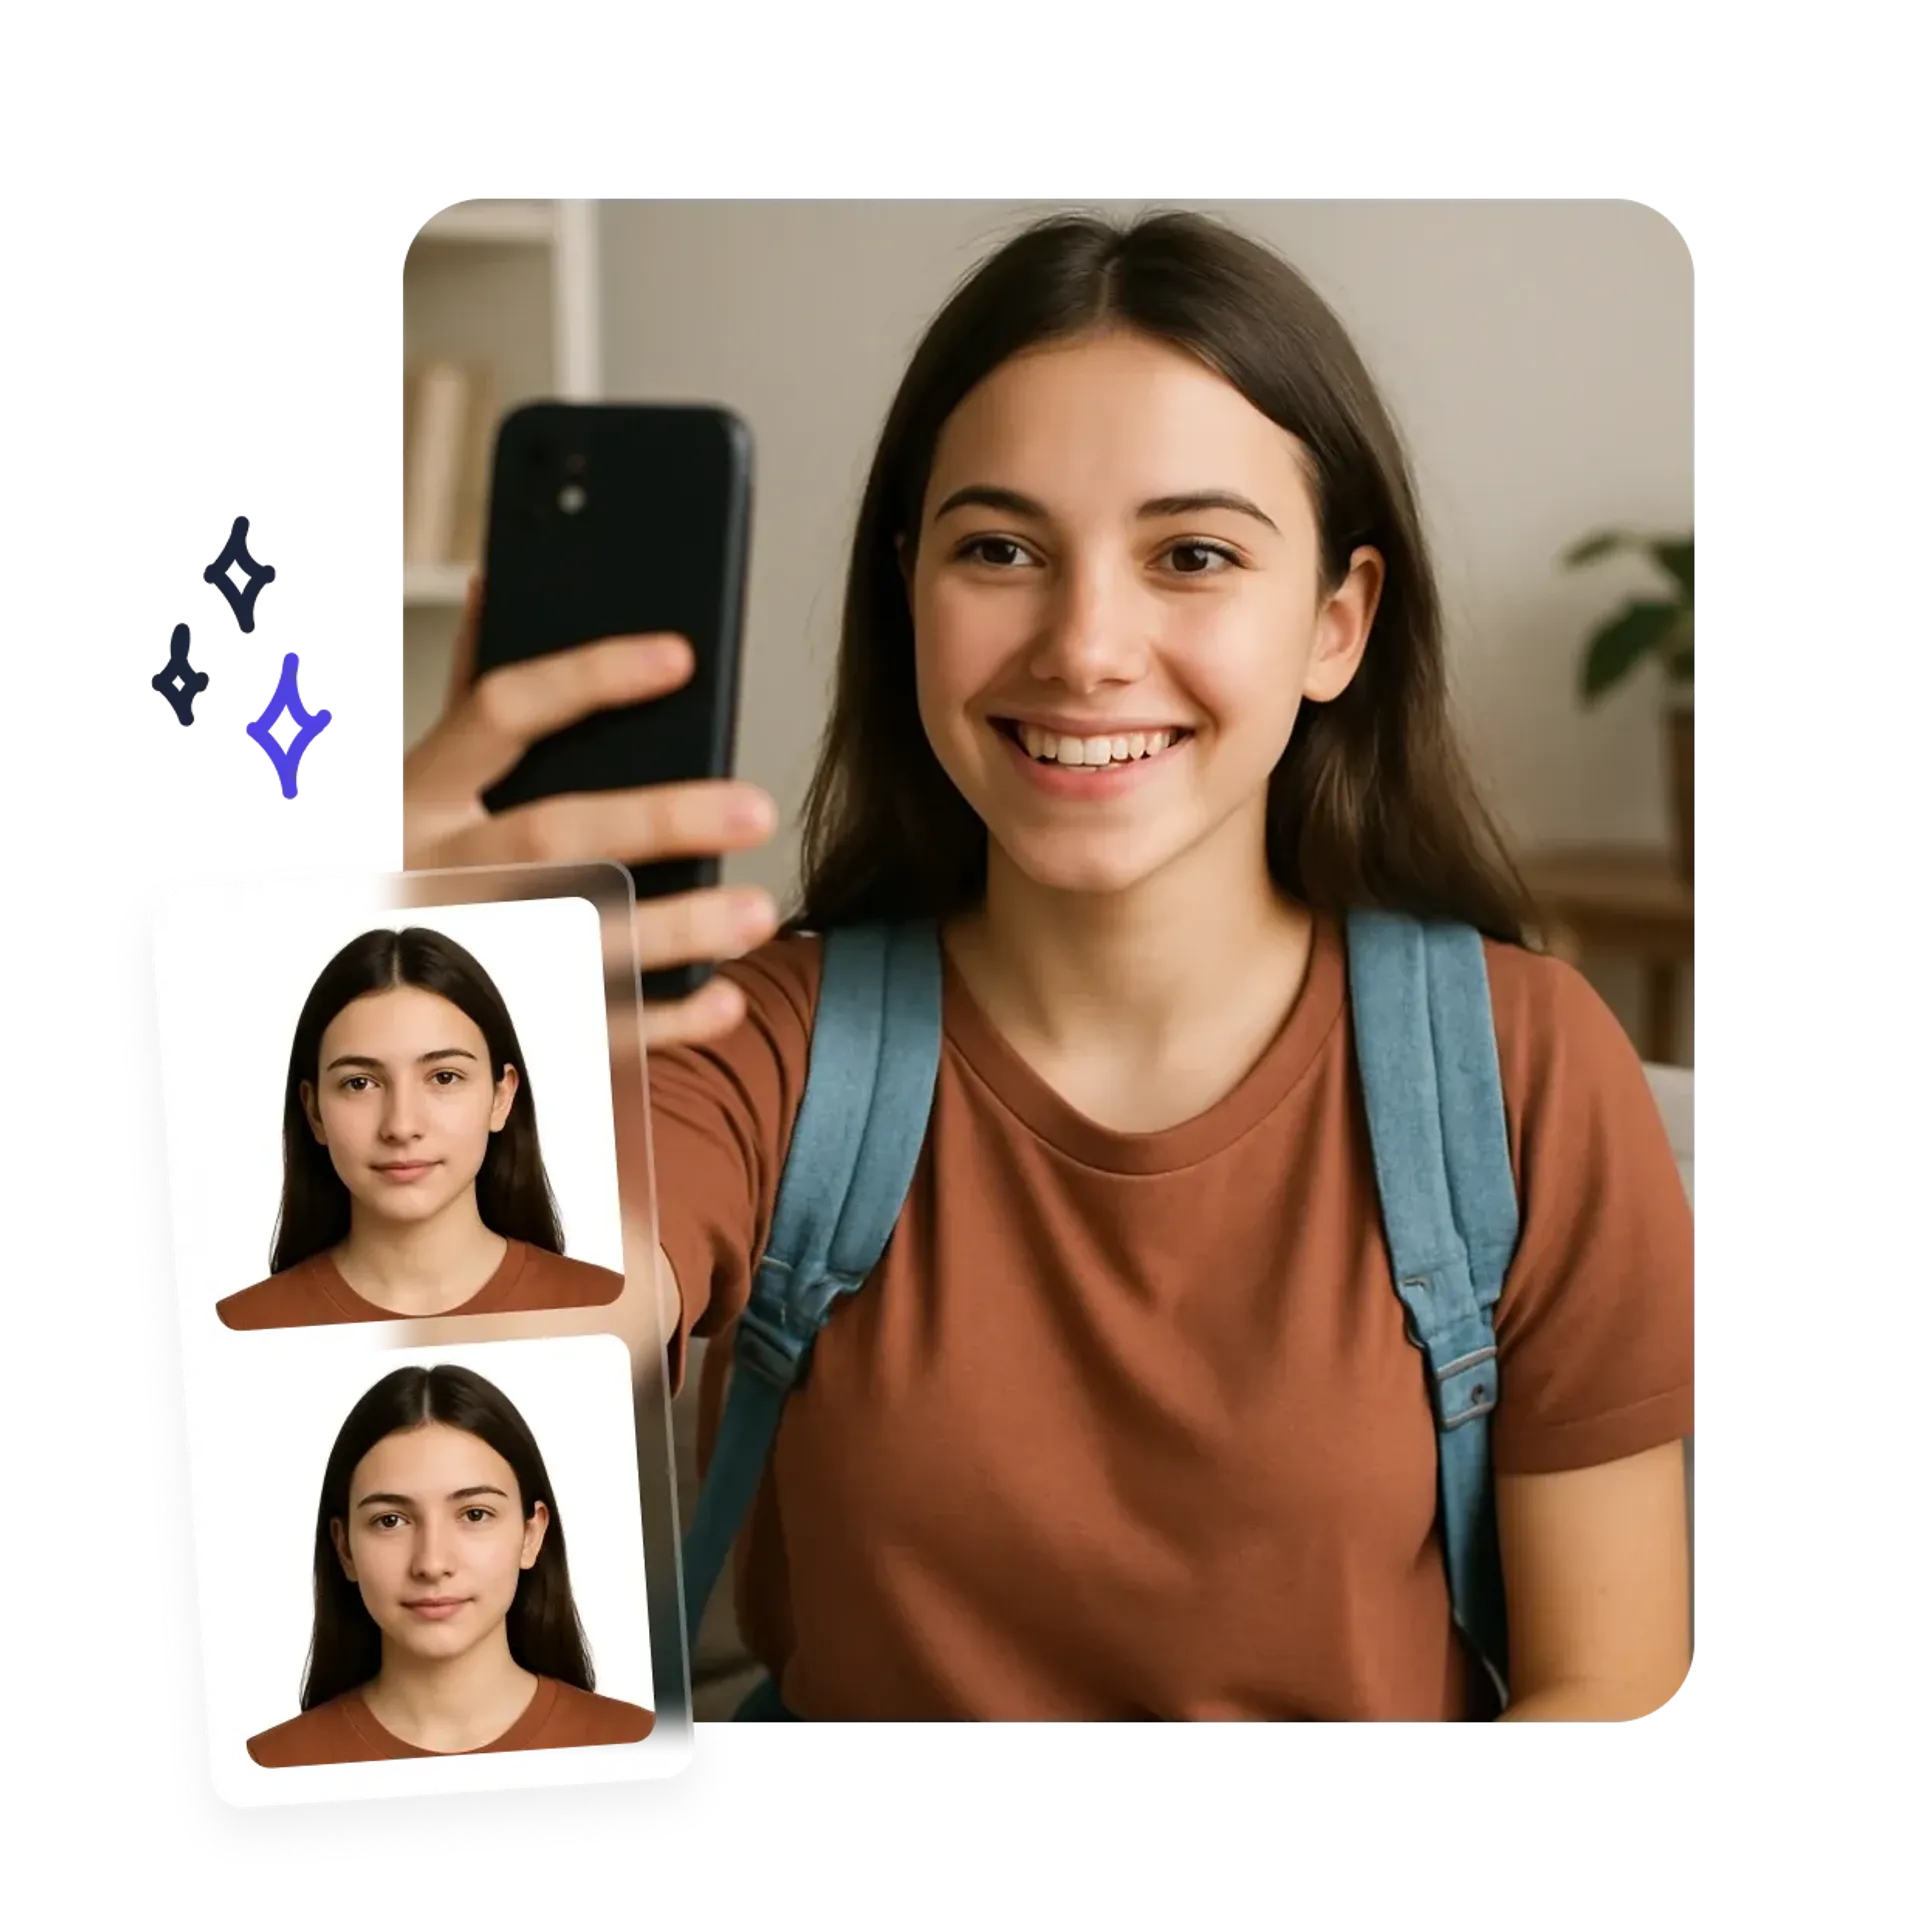
How to Take the Perfect Student ID Photo at Home
Want your student ID photo to look good and get accepted? This guide shows you how to snap the perfect shot at home in just a few easy steps.
Let’s dive in:
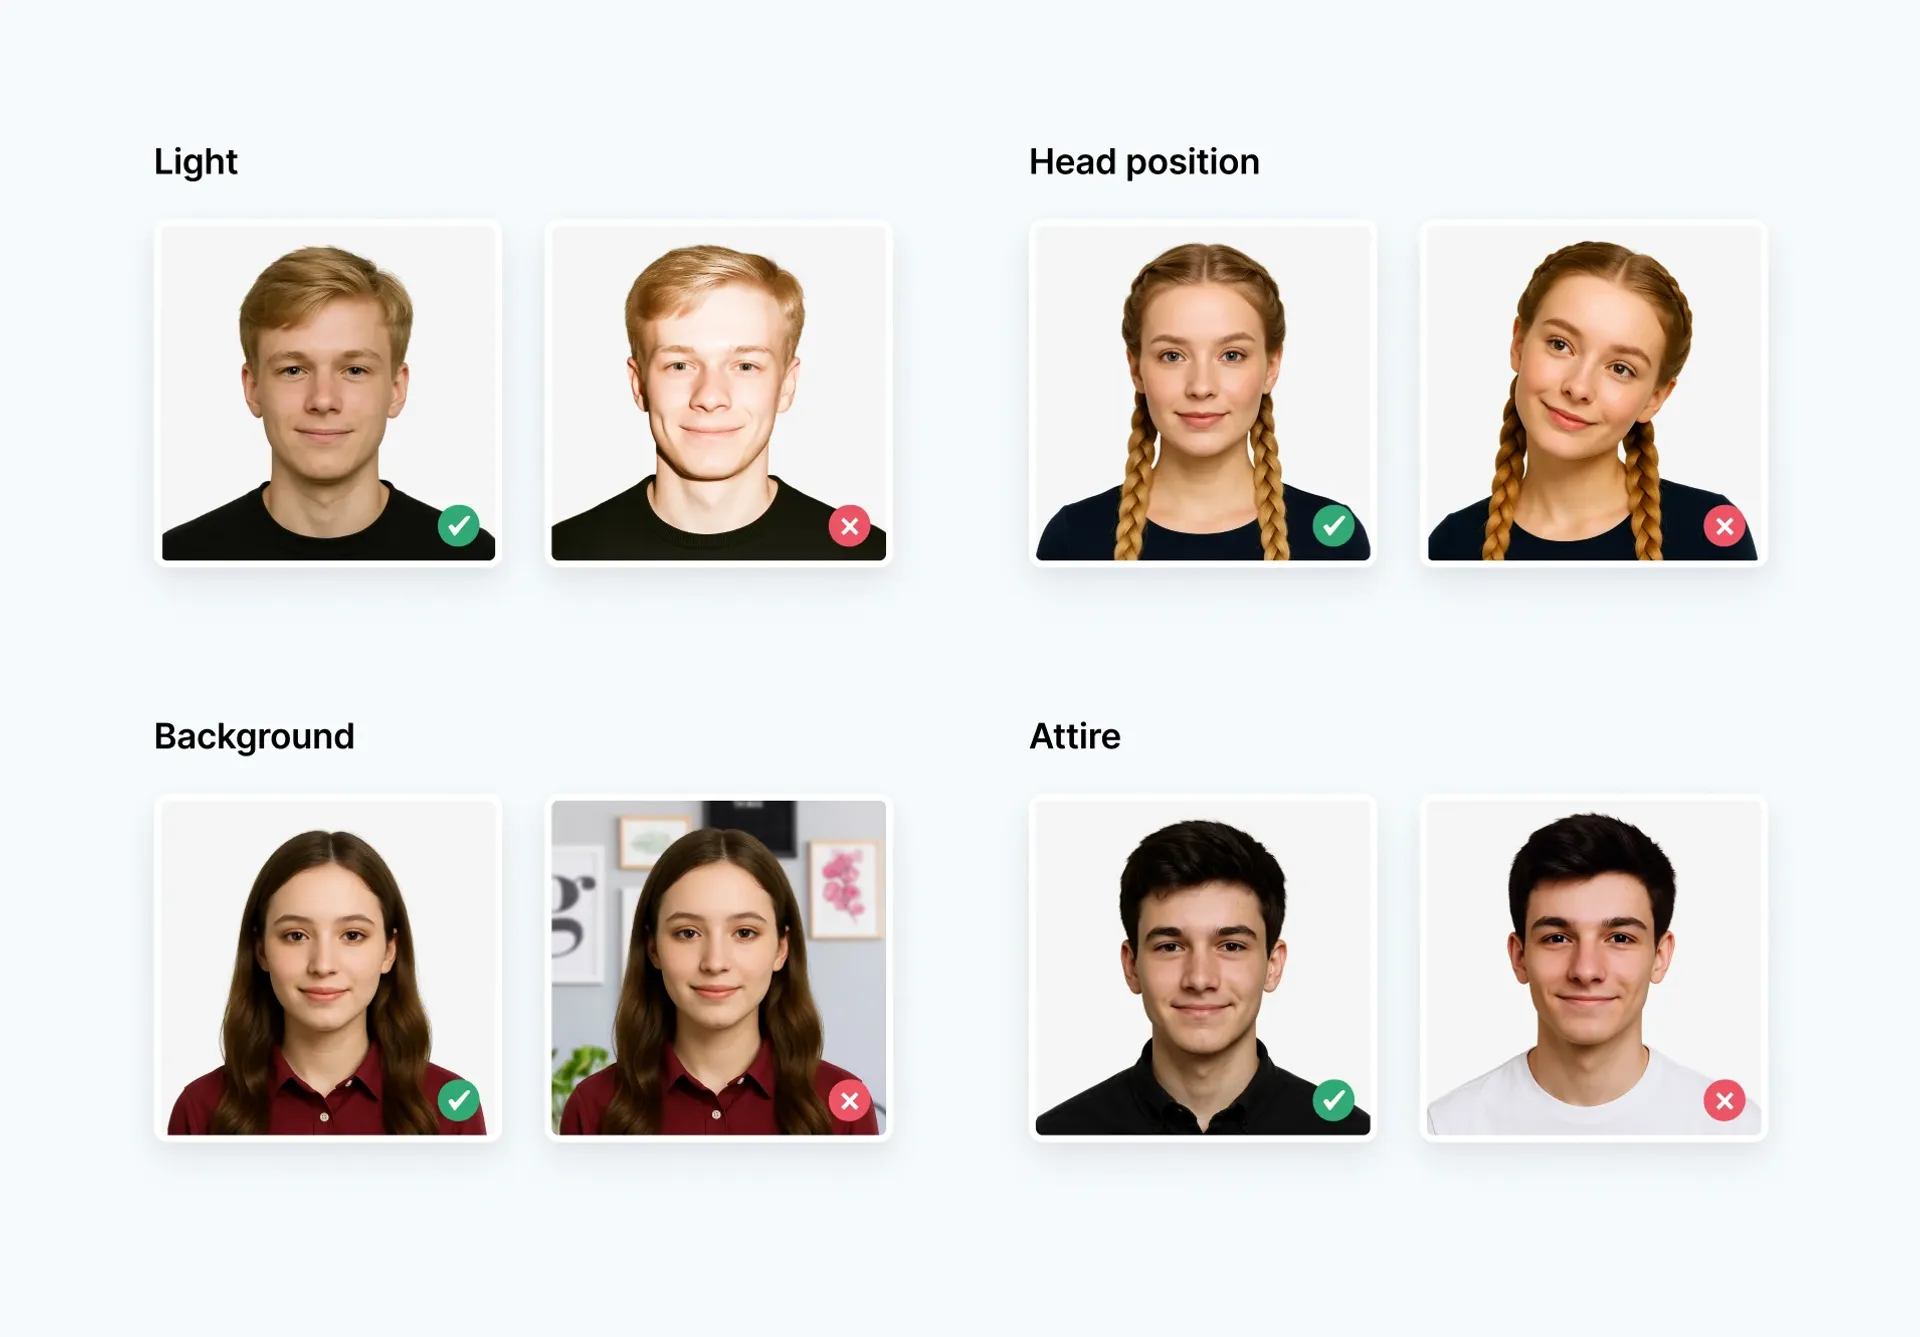
Before you start snapping pictures, it's important to know what most schools expect.
While each university may have its own rules, student ID photos generally follow a standard set of guidelines similar to passport photos.
Here’s what you need to keep in mind:
- Photo size: Typically 2x2 inches (600x600 pixels), but always check your school’s specs.
- Background: Plain, light-colored (white or light gray), and free from patterns or shadows.
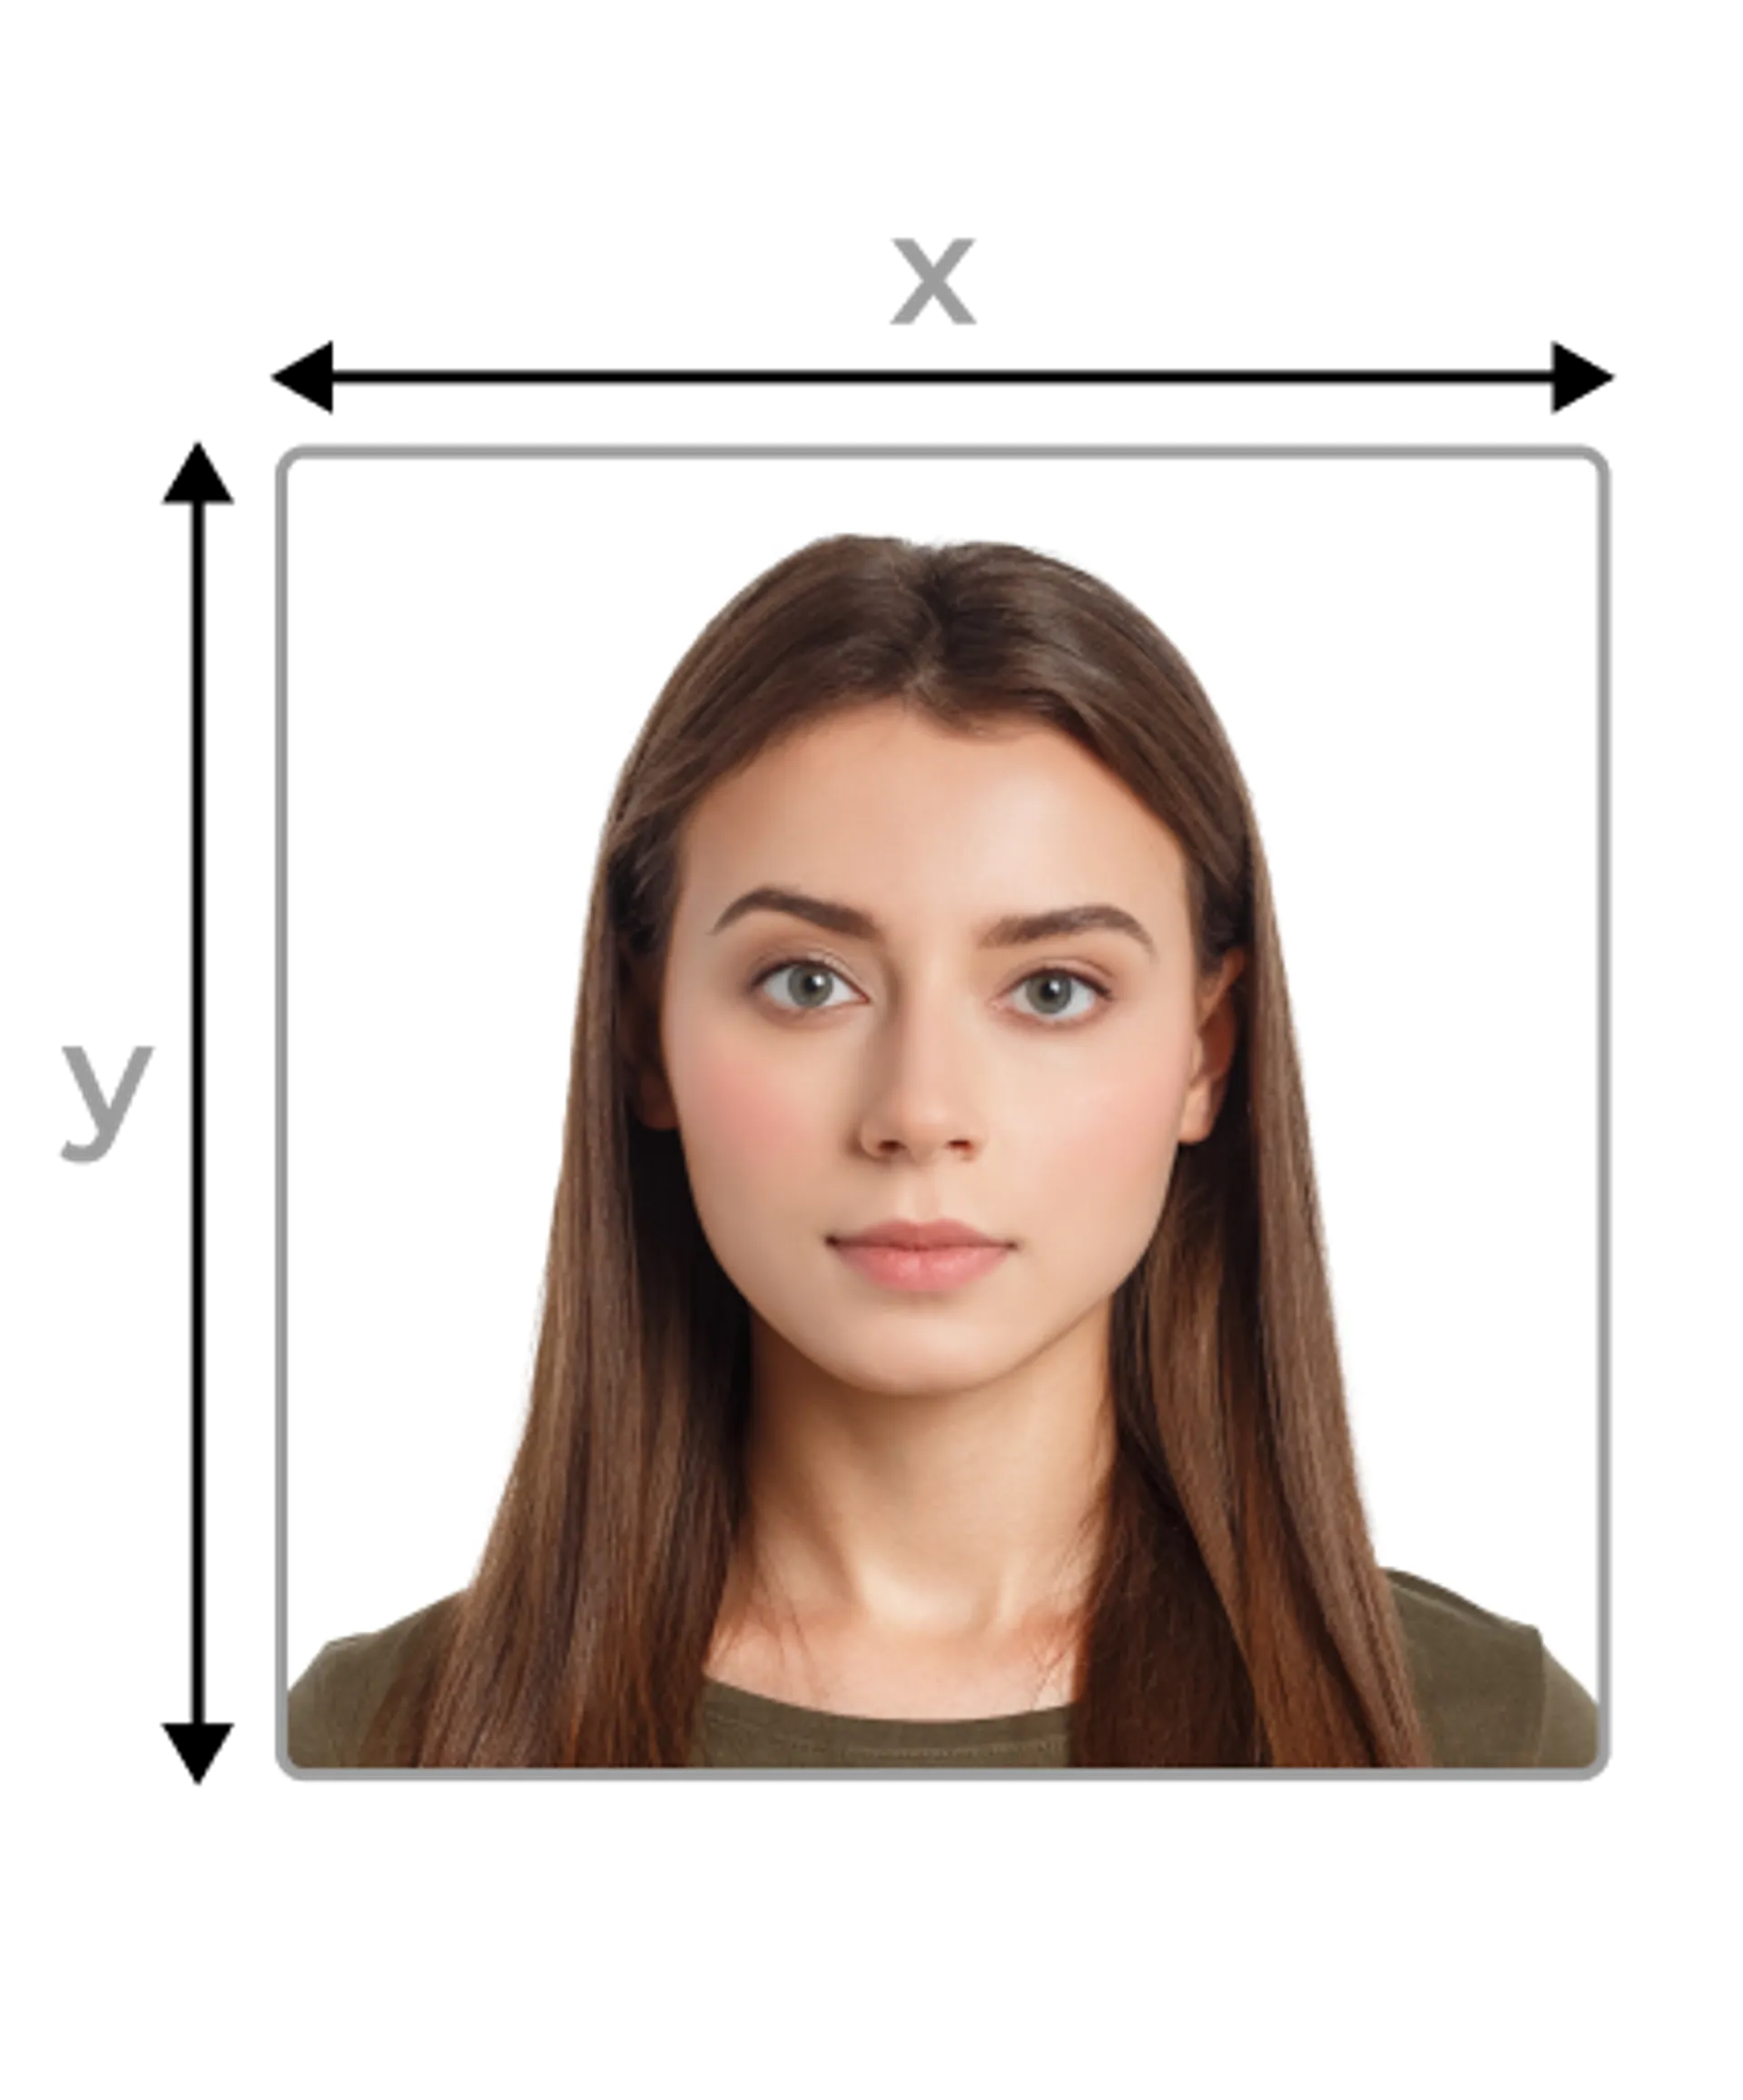
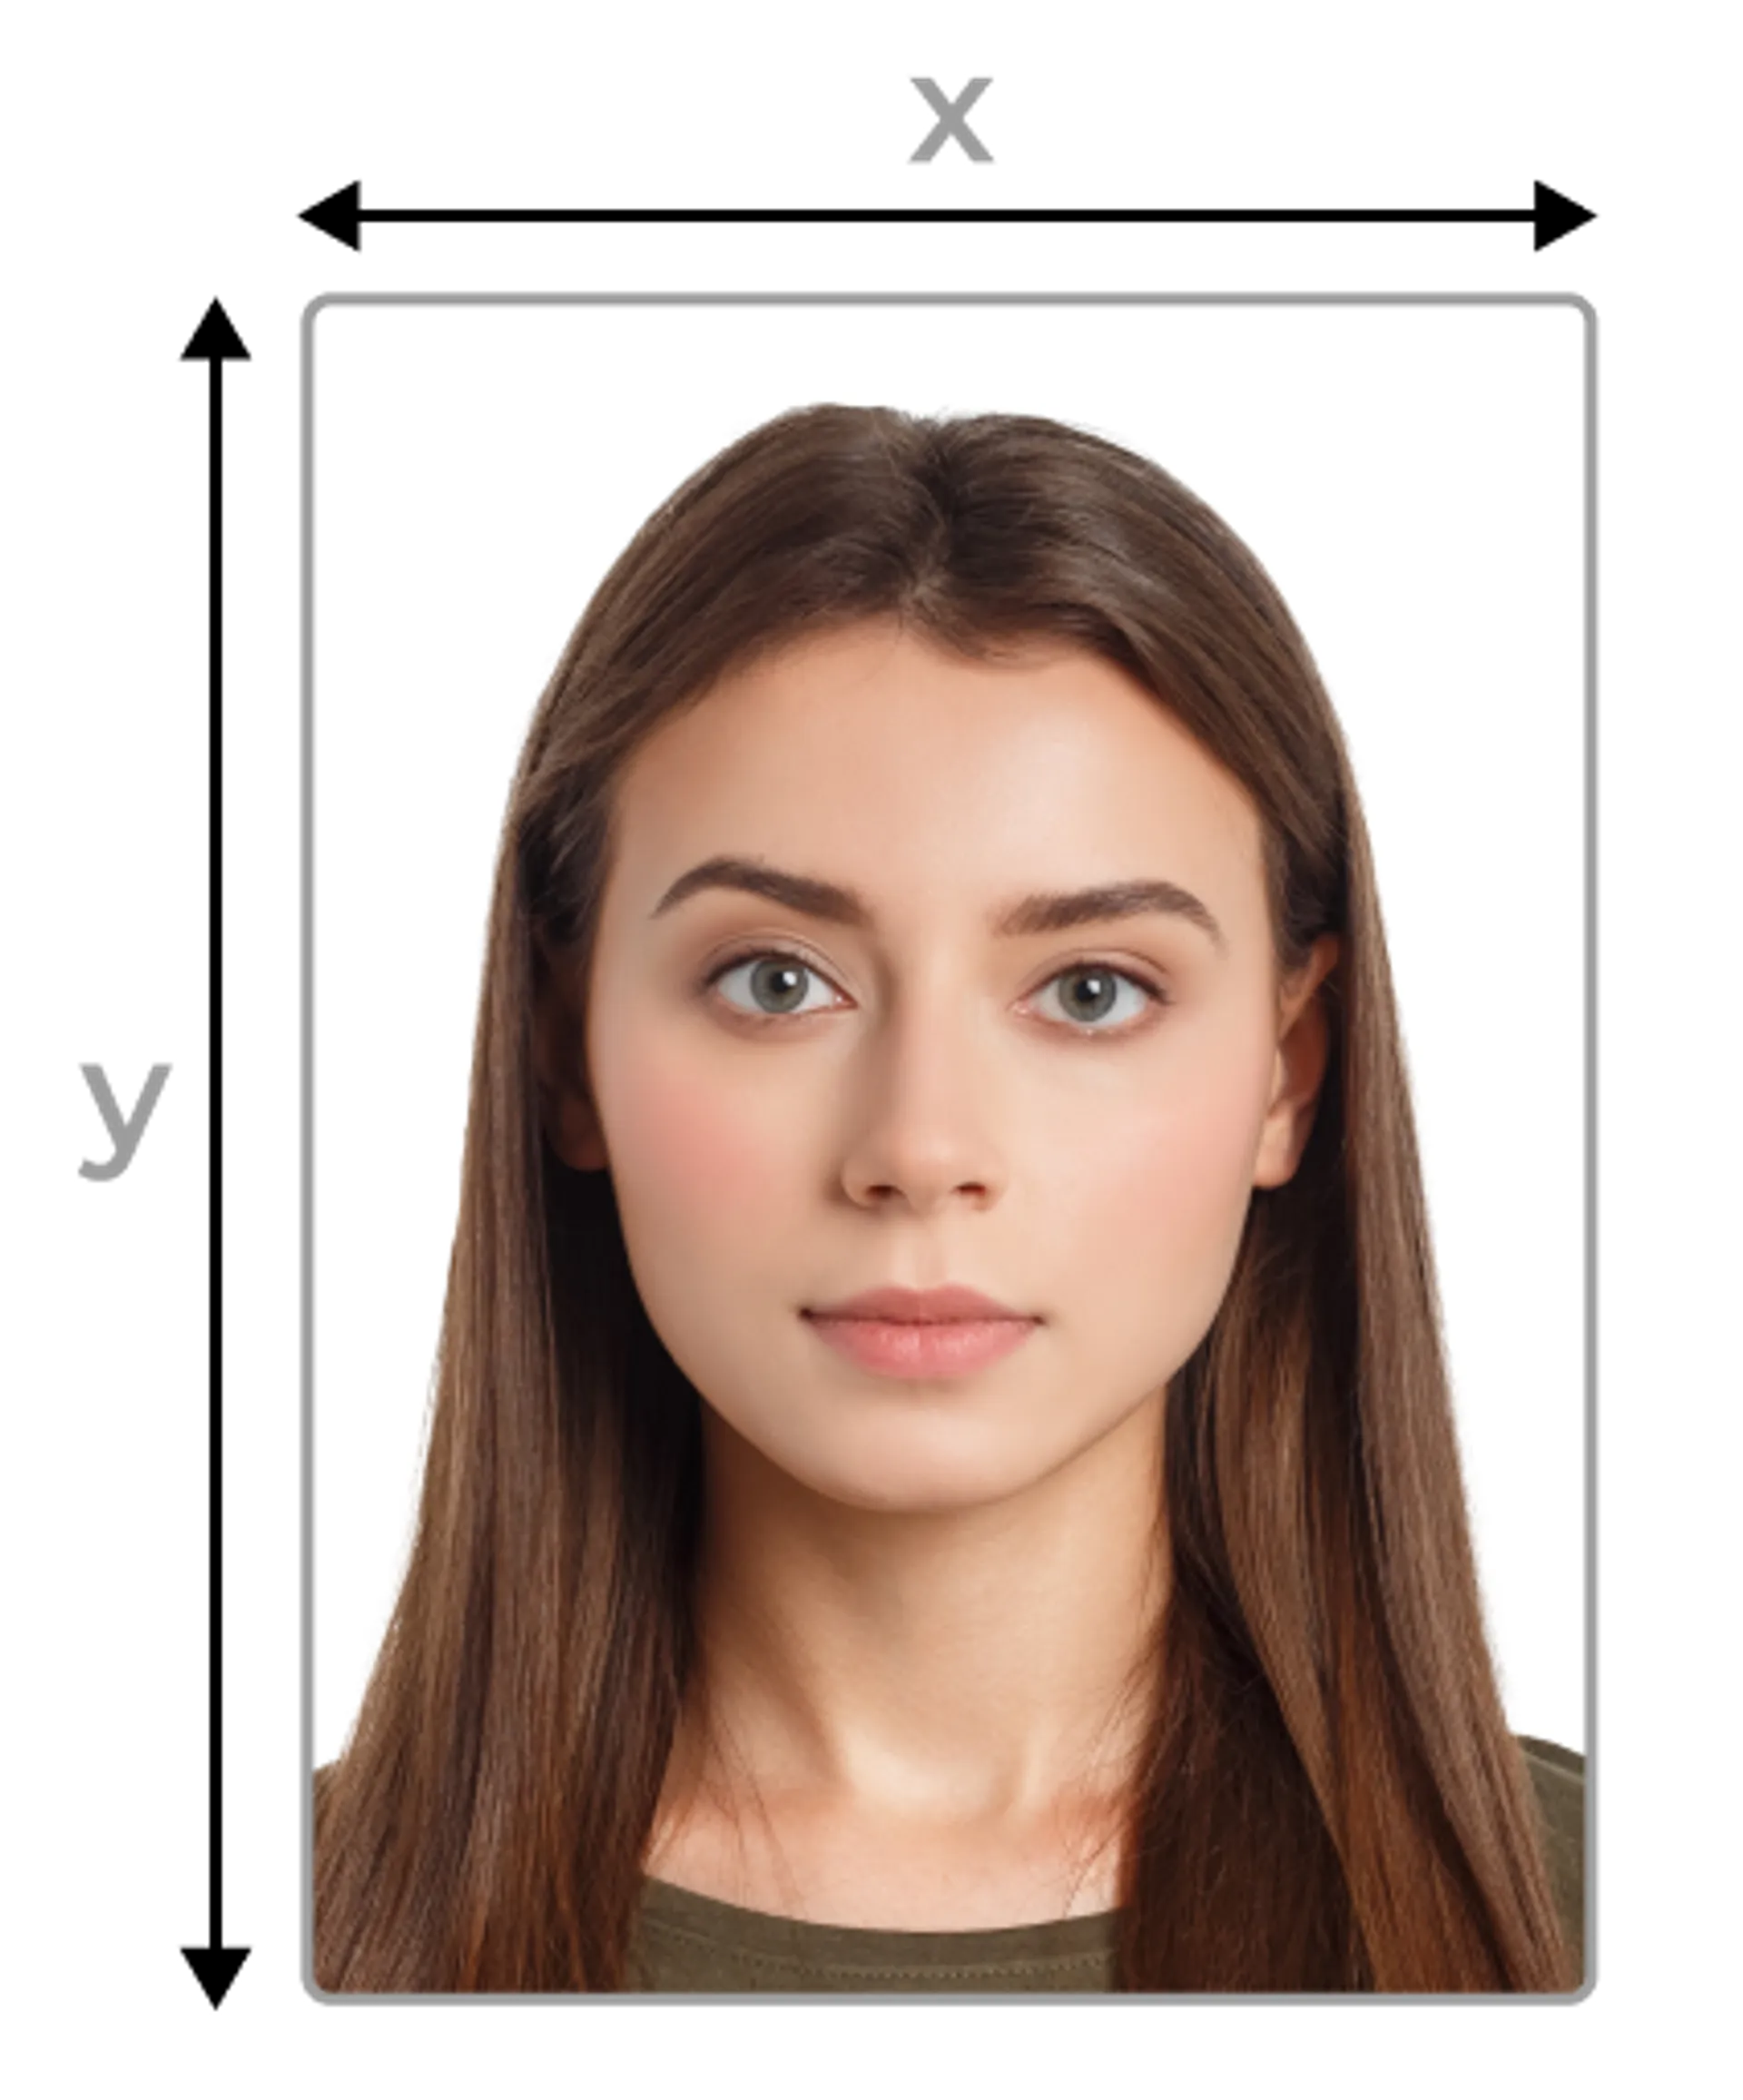
- Framing: Your entire face should be visible and centered. No head tilts.
- Clarity: The image should be high resolution, well-lit, and in focus—no red-eye, filters, or blurriness.
- Expression: Neutral or slightly smiling (more on this below).
- Attire: Avoid sleeveless tops or anything too casual; dress smart casual (more on this below).
- Recency: The photo should be recent and taken within the last six months.
- Editing: No beauty filters or digital enhancements that alter your appearance.
Here’s also a snapshot of some universities’ student ID photo size specifications:
| University | Min. Resolution | Format(s) | Max File Size |
|---|---|---|---|
| Northwestern University | 600x600 px | JPG | 2 MB |
| Harvard University | 280x296 px | JPG, PNG | 6 MB |
| MIT | ≥300 px width | JPG | Not specified |
| University of Washington | Not specified | JPG | Combined with ID ≤750 KB |
| Chapman University | 2x2 inches at 250 dpi | JPG | Not specified |
| Northeastern University | ≤300x300 px | JPG | Not specified |
Facial Expressions in Student ID Photos
Can you smile in your student ID photo? The short answer: yes, but keep it subtle.
Most student ID requirements follow passport-like rules—neutral expressions are preferred, but a gentle smile is usually acceptable.
Appropriate Attire for Student ID Photos
What you wear in your student ID photo matters more than you think.
Here’s what works best:
- Stick to smart casual: A clean, solid-colored shirt or blouse usually does the trick.
- Avoid white tops: They can blend into a light background and mess with contrast.
- Skip logos or slogans: These can be distracting and may be against the rules.
- Stay within dress code: Some schools have guidelines about university uniforms or modest attire, especially in ID photos.
- No hats or sunglasses: Unless required for medical or religious reasons.
The goal is to look professional, not dressed up. Think about how you’d attend a presentation or a job interview.
Avoid sleeveless tops and anything that could be seen as overly casual or distracting.
Editing and Formatting Student ID Photos
Took a selfie and want to turn it into a student ID photo? It’s doable, but only if it’s edited the right way.
Here’s what matters most:
- No heavy edits: Don’t apply filters, retouch blemishes, or adjust facial features. Your photo must reflect your real appearance.
- Crop carefully: Your head should be centered and take up about 70–80% of the frame. Avoid cutting off your forehead or chin.
- Fix red-eye and lighting: It’s fine to adjust brightness or remove red-eye, but the changes should look natural.
- Straighten the image: No head tilts or sideways shots. Your face should be vertical and level.
- Check photo dimensions: Always match your school’s size and file format (usually JPEG, under a certain file size).
Tips for Taking Student ID Photos at Home
Snapping a student ID photo at home?
You don’t need fancy gear or a studio session. With the proper setup—and a little help from the right tool—you can get a clean, compliant photo in minutes.
Here’s how to do it right:
- Use natural light: Find a spot with indirect daylight. Face a window for soft, even lighting that avoids harsh shadows or glare.
- Pick a simple background: Stand before a plain white or light-colored wall. If that’s not available, Passport Photo Online can automatically replace any background with a compliant one.
- Stabilize your phone: Set your camera at eye level using a tripod or a stack of books. A steady shot makes a huge difference in clarity.
- Face forward: Keep your head straight, with a relaxed, natural expression. Don’t tilt or angle your face.
- Avoid matching your clothes to the background: A darker, solid-colored top helps define your face.
Want to skip the guesswork?
Use Passport Photo Online—a passport photo service for taking compliant ID photos. Access it through our easy-to-use web tool or download the passport photo app for Android.
It automatically adjusts size, background, and lighting, then checks your image with AI and human experts. You get unlimited retakes and a digital file or printed version delivered to your door.
It’s fast, affordable, and 100% student-ID ready.
How does our photo tool work?

Take or upload photo
Take a photo or upload one from your mobile gallery. Follow our guidelines to meet all the requirements.

Get your photo verified
Let AI fine-tune your photo. Order your picture, and have it verified by an expert to ensure 100% compliance.

Enjoy your photo
Download your digital photo instantly, or have your printouts delivered to your doorstep for free!
Common Mistakes to Avoid When Taking a Student ID Photo
Even a good photo can get rejected if it doesn’t meet your school’s standards. Avoid these common slip-ups when taking your student ID photo at home:
- Poor lighting: Shadows, glare, or uneven lighting can hide your facial features. Always aim for even daylight or use an app like Passport Photo Online to auto-adjust lighting.
- Busy or dark backgrounds: Patterns or clutter in the background can get your photo rejected. If a white wall isn’t available, Passport Photo Online can fix that.
- Wrong framing: A photo that cuts off your head or includes too much space can be unusable. Your face should be centered and occupy the right amount of space in the frame.
- Blurry or low-resolution shots: Use a phone with a decent camera. High definition matters.
- Inappropriate attire: Sleeveless tops, logos, or flashy accessories can be distracting. Keep your look clean and appropriate for an official document.
- Red-eye or flash glare: Always turn off your flash and use soft lighting.
- Facial expressions or head tilt: Avoid smirks, raised eyebrows, or turning your face. Stay neutral and forward-facing.
Avoiding these mistakes is simple with Passport Photo Online. Our service checks your image for all these issues—and more—using AI and expert reviewers.
You’ll know right away if something’s off and can retake your photo as many times as you need.
Sounds too good to be true?
Check these Trustpilot reviews:
Stacking It All Up
Taking the perfect student ID photo at home doesn’t have to be complicated. With the right setup and a little know-how, you can capture a compliant, confident-looking image that your school will accept—and you’ll actually like.
Let’s recap:
- Know your school’s photo requirements.
- Dress appropriately and keep your expression neutral.
- Use daylight and a plain background for the best results.
- Avoid common mistakes like poor lighting or awkward angles.
- Use a reliable tool like Passport Photo Online to format, verify, and deliver your photo with zero stress.
Your student ID is more than just a card—it's your campus identity. Make sure the photo on it represents you at your best.
Related:
Documents
We provide photos for IDs from all over the world. You’ll find the one you are looking for!


Choose your document


FAQ

The easiest and most reliable option is Passport Photo Online. It’s a passport photo service for taking compliant ID photos online. The tool ensures your photo meets student ID requirements and offers both digital and print formats.
Yes! Just use your phone’s camera in a well-lit room, against a plain background. For best results, use Passport Photo Online to crop, format, and verify the image—it handles all the technical stuff for you.
A slight, natural smile is usually fine. Avoid wide grins or exaggerated expressions. Some schools prefer a neutral look, so check your school’s specific rules.
Go for smart casual. Avoid white tops (they blend into the background), graphic prints, or anything too casual. Solid, darker colors work best.
Use a tool like Passport Photo Online. It automatically resizes and adjusts your image to meet official standards, removes the background if needed, and verifies your final result.

Are You Satisfied With Our Service?
Let us know how we’re doing.
Customer feedback is always welcome.
Rate Your Reading Experience:

Number of votes: 0